You’re sitting on a goldmine of garden fuel—and you might not even know it. When you Use Grass Clippings instead of tossing them out, you tap into a source of up to 4% nitrogen by weight, enough to replace nearly half of your lawn’s fertilizer needs each year. Americans generate approximately 13 million tons of yard waste annually, with grass clippings accounting for over 30% of that total.
At this stage—standing at the edge of your mower bag, wondering how to turn excess clippings into an asset—you need practical, science-backed methods that cut costs and supercharge growth.
In the following sections, you’ll discover ten proven techniques to recycle fresh clippings into mulch, compost, liquid feed, worm bedding, and more—so you can transform waste into a nutrient-rich boost for every corner of your garden.
Grasscycling: The Easiest Way to Feed Your Lawn for Free
You don’t always need to bag up grass after mowing. Grasscycling is one of the easiest ways to improve your lawn without spending a dime. It naturally returns nutrients to the soil, reduces your yard waste, and saves you time during mowing.
When you leave grass clippings on the lawn, they decompose quickly and feed the soil with nitrogen. This helps maintain a lush, green yard with fewer fertilizer needs. It also adds organic moisture, which can be especially helpful during dry spells. But here’s the interesting part—this method only works well if you mow regularly. Shorter clippings break down faster and won’t form soggy clumps that block sunlight.
Now, instead of bagging and hauling away clippings, you mow and go. This reduces your yard work time and prevents sending useful organic material to the landfill. Just be sure your mower blade is sharp and your grass isn’t too wet or long. Once you get into the habit, your lawn will start to look healthier and require less fertilizer, naturally cutting down your lawn care costs.
Stop Weeds and Lock in Moisture with Grass Clipping Mulch
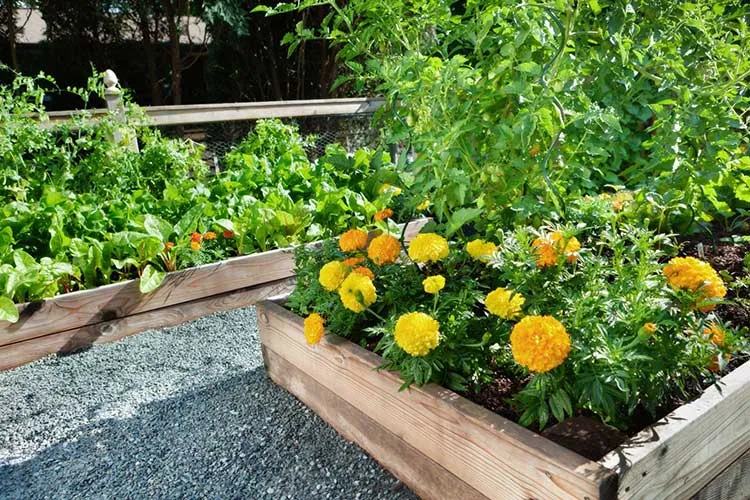
Got weeds popping up or thirsty soil? Grass clippings can help with both. When used properly as mulch, they can suppress weed growth, conserve moisture, and even keep the roots of sensitive plants cooler during the summer heat.
Start by letting the grass clippings dry out for a day or two so they’re no longer wet or sticky. Then, spread them in thin layers around your flowers, vegetables, or shrubs. Keep the layer under 1 inch thick—this prevents the clippings from matting and creating a dense, smothering layer that traps heat and moisture in the wrong way. When applied correctly, the clippings form a breathable, nutrient-rich barrier that slowly breaks down into the soil.
Avoid using any clippings that were recently treated with herbicides or weed-and-feed products. Those chemicals can harm your plants and the microbes in the soil. Also, don’t pile the mulch too close to plant stems. Leave a few inches of space to prevent the buildup of rot or mold. Over time, as the mulch breaks down, it feeds the soil and builds a richer base for next season’s planting.
Speed Up Your Compost with This Simple Green Addition
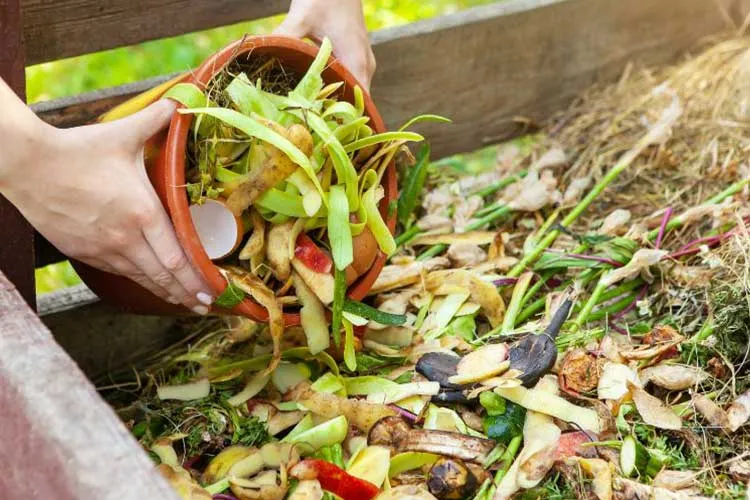
When building a compost pile, grass clippings are often the best green material. They’re packed with nitrogen, which helps heat the pile and speeds up the breakdown of kitchen scraps and yard waste.
But here’s the catch—grass clippings alone can turn into a slimy mess. To prevent odor and sogginess, always mix fresh clippings with dry, carbon-rich materials such as leaves, shredded newspaper, or straw. A good rule of thumb is to layer two parts “brown” to one part “green.” This balances out moisture and ensures steady decomposition. Spread clippings in thin layers or mix them thoroughly into the pile so they don’t clump up and form dense mats.
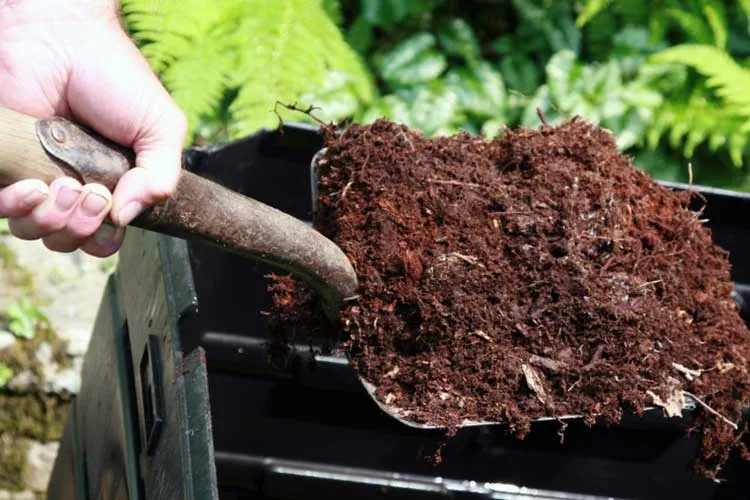
Turn the pile every few days with a pitchfork or shovel to keep it aerated and prevent compaction. This introduces oxygen and speeds up the composting process. If it starts to smell like ammonia or gets too hot, you’re likely overdoing the grass—add more dry materials and give it a good stir. After a few weeks to a couple of months, you’ll have rich, crumbly compost that’s perfect for your garden beds, containers, or lawns.
Make a DIY Liquid Fertilizer That Costs Nothing
If your plants need a quick pick-me-up, grass tea is a simple, homemade solution. This gentle liquid fertilizer feeds your garden with nitrogen and other nutrients extracted right from your lawn clippings.
To make it, fill a 5-gallon bucket about halfway with fresh grass clippings. Then top it off with water and let it steep for 3 to 5 days, stirring once a day. As it soaks, the water absorbs nutrients from the clippings, turning into a mild, greenish-brown tea. Once it’s ready, strain out the solids using an old cloth or mesh strainer to avoid clogging your watering can.
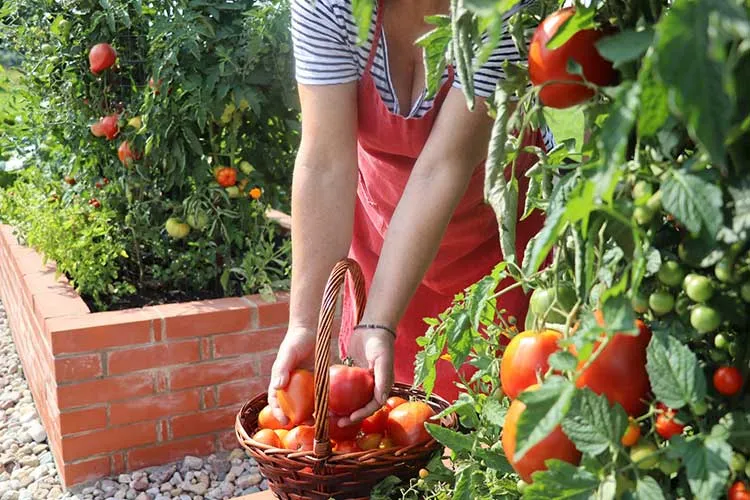
You can use this tea around the base of your vegetable plants, flowers, or shrubs. It provides a boost during active growing periods without the risk of burning roots, unlike some synthetic fertilizers. Don’t use the tea on plant leaves—pour it into the soil. And skip it if your clippings came from a chemically treated lawn. When used every couple of weeks, this natural tonic helps keep your plants healthy and saves you from the expense of buying expensive fertilizers.
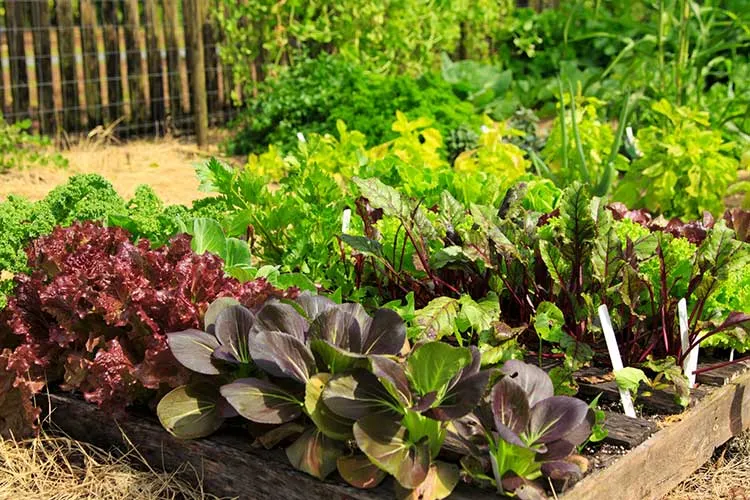
Build No-Dig Garden Beds That Practically Take Care of Themselves
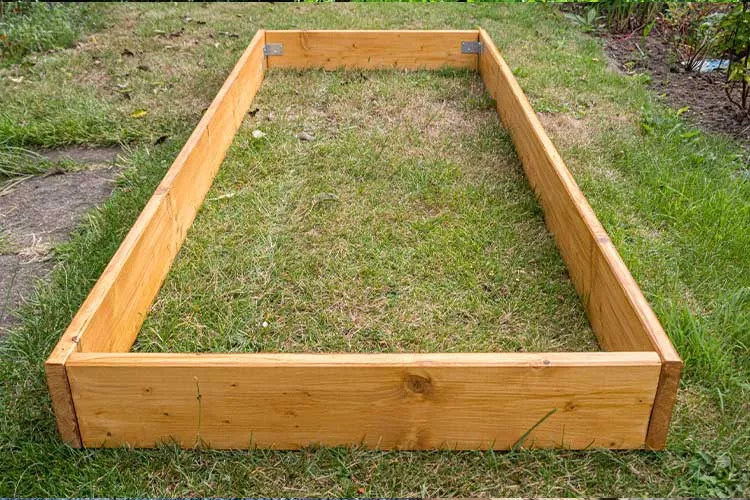
If digging up your yard feels like too much work, there’s a better way. Lasagna mulching—also called no-dig gardening—lets you build rich, layered beds using materials like grass clippings, cardboard, and leaves. It’s a low-effort method that yields nutrient-rich soil without ever needing to lift a shovel.
Start by laying down sheets of cardboard or newspaper right over the grass or weeds. This smothers unwanted growth and creates a base layer. Next, alternate layers of green material (like grass clippings) and brown material (like dry leaves or straw). Keep the layers a few inches thick and continue stacking them until the bed reaches a height of approximately 12 to 18 inches. Top it off with a thin layer of compost or finished soil to plant into right away, or let it sit for a few weeks to break down.
Over time, the layers decompose into soft, crumbly soil that’s ideal for planting vegetables, herbs, or flowers. The grass clippings provide nitrogen while also helping to retain moisture in the bed. Meanwhile, the layered structure prevents weed growth and improves drainage. It’s a smart way to recycle yard waste and build fertile garden space without the backache of tilling.
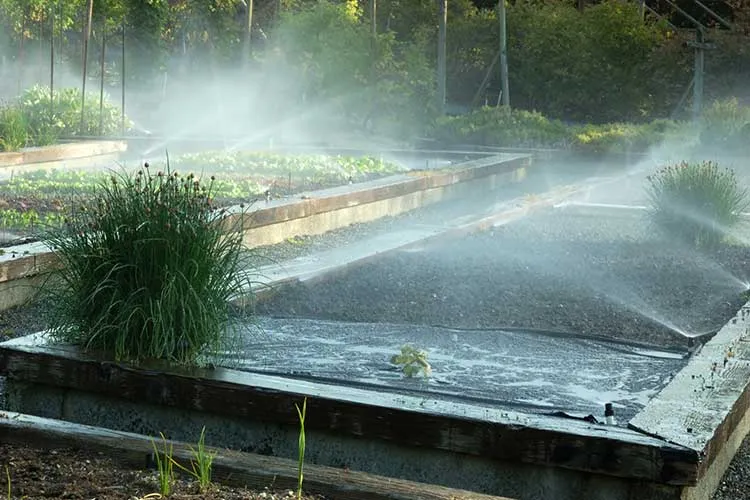
Improve Soil Health Without Tilling or Turning a Shovel
If your garden soil feels compacted or dry, a simple layer of grass clippings can start to turn things around. Sheet mulching is one of the easiest ways to boost soil health right at the surface—no digging is required.
Just spread fresh or dried grass clippings in a thin layer over bare garden beds, paths, or slopes. Keep the layer under 1 inch thick to allow for airflow and to prevent mold. As the clippings break down, they add organic matter that feeds soil microbes and encourages earthworms to move in. Those little soil engineers help aerate and mix the soil, creating a richer base for your plants.
This method also helps regulate soil temperature and reduce erosion, particularly in high-traffic areas such as garden walkways or between rows. Unlike bark mulch, grass clippings break down quickly, meaning they need to be replenished more often—but they improve the soil as they go. If you’re building a new bed or preparing for fall planting, this is a quick and cost-effective way to get started with healthier soil.
Feed Worm Bins the Right Way (Without Overheating Them)
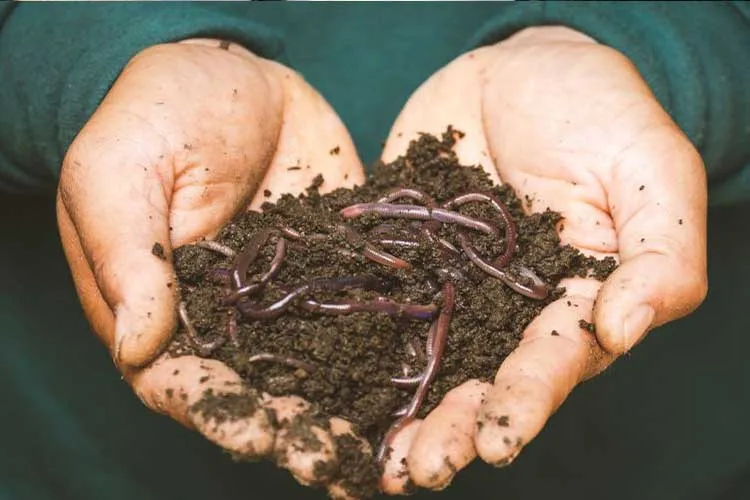
If you’re running a worm bin, grass clippings can give your red wigglers an easy nitrogen boost—but only when used carefully. These tiny composters work best with a balanced mix of “greens” and “browns,” and grass clippings fit right into the green category.
Start by adding only a small handful of clippings at a time. Fresh grass can heat up quickly and create hot pockets in your worm bin, which can harm or even kill the worms. To avoid this, mix the clippings thoroughly with shredded cardboard, newspaper, or other carbon-rich materials before adding them to the bin. The balance helps regulate moisture and temperature while also providing the worms with a variety of textures to munch on.
Always skip grass treated with herbicides or pesticides—those chemicals can wipe out your worm population fast. If you’re unsure whether your lawn is safe, it’s better to use untreated kitchen scraps instead. When used the right way, grass clippings decompose quickly and help produce dark, nutrient-rich worm castings that plants love. Just monitor your bin for odor and moisture and adjust the mix as needed.
Repair Bare Lawn Spots Faster with a Clipping-Soil Mix
Bald spots in your lawn can be frustrating, but grass clippings can help fill them in faster. By mixing clippings with topsoil and grass seed, you create a moisture-retentive blend that enhances germination and facilitates the establishment of new grass more easily.
Start by taking away any dead grass or debris from the bare patch. Then, mix equal parts of dry grass clippings and topsoil in a bucket or wheelbarrow. Sprinkle in some grass seed and stir until the mixture is evenly distributed. Spread the mixture over the patch, pressing it down gently to ensure good seed-to-soil contact. You can lightly cover the area with straw, burlap, or netting to hold the mix in place and protect the seeds from birds or wind.
The grass clippings help the patch retain moisture, meaning you won’t have to water as often. They also provide a mild nutrient boost as they decompose. Keep the area damp for the first 7–10 days, and you’ll usually see sprouts start to appear. In a few weeks, the patch should blend right in with the rest of your lawn.
Keep Garden Paths Mud-Free and Weed-Free for Free
Garden paths don’t have to be fancy—or expensive. Grass clippings make a budget-friendly mulch that helps keep weeds down and prevents muddy walkways after rain. It’s a smart way to repurpose lawn waste while keeping your garden paths tidy and easier to walk on.
To start, rake or blow a layer of dry clippings along the path. Aim for a thickness of about 1–2 inches. If the clippings are fresh, let them dry for a day or two before spreading to prevent them from matting down and getting slimy. Once laid out, they form a soft walking surface that breaks down slowly over time, improving the soil underneath.
You’ll need to top up the layer every couple of weeks during the growing season as the clippings decompose. If you prefer a neater look, edge the path with stones, bricks, or logs to keep the clippings contained. This is especially useful for paths between raised beds or rows in a veggie patch. It’s not a permanent mulch like bark or gravel, but it’s free, easy to apply, and helps keep your garden cleaner and greener.
Smother Weeds in Tight Spots Without Chemicals
Are weeds sneaking through fence lines or popping up between raised beds? Grass clippings can help smother them before they take hold. This method is especially handy for tight spots where pulling or spraying isn’t practical.
Lay down a thick layer of dried grass clippings—about 2–3 inches—directly over the weedy area. The dense mat blocks sunlight and keeps air from reaching weed seeds, stopping growth before it starts. For extra coverage, you can layer newspaper or cardboard underneath the clippings. This combo not only starves weeds of light but also builds richer soil underneath as both layers break down.
Ensure the clippings are untreated and completely dry to prevent rot or a foul odor. Reapply every few weeks or after heavy rain since the layer can shrink or wash away over time. This approach works especially well along fence edges, around sheds, or under shrubs—places where weeds often hide out. It’s a low-maintenance trick that saves your back and keeps your yard looking cleaner with hardly any effort.