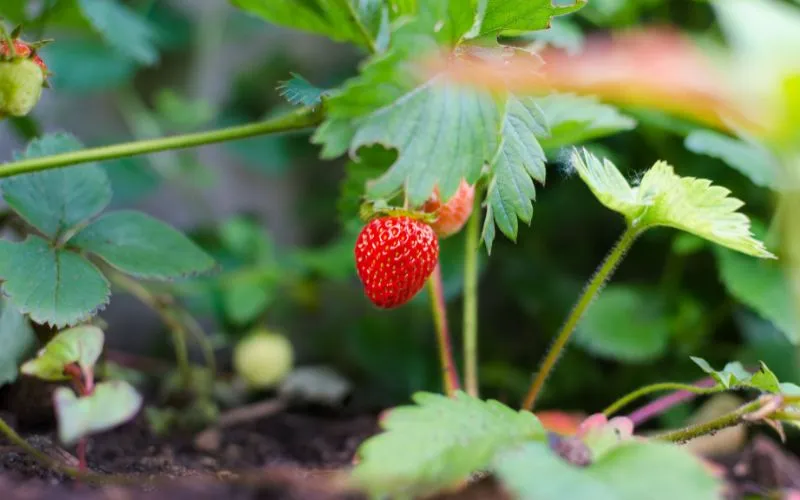
Keeping strawberries Fresh shouldn’t feel impossible when you’ve just harvested ripe berries. You know strawberries contain over 90 % water by weight and can go from firm to mush in under 24 hours at room temperature. Farmers combat this by harvesting before sunrise when field temperatures hover near 50 °F, avoiding direct sun, and immediately chilling fruit to 34–38 °F.
In this concise guide, you’ll discover each step—from timing your pick to using an exact vinegar-water soak—to extend shelf life up to a week without sacrificing texture or flavor. If you’ve ever wondered why store-bought strawberries seem to last longer or how professionals keep mold at bay, read on for the precise techniques that turn your backyard harvest into week-long fresh fruit success.
What Makes Strawberries Spoil So Fast?
Strawberries lose their peak flavor quickly because their structure provides little to no protection. You’ll learn why these juicy gems demand careful handling and speedy storage to stay delicious. Understanding these weak points helps you treat strawberries the way farmers do.
Strawberries have paper-thin skin and a very high water content. Because their flesh holds so much moisture, it leaks out at the slightest bump. As a result, berries bruise easily and develop soft spots that invite spoilage. While you might not see it at first, every nick in the skin lets moisture escape, so the fruit dries out and shrinks faster than sturdier produce.
On the other hand, tiny mold spores float in the air and land on strawberries the moment you pick them. These spores thrive in damp, warm conditions, turning soft spots into fuzzy patches overnight. In comparison to firmer fruits, strawberries offer mold a perfect breeding ground. Now, add ethylene gas released by nearby fruits, and you speed up ripening—sometimes to the point of overripeness before you even notice.
Handling damage also plays its part. If you jostle berries in deep baskets or layer them too thickly, the weight creates pressure points that crush the cells inside. Here’s the interesting part: even slight crushing lets moisture leak, turning one spoiled berry into a neighborhood of decay. So, every bruise you avoid today helps keep tomorrow’s snack fresh.
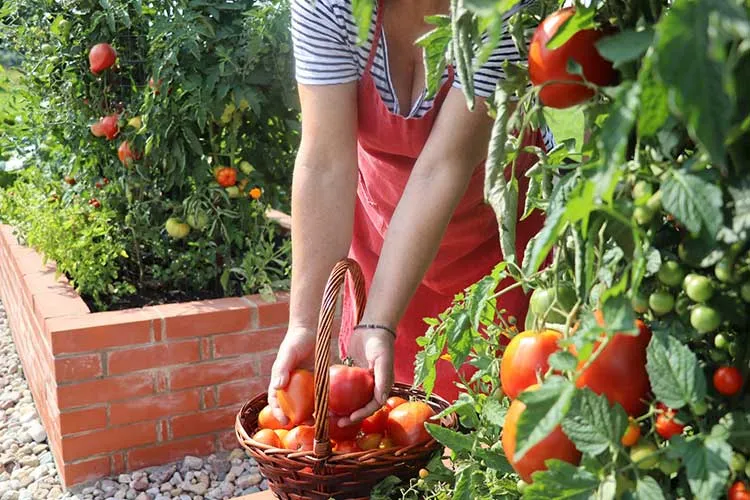
The Farmer’s First Step: Harvest Timing Matters

Timing your pick is the simplest way to protect strawberry quality. Farmers know that when you harvest, it makes as much difference as how you harvest. By following their morning-only routine, you’ll reduce heat stress and keep berries firm for longer.
You can start picking as soon as the sun peeks over the horizon. Cooler morning temperatures mean berries stay crisp and hold onto their juices. However, if you wait too long in the heat, berries soften and lose that fresh snap. On the other hand, pulling overripe berries can speed spoilage—so aim for firm fruit that’s just turned fully red. Next, move the berries into the shade immediately after picking to prevent sun-wilt, which often appears as white or pale patches on the skin.
Now, here’s the bottom line about containers: shallow baskets are your best friend. When you layer berries more than two deep, the bottom ones bear too much weight and bruise. In comparison to deep crates, a single-layer basket keeps each berry individual and intact. So, pick the fruit into small trays or boxes, spread it out, and leave room for air to flow around each berry. This simple step cuts handling damage and buys you extra storage time.
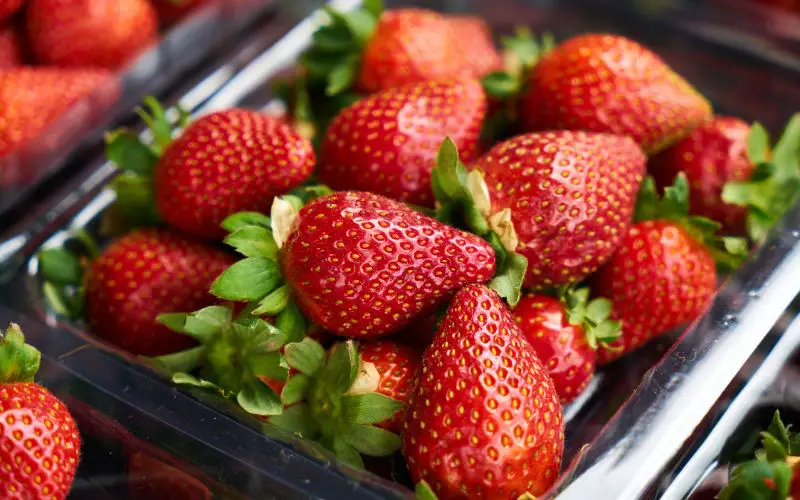
How Long Strawberries Typically Last Without Storage Hacks
Knowing the natural shelf life of strawberries helps you plan meals and avoid waste. Before you try fancy methods, you’ll want a clear baseline for how long fresh-picked berries stay tasty. This sets expectations so you know when to eat them or bring in extra reinforcements.
Most strawberries left at room temperature lose their firmness in under 24 hours. You’ll notice soft spots and shrinking as the fruit’s moisture evaporates. Meanwhile, the fridge allows you to enjoy about two to three days of peak quality. On the other hand, if you wash berries before storing them, you risk adding lingering moisture that accelerates mold growth. In comparison, unwashed berries retain their protective bloom, slowing decay. So, store unwashed and wash only just before you’re ready to eat.
Now, here’s where people slip up: placing berries in sealed plastic bags or deep containers traps humidity and breathes ethylene gas back onto the fruit. That creates a sauna-like environment for molds, leading to wet, mushy berries by day two. Next, stacking layers without a cushion of paper towels means the bottom berries bear too much weight and are prone to bruising easily. Once those bruises form, juice leaks out, encouraging spoilage. To avoid this, give berries space and air—even without advanced tricks, small changes go a long way.
Don’t Wash Right Away—Here’s Why
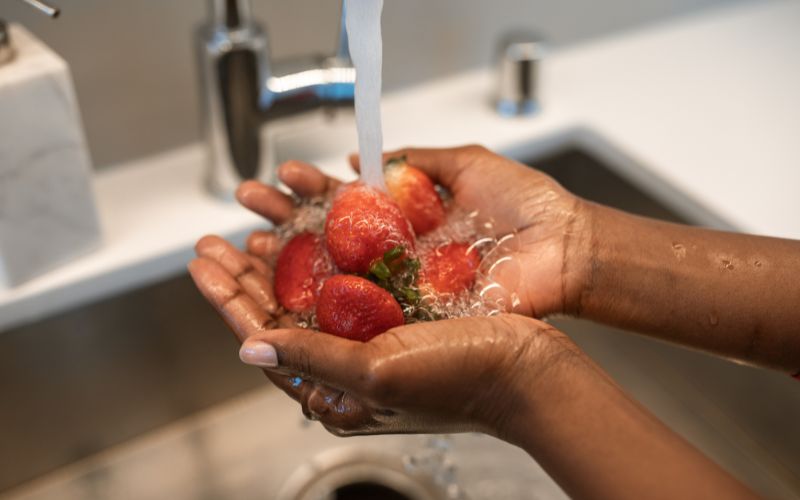
Washing strawberries too soon can lead to faster spoilage. You’ll learn why keeping berries dry until you’re ready to eat protects their texture and flavor. Understanding when and how to wash sets you up for perfectly fresh berries every time.
Waiting to wash keeps the berry’s natural “bloom” intact. That fine, powdery coating helps block moisture loss and resists mold spores. If you rinse berries before storing them, water clings in tiny crevices. As a result, each drop becomes a breeding ground for mold. So, leave berries unwashed in a vented container or basket until right before use. Next, move them straight from storage to the sink to minimize the time they stay wet.
When it’s time to wash, hold each berry by the stem end and gently rinse under cool, running water. Now, here’s the interesting part: avoid soaking berries in still water. Immersion allows water to seep into bruises and cracks, weakening the cell walls. Instead, give each berry a quick swirl. After rinsing, lay the berries out on a clean towel or paper towel to air-dry for a minute or two. Then, you’re ready to enjoy or slice without soggy spots.
Some farmers swear by a vinegar rinse to knock down surface mold spores. Mix one part white vinegar with three parts water. Swirl the berries for 30 seconds, then rinse thoroughly. However, vinegar can impart a slight tang if you linger too long. On the other hand, it does extend fridge life by a day or two. So, reserve this method for large batches, or when you know you won’t eat all the berries immediately.
Smart Storage: Air Circulation Is Key
Keeping air moving around strawberries prevents moisture buildup and mold growth. You’ll see how simple tweaks to container choice and placement cut spoilage. By mastering airflow, you treat berries like farmers do—and enjoy fresh fruit for days.
First, skip sealed bags and Tupperware. Instead, choose vented containers or shallow baskets lined with paper towels. These allow excess moisture to escape and prevent condensation from pooling under the berries. Next, position the container in your fridge’s crisper drawer, which offers gentle cooling without freezing. Make sure vents aren’t blocked by other produce. Now, here’s the interesting part: swapping paper towels every couple of days keeps the lining dry.
In comparison, damp paper traps moisture against berry skin, speeding decay. So, check the towels during each fridge raid and replace any that feel damp. That small step maintains a dry zone where berries stay firm.
On the other hand, rotating your berries helps too. Every two or three days, gently lift out the top layer and slide the bottom berries to the top. This evens out exposure to cooler air and light pressure. While you handle them, scan for soft or moldy spots and remove any offenders immediately—one bad berry can spoil the entire bunch.
Next, avoid crowding multiple layers; if you have a big harvest, use various small trays rather than one deep bin. This way, each berry breathes and holds its shape. Once you get air circulation right, you’ll notice fewer leaks, firmer texture, and longer-lasting flavor—no fancy gadgets required.
Farmer’s Favorite: Vinegar Water Soak Method
Soaking strawberries briefly in a mild vinegar solution is a farmer’s trick that helps cut mold and extend shelf life. You’ll discover the exact ratio, timing, and rinse steps to keep berries fresh for up to a week longer. This simple soak slashes surface spores without affecting flavor.
Start by mixing one part white or apple cider vinegar with three parts cool water in a wide bowl. Next, gently lower the berries into the solution, with the stem end up whenever possible, and swirl for 20–30 seconds. Now, here’s the interesting part: vinegar’s acidity knocks down mold spores on the surface so that you won’t see fuzz even after several days in the fridge. After soaking, lift the berries out with a slotted spoon and rinse under cool running water to remove any vinegar taste. Then, spread them on a clean towel or paper towels and let them air-dry for 2-3 minutes.
Once berries feel just dry to the touch, transfer them to a vented container lined with fresh paper towels. In comparison to plain water soaks, the vinegar method adds an extra one to two days of firmness, so even on day five, you’ll enjoy berries with bright color and snap. Rotate the paper towels if they pick up moisture, and scan for any soft spots each time you open the fridge. On the other hand, if you skip the rinse step or let soaked berries sit wet, you’ll taste the vinegar and risk soggy spots. So always rinse gently and dry quickly.
Farmers often report that this soak keeps berries fresh for up to seven days, compared with just three days without it. While you might worry about vinegar flavor, the quick rinse removes most of the tang, leaving the berries’ natural sweetness front and center. So, whether you’ve picked a big batch or bought a basket for the week, this vinegar-water soak method is your go-to for mold-free strawberries.
DIY Storage Hacks That Actually Work
You don’t need fancy gadgets to keep strawberries fresh—everyday items around your kitchen can make a big difference. These simple DIY tricks help you build a custom storage system that fits your fridge size and budget. Try one or mix and match to see which keeps your berries happiest.
First, grab a clean mason jar and line the bottom with a folded paper towel. Next, place the berries in a single layer, stem-side down, and top with another towel before securing the lid loosely—this creates a mini, ventilated clamshell that absorbs extra moisture. On the other hand, if you have shallow produce trays, cut damp-proof wax paper or parchment to fit between layers and let air circulate.
Now, here’s the interesting part: you can repurpose an old egg carton by removing the lid, lining each cup with a bit of paper towel, and plopping one berry per slot. This stops berries from touching, so bruises and mold can’t hop from one to the next. Although it may look quaint, it works well for smaller batches.
Next, consider a DIY airflow rack. Stack two small cooling racks inside a shallow box or plastic crate, placing berries on the top shelf so air flows underneath. You’ll notice fewer wet spots since airflow keeps condensation at bay. In comparison to sealed containers, this hack significantly reduces moisture buildup. Meanwhile, if you’re short on space, consider slipping a slim tote or dishpan into your fridge drawer. Line it with dry paper towels, then arrange strawberries in a single layer.
Because the tote fits sideways, you gain extra shelf room—perfect for tight apartments or shared fridges. Once you’ve set up your favorite hack, swap out damp towels every couple of days and check for any soft berries. You’ll be amazed at how long your strawberries last when you harness these everyday storage solutions.
Urban Gardening Tips: Small Fridge? No Problem
When fridge space is tight, you’ll need clever hacks to keep strawberries fresh without hogging precious room. These tips help you maximize airflow and organization in slimline containers or shared fridges—so your berries stay crisp even in compact urban kitchens.
First, scout for slimline storage that fits sideways in your fridge. Narrow produce bins or shallow dishpans work well. Next, line the bottom with a dry paper towel to absorb moisture, then spread a single layer of berries. While you could stack trays, sliding a slim container into a door shelf frees up interior space. On the other hand, if your fridge has adjustable shelves, shift one higher and slip in a shallow tote—this creates a custom strawberry station without blocking larger items. Be sure to leave a small gap at the top for air circulation, which helps keep condensation in check and keeps the berries firm.
Now, here’s the bottom line on shared fridges: claim a small, labeled box or basket for your strawberries. This prevents roommates from accidentally sealing berries in plastic bags or placing them next to ethylene-producing fruits. However, if you can’t carve out a full drawer, use stackable mini bins—each lined with fresh paper towels and vented by loosening the lid.
This way, you keep layers thin and maintain consistent airflow. Meanwhile, prioritize berry placement near the back wall of the fridge, where temperatures remain steadier. Once you set up your system, swap damp towels every couple of days and scan for soft spots. With these urban-friendly strategies, even the smallest fridge can hold a week’s worth of fresh strawberries.