You soaked your seeds, stacked your trays, and waited—only to lift the lid and find white fuzz creeping across your sunflower microgreens. Sound familiar? Mold is the number one problem that ruins otherwise healthy trays, especially for new growers. It spreads fast, smells bad, and can wipe out your harvest before your greens reach the light.
The good news? Mold is preventable with a few simple changes to how you prep, plant, and care for your microgreens. If you’ve been frustrated by slimy patches or confused by what’s normal fuzz and what’s not, you’re in the right place.
Here’s how to grow strong, clean sunflower microgreens without battling mold whenever you plant a tray.
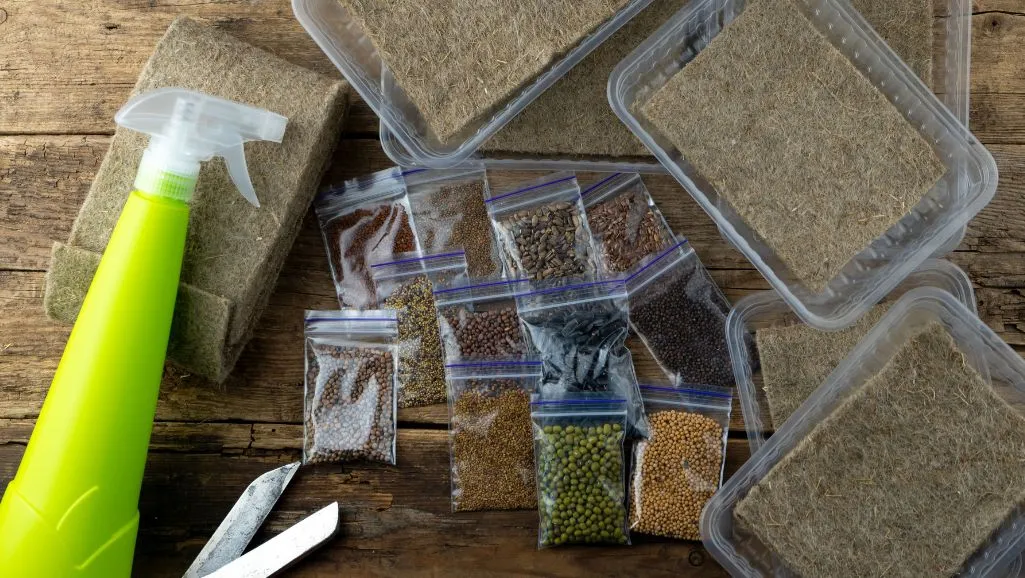
Prevent Mold on Microgreens by Starting with Clean, Healthy Seeds
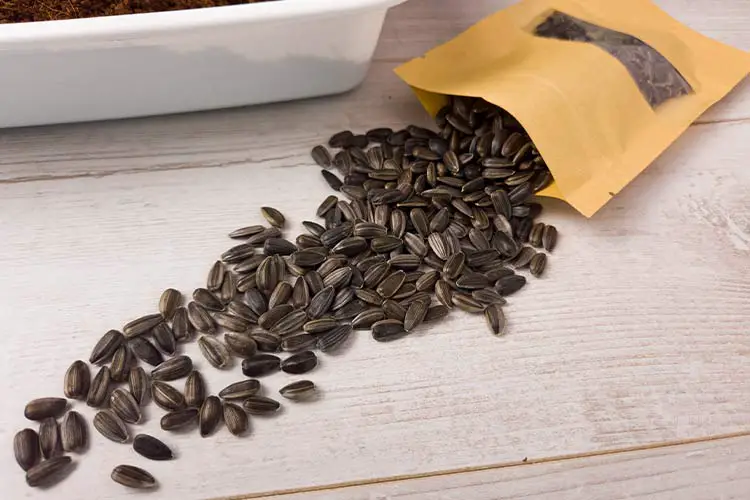
The quality of your seeds sets the tone for the entire growth. Seeds that carry fungal spores or bacteria can introduce mold before sunflower microgreens even sprout. This is why starting clean is more than just a preference—it’s a prevention step. Lower-quality or untreated seeds often come with invisible contaminants that thrive in the moist conditions microgreens need to grow.
To avoid that risk, always choose certified organic or sprouting-grade seeds. These are tested for pathogens and handled in facilities that focus on cleanliness. Reputable suppliers will also have reviews or lab reports available, which can help you trust what you’re buying.
Before soaking, scan your seeds. Look for any that appear cracked, discolored, or shriveled. While rushing the prep stage is tempting, a quick visual check can save you from a moldy mess later. Clean, intact seeds give you the best chance for smooth, healthy growth.
Sunflower Seeds Soaking and Sterilization
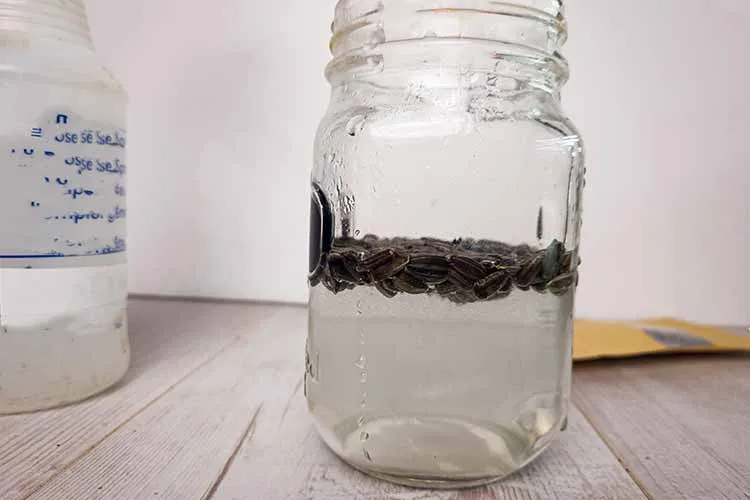
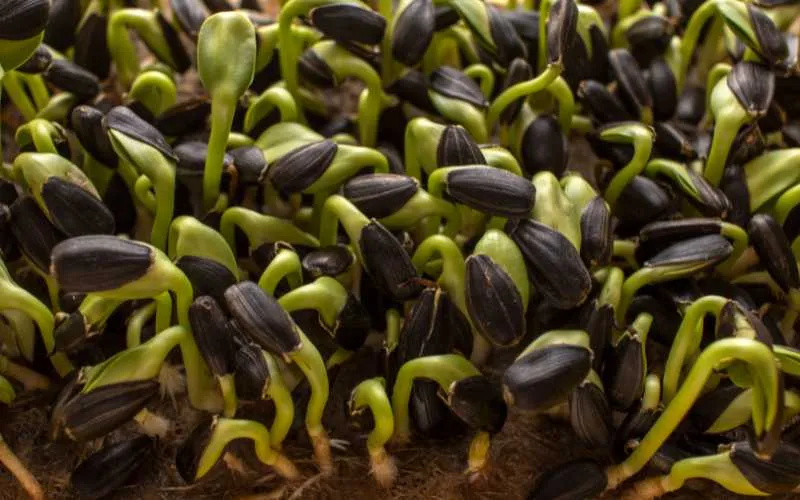
Soaking sunflower seeds helps jumpstart the germination process by softening the outer shell. Without it, you’ll see patchy growth or delayed sprouting. But soaking too long creates a soggy environment that mold loves. Stick to a window of 4 to 8 hours—just enough to hydrate the seeds without waterlogging them. If you accidentally leave them soaking overnight, starting fresh is safer.
Before soaking, add a sterilization step. A quick rinse in a mild hydrogen peroxide solution (about 3%) or a splash of white vinegar in water can help kill surface bacteria and fungal spores. Let the seeds sit in the sterilizing rinse for 5–10 minutes, then rinse thoroughly with clean water. This extra step isn’t mandatory, but it dramatically reduces mold risks, especially if the seeds grow in humid spaces.
Once soaked and rinsed, drain the seeds well. Spread them in a sieve or colander and air-dry for 15–30 minutes. Seeds that go into your trays too wet can create a sticky, oxygen-deprived layer that mold will take full advantage of.
Optimize Your Germination Setup
Sunflower microgreens germinate best in warm, moist conditions, but too much warmth and humidity without airflow quickly invite mold. Aim for a temperature between 70°F and 75°F. The top layer of your tray should stay moist but not soaked. If the surface looks shiny or puddled, you’ll want to adjust how much water you use.
Stacking trays with a weight on top is a common method to encourage strong root development, but don’t overdo it. Leave trays stacked for no more than 2–3 days. Beyond that, trapped humidity and poor airflow can lead to fungal growth between the layers. You’ll start to smell sourness or see white fuzzy hair before you even unstack.
Blackout domes help keep light out during germination and trap heat and moisture. If you’re using one, lift it briefly once or twice daily to let fresh air in. When about 80% of your seeds have sprouted, remove the weight or cover. This reduces moisture buildup and helps air circulate, keeping mold in check.
Control Airflow and Humidity
Once your sunflower microgreens grow, stagnant air becomes one of the biggest threats to a clean tray. Mold thrives in still, damp environments, so steady airflow is key. A small oscillating fan set on low can make a big difference—just enough to move the air without drying out your trays too quickly. Position the fan nearby, not directly on the greens.
Humidity levels also play a huge role. If the air in your growing space feels heavy or damp, you may need to measure it. A simple hygrometer can tell you where things stand. Ideally, humidity should be under 50%. This number can climb quickly in places like basements or small indoor rooms, especially if you’re running multiple trays.
If you notice your space staying above that 50% mark, a dehumidifier is worth considering. Even a small tabletop unit can pull enough moisture from the air to reduce the risk of mold. Just make sure it doesn’t blow hot air directly at your trays.
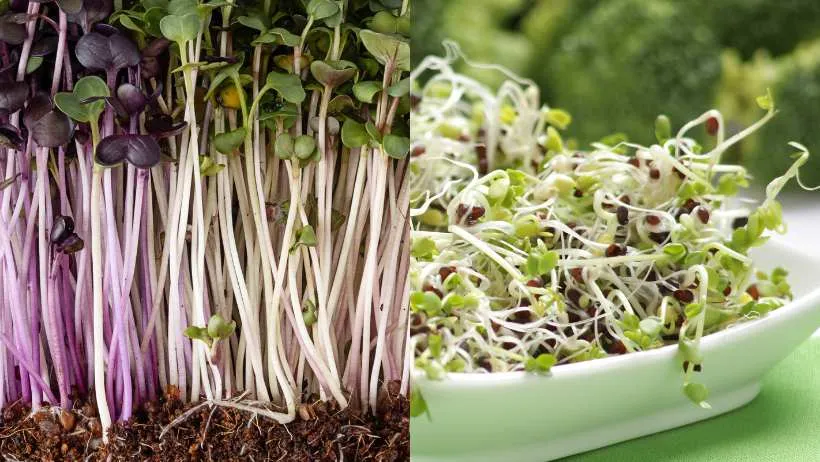
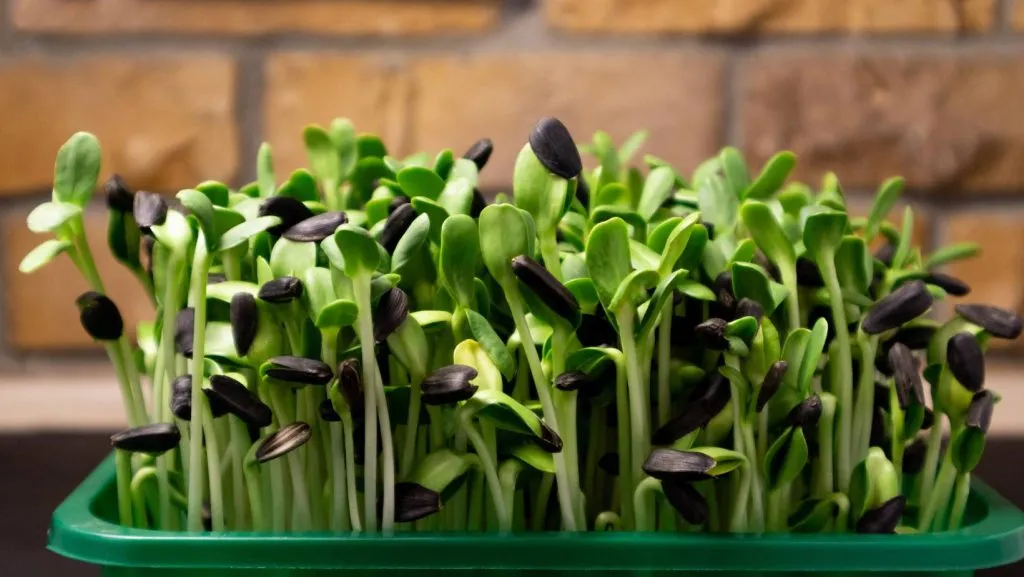
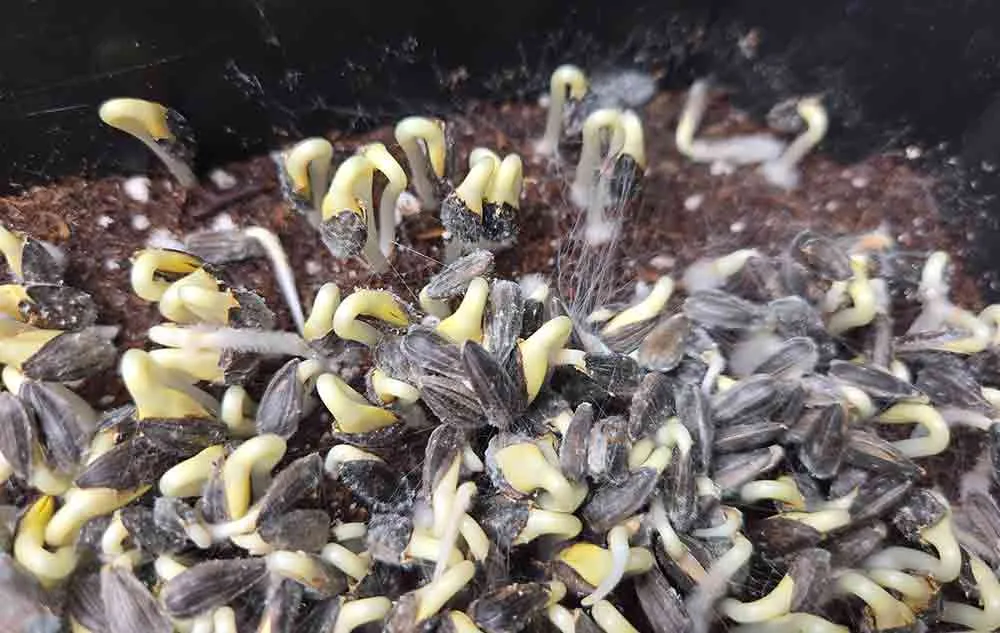
What Does Mold on Sprouts Look Like?
If you’ve ever wondered what mold on sprouts looks like, that fuzzy white stuff might be your first clue—but it’s not always what it seems. It’s normal to see tiny white root hairs during early growth, especially in the first few days after germination. These look like a soft halo around the base of the stem and disappear when misted with water.
Microgreens mold, on the other hand, tends to spread across the tray in patches. It often appears slimy, stringy, or cottony and can grow between seeds, not just on the roots. You might also notice a musty or sour smell if mold is present. Unlike root hairs, mold doesn’t go away when sprayed—it usually worsens.
New growers often confuse the two, so it helps to check during different times of the day. Root hairs come and go with moisture levels, while mold grows steadily. If you’re showing your crop to others, help them learn the difference with close-up photos or short explanations to avoid unnecessary concern.
Moldy Sunflowers Seeds
Not every case of moldy sunflower seeds means you need to toss the entire tray. First, check how much of the tray is affected. If the mold is limited to a small area and hasn’t spread to the roots or stems, you can usually save the rest. Use clean tweezers or a spoon to remove the affected seeds and nearby sprouts. Then, gently mist the area with a diluted hydrogen peroxide solution (about 1 part 3% peroxide to 3 parts water) or a grapefruit seed extract spray.
If your tray is full of moldy sunflower seeds that smell sour or show fuzzy growth across large areas, it’s best to compost the whole batch. Mold can produce toxins that aren’t visible, and it’s not worth risking your health to salvage a few sprouts.
Once you encounter moldy sunflower seeds after soaking or during germination, it’s usually a sign of excess moisture, poor airflow, or contaminated seed.
After mold shows up, adjust your environment before starting a new tray. Increase airflow with fans, reduce humidity, and double-check that your trays are draining well. If you’ve been stacking trays too long or sowing seeds too thick, change your approach on the next run. Microgreens mold often points to a condition that can be corrected going forward.
Helpful Microgreen Facts & Insight
Sunflower Sprouts: What They Really Look Like
What Are Sunflower microgreens?
19 Delicious Ways To Make Your Microgreens Taste Better Than Ever