Imagine digging into your own raised bed garden and unearthing a bounty of fresh, homegrown potatoes! Growing potatoes in raised beds isn’t just about convenience—it’s about maximizing yield, improving soil conditions, and making gardening simpler and more fun. With raised beds, you have complete control over the soil, ensuring it’s loose, nutrient-rich, and perfectly drained to prevent rot.
Plus, harvesting becomes a breeze—no more heavy digging, just easy sifting through loose soil. Whether you dream of buttery Yukon Golds or crispy Russets, this guide covers everything from setting up your bed to harvesting your spuds like a pro. Let’s dig in and explore the easy path to potato gardening success!
Advantages of Raised Bed Potato Growing
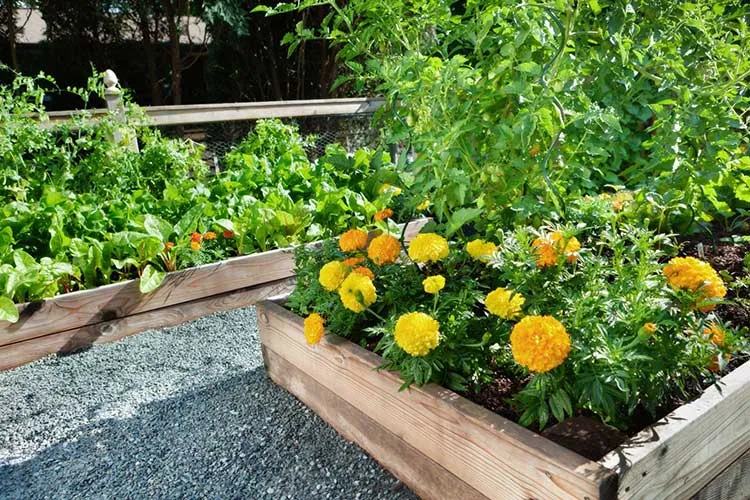
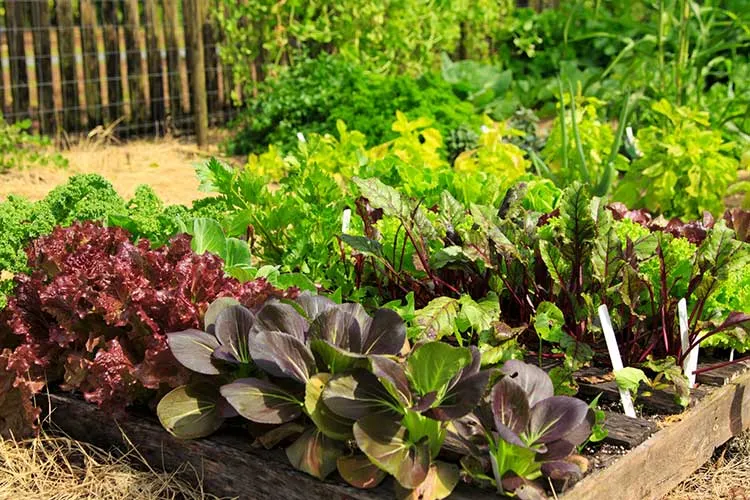
Growing potatoes in raised beds provides several key advantages that make the process easier and more productive. First and foremost, raised beds give you complete control over the soil quality. By filling your beds with a loamy, nutrient-rich mix, you ensure optimal growing conditions for your potatoes, free from compacted or poor-quality soil.
Additionally, raised beds offer better drainage, crucial for preventing the dreaded problem of rotting tubers in waterlogged soil.
Raised beds also make pest and weed management simpler. You can use physical barriers like mesh or row covers to keep pests away and easily pull any weeds that try to sprout. Harvesting becomes a breeze, too. Instead of digging deep into the ground, you can carefully sift through the loose soil in your raised bed to collect your potatoes without damaging them.
Selecting the Best Potatoes for Your Raised Bed
Choosing the right potato varieties for your raised bed can make a big difference in your gardening success. Popular options like Yukon Gold, Russet, and fingerling potatoes are all well-suited for raised bed gardening. Yukon Golds are versatile, great for mashing or roasting, and they mature relatively early. Russets, on the other hand, are known for their fluffy texture, ideal for baking. Fingerlings are prized for their unique shapes and buttery flavor.
When selecting your seed potatoes, consider your climate and how you plan to use the potatoes in the kitchen. Some varieties perform better in cooler climates, while others are more heat-tolerant. Also, consider the differences between early, mid-season, and late-season potatoes. Early varieties, like Red Norland, mature in about 70 to 90 days, offering a quick harvest.
Mid-season potatoes, such as Kennebec, take around 90 to 110 days, and late-season types, like German Butterball, can take up to 120 days to mature. Planting a mix of these can help you enjoy a continuous harvest.
Check out this guide for more information on the best potato varieties for raised beds.
When to Plant Potatoes
What is the best time of year to plant potatoes? Generally, It depends on your local climate and soil temperature. Potatoes prefer cooler weather, so it’s ideal to plant them when the soil has warmed to at least 45°F (7°C) but before the heat of summer arrives. In most regions, this means you can start planting in early spring, around two to four weeks before the last expected frost date. However, if you are in a milder climate you may be able to plant in late winter or early fall for a second crop.
To maximize your harvest, consider staggered planting. Planting in intervals a few weeks apart can provide a steady supply of fresh potatoes throughout the growing season. Just be mindful of the growing season length for your chosen varieties—early, mid-season, and late types can be spaced out for continuous harvesting.
Preparing and Setting Up Your Raised Garden Beds
Properly preparing your raised garden bed is essential for a thriving potato crop. Here’s how to set everything up for optimal growth.
Soil Preparation
Potatoes thrive in loamy, well-drained soil that’s rich in organic matter. The ideal soil pH is between 5.0 and 6.5, discouraging diseases like scab. To achieve this, combine good-quality topsoil, compost, and well-rotted manure or organic matter. A typical blend is 60% topsoil, 30% compost, and 10% sand for drainage. You want the soil to be loose and airy, making it easier for the potato tubers to expand.
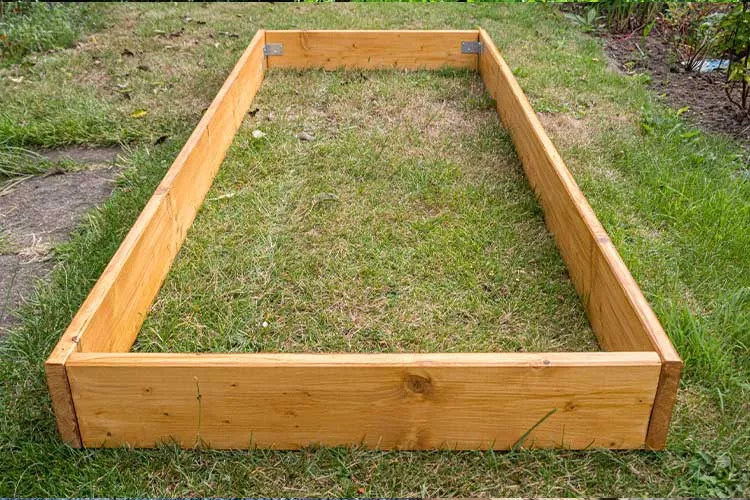
Bed Construction
The size and structure of your raised bed matter. A bed at least 12 inches deep gives your potatoes enough room to grow, though deeper is better if you can manage it. An ideal bed size is 4 feet wide, which allows easy access from both sides and as long as you like. Position your bed in a spot with at least 6 to 8 hours of sunlight daily, as potatoes need full sun to develop properly. Use untreated, rot-resistant wood or other safe materials for constructing the frame to avoid contaminating your soil with chemicals.
Amendments
To supercharge your soil, mix in organic matter before planting. Well-aged compost or an organic fertilizer high in potassium and phosphorus (but lower in nitrogen) will promote healthy tuber growth. Potatoes are heavy feeders, so a little extra effort upfront will pay off with a more productive harvest. Just before planting, consider adding a balanced organic fertilizer to give your potatoes a boost.
Your raised bed is now set up to provide the ideal growing environment for your potatoes, ensuring they have the drainage, nutrients, and space they need to thrive.
How to Plant and Grow Potatoes in Raised Beds
Now that your raised bed is prepped, it’s time to plant your seed potatoes and get them growing. Follow these steps for a successful crop.
Planting Tubers
Start with certified disease-free seed potatoes. Cut larger seed potatoes into chunks, ensuring each piece has at least two “eyes” or sprouts. Allow the cut pieces to dry for a day or two to prevent rotting. When planting, space the seed potatoes about 12 inches apart in rows, with 18 to 24 inches between rows. Plant them 4 to 6 inches deep, with the eyes facing upward. Cover them with loose soil and pat down gently.
Hilling
As your potato plants grow, you’ll need to “hill” the soil around them. When the plants reach about 6 inches in height, mound soil up around the stems, covering the lower leaves. This process helps protect developing tubers from sunlight (which turns them green and inedible) and encourages more tuber formation. Repeat hilling every few weeks until the mounds are about 12 inches high.
Watering
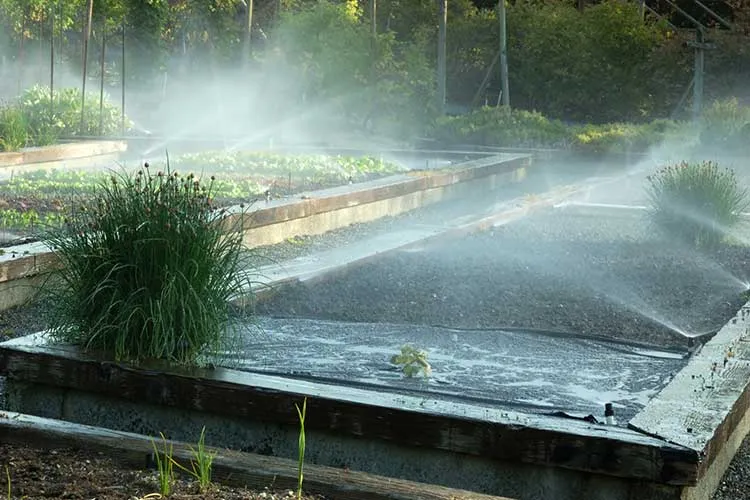
Potatoes need consistent moisture but don’t tolerate soggy soil. Water your raised bed deeply once or twice a week, depending on rainfall, making sure the soil stays moist but not waterlogged. Using a soaker hose or drip irrigation system can help provide even moisture. Avoid overhead watering, as wet leaves can increase the risk of disease.
Mulching and Weed Control
Apply a layer of straw or organic mulch around the plants to help retain moisture and suppress weeds. Mulch also keeps the soil temperature more stable, protecting the potato tubers. Regularly check for and remove any weeds that manage to break through the mulch.
Pest Management
Common pests like the Colorado potato beetle and aphids can damage your plants. Use organic methods such as neem oil, insecticidal soap, or hand-picking to manage infestations. Additionally, row covers can help keep pests at bay. To prevent diseases like blight, practice crop rotation and avoid planting potatoes in the same spot year after year. Keep an eye out for signs of disease, and remove any affected plants immediately.
Frost Protection
Potatoes are sensitive to frost, so if a late freeze is in the forecast, cover your plants with a frost cloth or old bed sheets. Remove the coverings in the morning to let your plants soak up the sun.
How Long Do Potatoes Take to Grow?
The growth timeline for potatoes varies depending on the variety you choose. Generally, potatoes take anywhere from 70 to 120 days to reach full maturity. Understanding this timeline can help you plan your harvest and get the best results.
Here’s a basic breakdown:
- Early varieties: These potatoes, such as Red Norland, are ready to harvest in about 70 to 90 days. They’re perfect for a quick yield and are often harvested young as “new potatoes.”
- Mid-season varieties: Potatoes like Kennebec mature in around 90 to 110 days. These are a great choice if you want a steady harvest that lasts longer into the growing season.
- Late varieties: Types like Russet Burbank mature in 110 to 120 days. They are ideal for long-term storage and are often grown for a large, end-of-season harvest.
Several factors influence the timing, including climate conditions, soil health, and how well the plants are cared for. Potatoes typically start by sprouting, then enter a phase of vigorous leafy growth, followed by flowering. Once the plants flower, you know tuber development is underway.
Keep an eye on your plant’s growth, and remember that maturity times are only guidelines. Your local weather and soil conditions can impact the speed of growth, so be prepared to adapt based on your plants’ performance.
Expert Tips for Healthy Potato Plants
To grow strong and healthy potato plants in your raised beds, keep these expert tips in mind.
Watering Advice
Potatoes do best with deep, consistent watering. Water deeply every 4 to 5 days, depending on rainfall and weather conditions. In hot or dry weather, you may need to water more frequently. The goal is to keep the soil moist, but never waterlogged, as overly wet soil can lead to rot and disease. A soaker hose or drip irrigation system delivers moisture directly to the root zone.
Fertilization
Potatoes are heavy feeders, so a little extra nutrition goes a long way. Use an organic fertilizer high in phosphorus and potassium for healthy tuber development. A good schedule is to apply fertilizer when planting and again when hilling the plants. Be cautious not to over-fertilize, especially with nitrogen, as it can lead to excessive foliage and fewer tubers.
Troubleshooting Common Issues
- Overwatering: If your plants are drooping or the soil feels soggy, reduce watering immediately and let the soil dry out slightly.
- Blight: Watch for signs of this fungal disease, such as dark spots on leaves. Remove and destroy affected plants to prevent spread, and use a copper-based organic fungicide if necessary.
- Pests: Watch for Colorado potato beetles and aphids. Hand-pick beetles when possible, and use insecticidal soap for aphids. Companion planting with marigolds or basil may also help deter pests.
The Right Way to Harvest and Store Potatoes
Knowing when and how to harvest your potatoes is key to enjoying your hard-earned crop and ensuring it lasts.
When to Harvest
Potatoes are ready to harvest when the foliage starts to yellow and die back. For early or “new” potatoes, you can carefully dig around the plant base about two to three weeks after the plants have finished flowering. These immature potatoes are tender and great for immediate use. Wait until the plant tops have completely died off for fully mature potatoes. This usually happens about two weeks after the foliage has withered, which allows the potato skins to thicken for better storage.
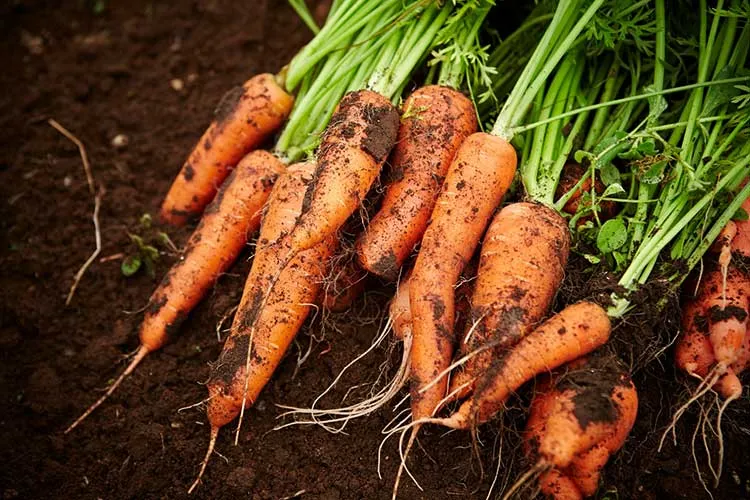
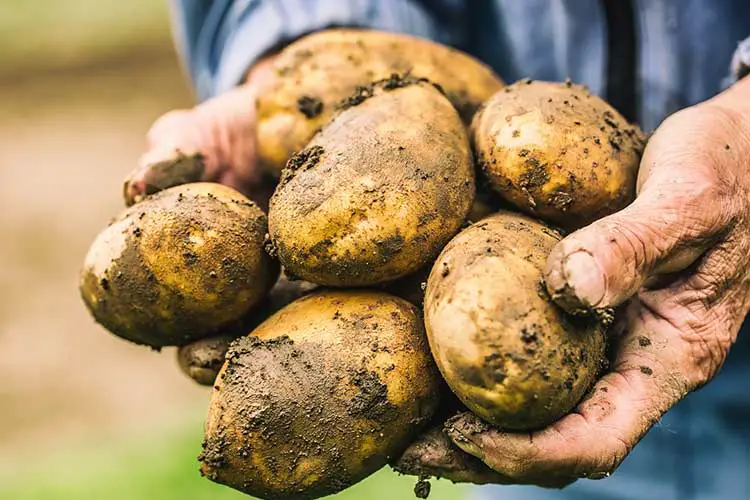
How to Harvest
Use a garden fork or your hands to lift the soil and gently find the potatoes. Be careful not to stab or bruise the tubers. Brush off excess dirt, but don’t wash the potatoes if you plan to store them, as moisture can encourage rot.
Curing for Storage
To prepare your potatoes for long-term storage, cure them in a cool, dark, and well-ventilated area for about one to two weeks. This helps the skin toughen and extends its shelf life. Ideal curing conditions are around 45°F to 60°F with high humidity. Once cured, store the potatoes in a dark place, such as a cellar or a cool pantry, at a consistent temperature of 40°F to 50°F. Avoid refrigeration, as it can make the potatoes overly sweet.
Storage Tips
Check your stored potatoes regularly for signs of rot or sprouting. Remove any damaged or spoiled potatoes to prevent them from affecting the rest. Properly stored potatoes can last several months, giving you plenty of time to savor your homegrown harvest.
Can You Eat Sprouted Potatoes?
If you’ve ever found sprouted potatoes in storage, you may wonder if they’re still safe to eat. Learn more about it in this guide.
Conclusion
Growing potatoes in raised beds is a rewarding experience that’s easier than you might think. With well-prepared, nutrient-rich soil, careful planting, and consistent care, you can look forward to a plentiful harvest of delicious homegrown potatoes. Every step contributes to a successful gardening journey, from understanding the benefits of raised beds and choosing the right varieties to mastering planting times and efficient pest management.
Experimenting with different potato varieties, like Yukon Gold or fingerlings, can add excitement to your gardening and culinary adventures. Remember, there’s immense satisfaction in digging up your first batch of homegrown potatoes and knowing that your hard work paid off.