Grow your own spring mix and enjoy a fresh, flavorful, and eco-friendly addition to your meals. There’s nothing quite like harvesting vibrant greens right from your garden—crisp, sweet, and free of plastic packaging. It’s a wallet-friendly way to eat healthy while connecting with nature, whether you’re nurturing a backyard bed, patio pot, or windowsill container. With minimal effort, you can grow nutrient-rich greens that are better for you and the planet.
Why Grow Your Own Spring Mix?
Growing your own spring mix is a rewarding choice for your plate, your wallet, and the planet. Freshly harvested greens offer unbeatable flavor—crisp, sweet, and vibrant in a way store-bought produce just can’t match. You’ll also save money, as a few packets of seeds cost far less than a steady supply of prepackaged salads.
Gardening offers personal joys too. Planting and nurturing your greens is deeply satisfying, a calming way to connect with nature. It’s also incredibly rewarding to snip your own vibrant mix of lettuces and greens, knowing you grew them yourself. Environmentally, your garden greens are a small but meaningful step toward sustainable living. Homegrown produce eliminates the need for plastic packaging and the carbon footprint of transportation. Plus, you can avoid waste by harvesting just what you need, keeping the rest thriving in your garden.
Healthy eating gets a big boost from growing your own. A typical spring mix is rich in vitamins, fiber, and antioxidants. Growing your greens ensures they’re as fresh and nutrient-packed as possible. Whether in a backyard garden, a patio pot, or a sunny windowsill, cultivating a spring mix offers delicious, sustainable, and joyful rewards.
What You’ll Need to Get Started
To grow your own spring mix is simple when you gather the right essentials. First, choose a sunny spot. Spring mix greens thrive with at least 4-6 hours of sunlight daily, whether in a garden bed, a container, or a sunny windowsill. Good soil is key—rich, loose, and well-draining soil provides the perfect base for strong, healthy growth. You can improve your soil with compost to boost nutrients and texture.
Water is, of course, essential. A watering can or a gentle garden hose ensures consistent moisture without disturbing delicate seedlings. Seeds are your next must-have, so look for packets labeled “spring mix” or a mix of lettuce and baby greens. They’re easy to find and offer a variety of textures and flavors.
Optional tools can make planting and care easier. A small trowel helps prepare soil, and a spray bottle is great for misting seeds during germination. Garden markers or labels help keep track of what’s planted where, and a protective cover like mesh or netting can shield seeds and seedlings from birds or heavy rain.
By assembling these basics, you’ll set yourself up for success. The combination of sunlight, water, and nutrient-rich soil creates an ideal environment for your greens to flourish. With these essentials ready, you’re prepared to enjoy a garden that grows with ease.
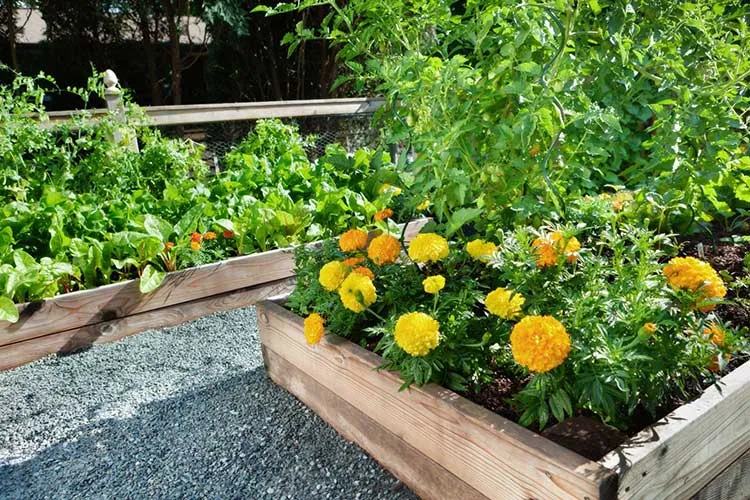
Choosing the Right Growing Method
When growing your spring mix, you can either start seeds in trays or sow them directly in your garden. Each method has its perks, depending on your setup and preferences.
Starting seeds in trays is a great option for beginners or gardeners with limited outdoor space. Trays allow you to control the growing environment, making it easier to monitor soil moisture, warmth, and germination. This method works well indoors, especially if you have unpredictable weather. Once your seedlings are sturdy, they can be transplanted into a larger pot or garden bed. To ensure a smooth transition, harden them off by gradually exposing them to outdoor conditions over several days.
Direct sowing, on the other hand, is simpler and less time-intensive. If you have a prepared garden bed or a roomy container, sowing seeds directly into the soil saves the step of transplanting. This method is best for outdoor growing in mild conditions, as spring mix seeds prefer cooler temperatures. Keep the soil consistently moist until the seeds germinate, and thin out the seedlings to give each plant enough space to thrive.
Trays offer a tidy and flexible solution if you’re growing indoors or in a small space. For those with an outdoor garden, direct sowing captures the simplicity of nature. Either way, your spring mix will flourish with a bit of care and attention.
How to Plant Your Spring Mix Salad
Planting a spring mix is straightforward and satisfying, especially following simple steps. Start by preparing your soil. If you’re working in a garden bed, loosen the soil with a garden fork or trowel to improve drainage. Mix in compost or an organic fertilizer to enrich the soil with nutrients. Choose a pot with good drainage for container gardening and fill it with a high-quality potting mix.
Next, scatter your seeds. Spring mix greens are typically small and don’t require deep planting. Gently broadcast the seeds across the soil surface, aiming for even spacing. If you prefer precise rows, plant the seeds about 1 inch apart. Cover them lightly with a thin layer of soil—just enough to protect them without burying them too deeply.
Water the area gently but thoroughly. A watering can with a fine rose or a spray bottle works well to keep the seeds moist without washing them away. Check the soil daily and water as needed to maintain consistent moisture, especially during germination.
If you’re planting outdoors, consider adding a layer of mulch or lightweight netting to protect the seeds from birds and heavy rain. Indoors, ensure your container is placed in a sunny spot or under a grow light.
Once your seeds sprout, thin the seedlings by gently removing the weaker ones, leaving about 2-3 inches of space between plants. This encourages healthy growth and ensures each plant has room to thrive.
Continue watering consistently, and your spring mix will flourish in just a few weeks. Whether in a garden or a pot, these easy steps will lead to vibrant greens ready for your table.
Caring for Your Spring Mix
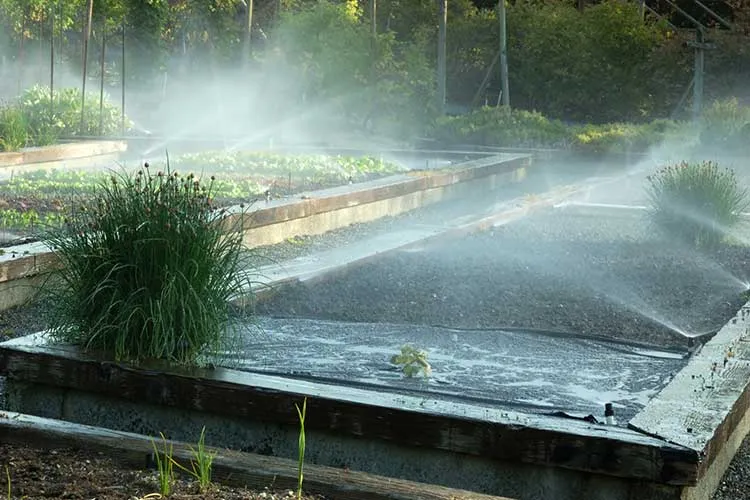
Once your spring mix is planted, ongoing care ensures a bountiful harvest. Start with consistent watering. These greens love moist but not waterlogged soil. Check the soil daily, especially during hot or dry spells, and water when the top inch feels dry. Aim for even moisture to prevent the greens from wilting or bolting too early.
Regular weeding is essential if you’re growing outdoors. Weeds compete for water and nutrients, so pull them out carefully to avoid disturbing your young plants. For container gardens, weeds are less of a concern, but keep an eye out for any unwanted intruders.
Pests can occasionally become an issue. Aphids and slugs are common culprits when growing leafy greens—combat aphids by spraying the leaves with a gentle solution of water and a bit of dish soap. Slugs can be deterred with crushed eggshells or diatomaceous earth sprinkled around the plants. Avoid harsh pesticides, as they’re unnecessary and can harm beneficial insects.
After harvesting, you can encourage regrowth by carefully snipping leaves instead of uprooting the entire plant. Cut the outer leaves and leave the center intact to allow the plant to continue producing fresh greens. To keep the plants thriving, fertilize lightly with a liquid organic feed after each harvest.
Your spring mix will remain lush and productive with just a bit of attention. Proper care ensures you’ll enjoy fresh, homegrown greens week after week.
Harvesting Your Spring Mix
Knowing when and how to harvest your spring mix ensures you enjoy the freshest, most flavorful greens. These tender leaves are ready to pick about 3-4 weeks after planting once they reach 3-6 inches in height. Regular harvesting encourages continued growth, so don’t hesitate to start snipping when the greens look vibrant and healthy.
To harvest, use clean scissors or garden shears. Snip the outer leaves about an inch above the soil, leaving the inner leaves and the crown intact. This method, known as “cut-and-come-again,” allows the plant to regrow for multiple harvests. Avoid cutting too close to the base, as this can damage the plant and slow regrowth.
If you’re growing a mix of greens with varying maturity rates, pick leaves as they reach your desired size. This prevents overcrowding and gives slower-growing varieties room to flourish. Harvest early in the morning for the crispest leaves; they’ll retain more moisture before the day’s heat sets in.
Once harvested, rinse the greens gently under cool water to remove dirt or debris. Pat them dry with a clean towel or spin them in a salad spinner. For the best flavor, immediately use your freshly picked greens, or store them in the refrigerator in an airtight container with a paper towel to absorb excess moisture.
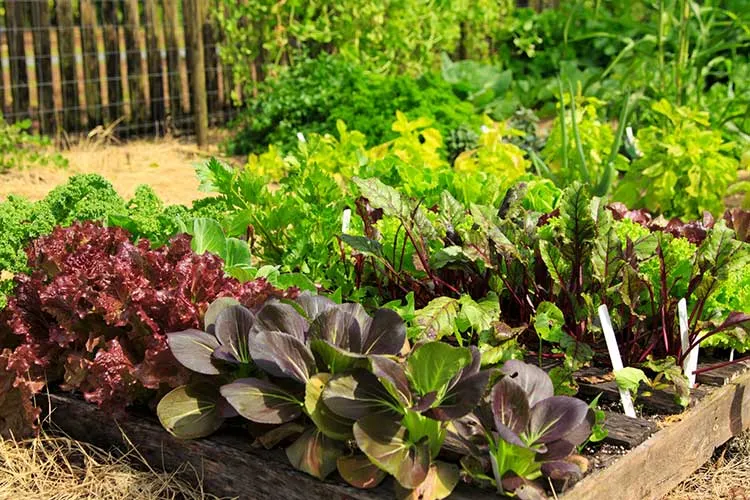
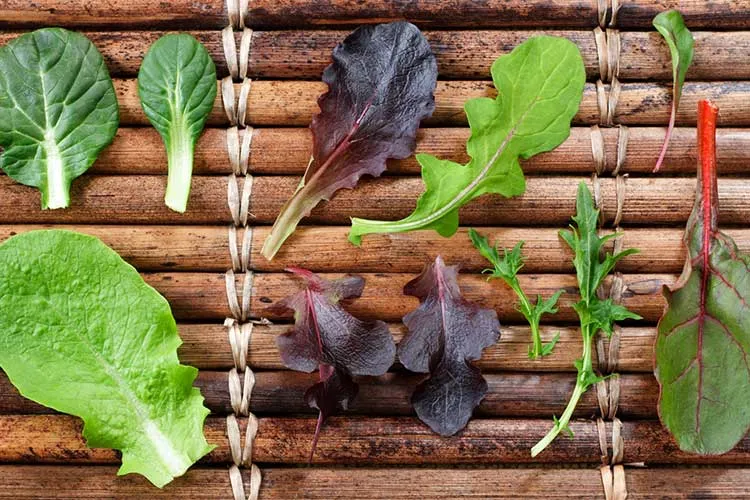
What’s in a Spring Mix? Types of Lettuce and Other Plants
Spring mix, or mesclun, is a delightful medley of baby greens that offers a variety of flavors, textures, and nutritional benefits. At its core, a spring mix typically includes tender lettuce varieties like butterhead, romaine, and oak leaf, known for their mild flavors and soft, crisp textures.
Adding a peppery kick, arugula and mustard greens are common in these blends. Their bold, slightly spicy notes balance the sweetness of the lettuces. You’ll often find spinach or chard for an earthy touch, which also contribute vibrant color and heartier leaves. Mizuna and frisée, with their feathery or jagged edges, lend visual interest and a unique bite to the mix.
These greens aren’t just about flavor—they’re also packed with nutrients. Spring mixes are rich in vitamins A, C, and K, as well as fiber and antioxidants, making them a healthy choice for any meal.
If you’re feeling adventurous, you can customize your spring mix by adding herbs like cilantro or dill for extra flavor or edible flowers like nasturtiums for a colorful twist. With so many options, your spring mix can reflect your personal taste while bringing variety and vibrancy to your plate.
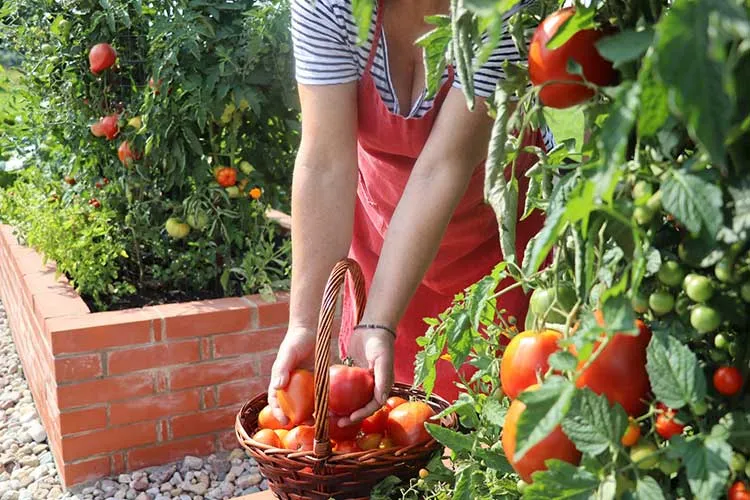
Your First Harvest: Time to Enjoy!
Congratulations—you’ve nurtured your spring mix from seed to harvest! Now, it’s time to savor the fruits (or greens) of your labor. Freshly harvested greens are perfect for simple salads tossed with a light vinaigrette to let their natural flavors shine. For a burst of freshness, layer them in sandwiches and wraps or add them as a topping for pizza or pasta dishes.
The joy of growing your spring mix isn’t just about the taste—it’s about the pride and satisfaction of enjoying something you cultivated yourself. Each bite reminds you of the care and effort you put into creating a sustainable, delicious garden-to-table experience.