Sprouting at home seems simple—until you realize that one contaminated jar can make you seriously sick. If you’ve heard warnings about E. coli or Salmonella in sprouts, you’re not overreacting. Bacteria love the same warm, moist conditions your seeds do. And if your jar isn’t fully sanitized? That’s the perfect breeding ground.
Whether you’re new to sprouting or have already had a batch go bad, this guide will show you how to sterilize your sprouting jar the right way—step by step.
No confusion, no guessing. Just clear instructions to help you avoid dangerous mistakes and confidently grow safe, healthy sprouts. Don’t let bacteria ruin your effort—or your health. Start clean and stay safe.
How to Sanitize a Sprouting Jar
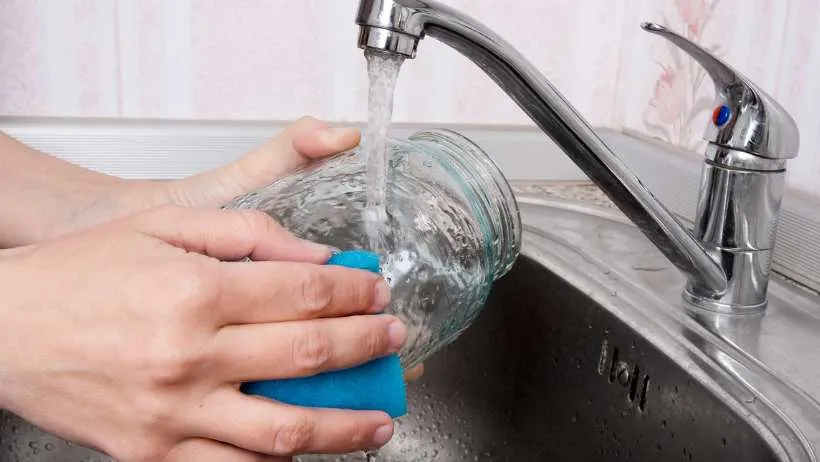
Before you even think about adding seeds, cleaning your sprouting jar is the most important step. Bacteria can cling to the tiniest bits of residue, and with the warm, moist conditions inside a sprouting jar, those bacteria can multiply fast. A properly sanitized jar gives your sprouts a clean start and helps prevent mold or foodborne illness.
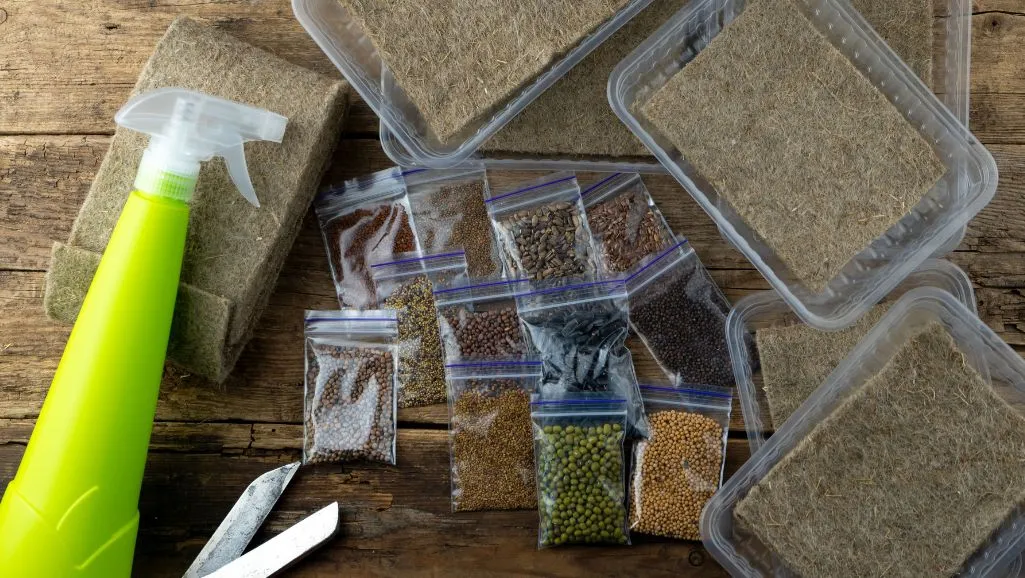
Start by gathering your materials. You’ll need a sprouting jar (or a wide-mouth mason jar), a metal lid or mesh top, a large pot, clean tongs, or a jar lifter. If your jar has a plastic lid, check it’s heat-safe before using this method.
Fill a large pot with enough water to submerge the jar and its parts fully. Place the jar and lid into the pot and bring the water to a rolling boil. Once it’s boiling, start a timer for 10 minutes. Keep the jar fully submerged during this time—if it floats, use a clean utensil to weigh it down.
After 10 minutes, turn off the heat and carefully remove the jar using sanitized tongs. Turn it upside down on a clean towel or drying rack and let it air-dry completely. Avoid touching the inside of the jar or lid once they’ve been sterilized.
Boiling is one of the most reliable and natural ways to kill bacteria, especially if you want to avoid chemical cleaners. It’s a simple routine to follow each time before you begin a new sprout batch.
Alternative Methods to Sterilize Without Boiling
If boiling isn’t an option, there are a few other ways to sanitize your sprouting jar effectively. One easy method is running it through a dishwasher with a sanitized setting. The high-temperature cycle can kill most bacteria, but make sure your jar is dishwasher-safe and no food residue is left behind.
Another option is using a diluted bleach solution. Mix one tablespoon of unscented bleach with 1 quart of water, then soak the jar and lid for at least 5 minutes. Rinse thoroughly with clean water to remove any bleach residue. This method works well if you need to sanitize multiple jars quickly.
Food-grade hydrogen peroxide (3%) can be used for a more natural route. Fill the jar with peroxide, let it sit for 10 minutes, and then rinse it out. This is a good choice for people who are avoiding chlorine but still want strong germ-killing power.
Each method has its place—choose based on your tools, time, and comfort level.
Do You Need to Sanitize Sprouting Seeds?
Yes—sprouting seeds should be sanitized, even if they’re organic or labeled “for sprouting.” Seeds can carry harmful bacteria like Salmonella or E. coli from the farm, handling, or packaging process. Because sprouts are grown in warm, moist conditions, bacteria can multiply rapidly and contaminate your food.
Many people assume organic seeds are automatically clean, but that’s false. Organic means the seeds were grown without synthetic chemicals—it doesn’t guarantee they’re free from microbes. Even seeds sold specifically for sprouting aren’t always pre-sanitized unless the package says so.
For sprouting to be safe, your jar and your seeds must be clean. Cleaning only one still leaves room for contamination. Think of it like washing produce—just because you bought lettuce from a trusted farm doesn’t mean you’d eat it without rinsing.
Taking the time to sanitize your seeds helps prevent illness and supports healthy sprout growth. It’s especially important if you’re feeding sprouts to kids, older adults, or anyone with a weakened immune system. A quick soak before sprouting can make a big difference in food safety.
How to Sanitize Sprouting Seeds with Vinegar
Vinegar offers a natural and accessible way to sanitize sprouting seeds without harsh chemicals. To get started, mix one part distilled white vinegar with three parts water. For example, use one cup of vinegar with three cups of water in a clean bowl or jar.
Add your seeds to the mixture and let them soak for about 15 to 20 minutes. During this time, gently stir the seeds once or twice to ensure all surfaces come in contact with the vinegar solution. After soaking, rinse the seeds thoroughly under cool, running water to remove any remaining vinegar before transferring them to your sanitized sprouting jar.
This method is ideal for people who prefer natural ingredients or avoid bleach-based products. While vinegar isn’t as powerful as commercial disinfectants, it can still help reduce surface bacteria and mold spores on the seed coat. It’s a gentle option that supports cleaner sprouting, especially for home growers focused on natural living.
How to Disinfect Broccoli Seeds for Sprouting
Broccoli seeds are more prone to carrying bacteria than other sprouting seeds, so extra care pays off. Start by soaking the seeds in 1 tablespoon of food-grade hydrogen peroxide (3%) per cup of warm water. Let them sit for about 5 minutes, stirring once or twice.
After soaking, rinse the seeds thoroughly with cool, clean water. This quick disinfecting step helps reduce bacterial risk while preserving the seed’s germination ability. If you’re sprouting broccoli often, making this part of your routine can lower the chances of contamination from batch to batch.
Sterilizing Seeds for Raw Sprout Consumption
Sterilizing the seeds becomes even more important if you plan to eat your sprouts raw. Without cooking to kill bacteria, the risk of foodborne illness is higher. Start by rinse the seeds under cool running water to remove surface debris. Then soak them in a diluted bleach solution—1 teaspoon of unscented bleach per 1 cup of water—and let them sit for 15 minutes.
After soaking, rinse the seeds thoroughly at least three times to remove all bleach traces. Let them drain fully before placing them into your sanitized sprouting jar. This extra step helps protect you when sprouts are eaten uncooked.
How to Keep Sprouts Bacteria-Free During Growth
Once your seeds are sprouting, keeping them clean is all about daily care. Start by rinsing your sprouts with cool, filtered water at least twice daily. This helps remove any buildup and keeps the environment fresh. Always use clean hands and utensils when handling the jar to avoid introducing bacteria.
Airflow is just as important as water. Sprouts need good ventilation to prevent moisture from collecting, which can lead to mold. Avoid sealing your jar tightly—instead, use a breathable lid like mesh or cheesecloth that allows air to circulate while keeping contaminants out. After each rinse, tilt the jar at an angle to drain any excess water fully. Letting the jar sit with poor drainage is a recipe for bacterial growth.
Ensure the jar is kept clean, dry, and away from direct sunlight. Room temperature is best—too much warmth encourages bacteria, while cold slows sprouting. Check your sprouts daily for any odd smells, slime, or discoloration. It’s safer to compost that batch and start fresh if anything looks off.
Clean habits during the growth phase make a big difference. You’re creating the perfect growing environment—make sure it’s perfect for sprouts, not for germs.
How to Prevent E. coli from Growing in Sprouts
E. coli can thrive in warm, moist conditions, and sprouts need to grow in them, but a few careful steps can lower the risk. Start with sanitized equipment and seeds every time. Even one contaminated batch can introduce harmful bacteria that multiply fast.
Keep the water clean by using filtered or boiled-and-cooled water for rinsing. Tap water may contain microbes, especially in older plumbing systems. Pay attention to temperature, too. Sprouts should grow between 65°F and 75°F. Warmer conditions may speed growth but also raise the chance of bacterial spread.
Acidic environments slow harmful bacteria, so add a mild citric acid or vinegar rinse for some sprouts every few days. It’s optional, but it can tip the balance in your favor. According to FDA and food safety research, most sprout-related E. coli outbreaks trace back to unsanitized seeds or poor handling—not the sprouting method itself.
Being cautious with each batch helps you grow fresh, crunchy, and safe sprouts.
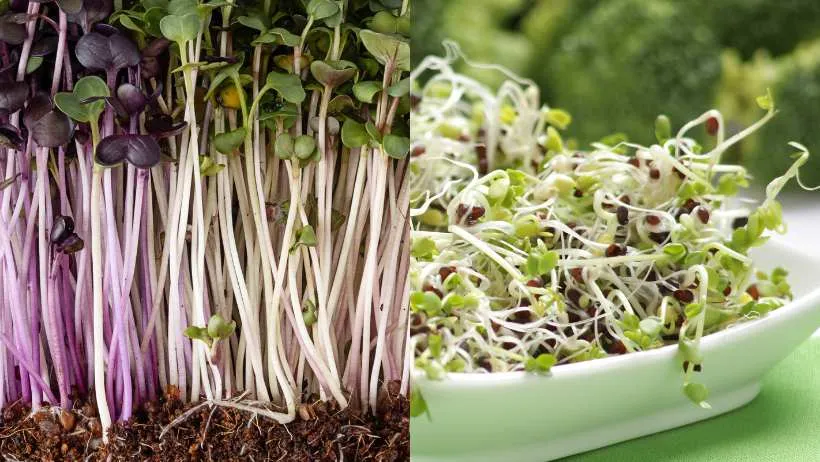
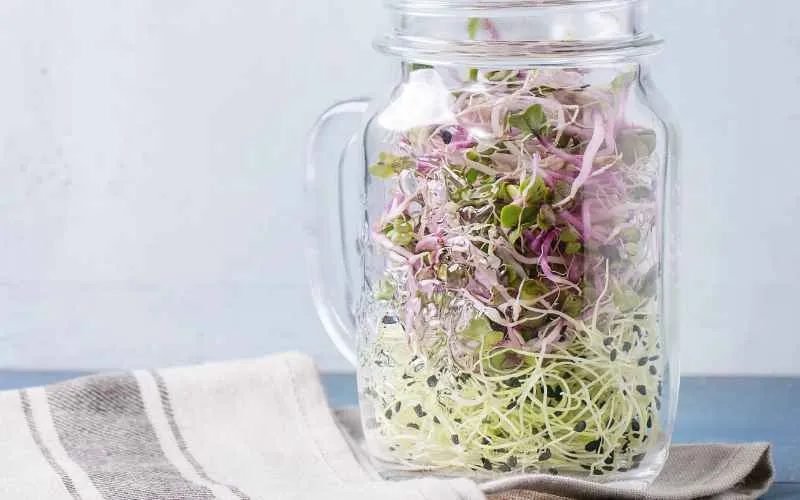
Are Homegrown Sprouts Safe to Eat?
Yes—homegrown sprouts can be safe to eat when handled with care. The key is to start clean and stay clean at every step. If you’ve sanitized your jar, treated your seeds, used clean water, and maintained proper airflow, your sprouts have a much lower risk of contamination.
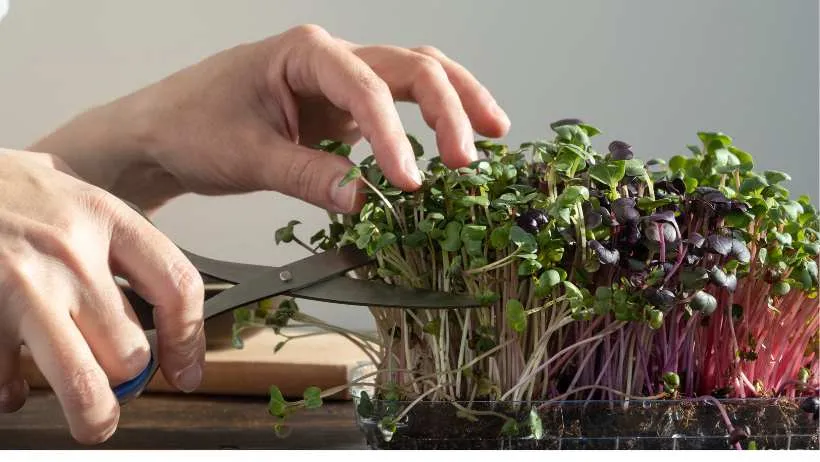
Before eating, give your sprouts one final rinse and check for any off smells, sliminess, or unusual colors. If everything looks and smells fresh, they’re ready to enjoy. You can also chill them in the fridge for a few hours before eating to keep them crisp.
Stick to a few simple do’s and don’ts:
Do rinse daily, keep tools clean, and store sprouts in the fridge once ready.
Don’t reuse unwashed jars, skip seed sanitizing, or eat sprouts that seem questionable.
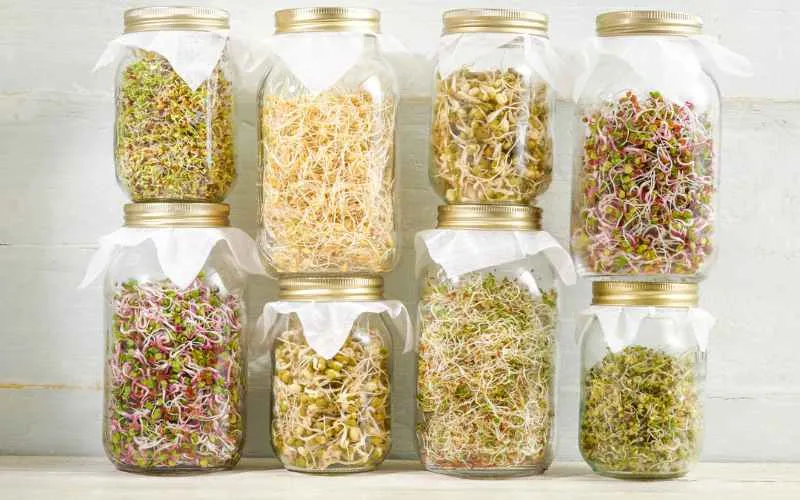
Home sprouting can be delicious and safe with a little routine and awareness.
Smart Growing Tips & Insight
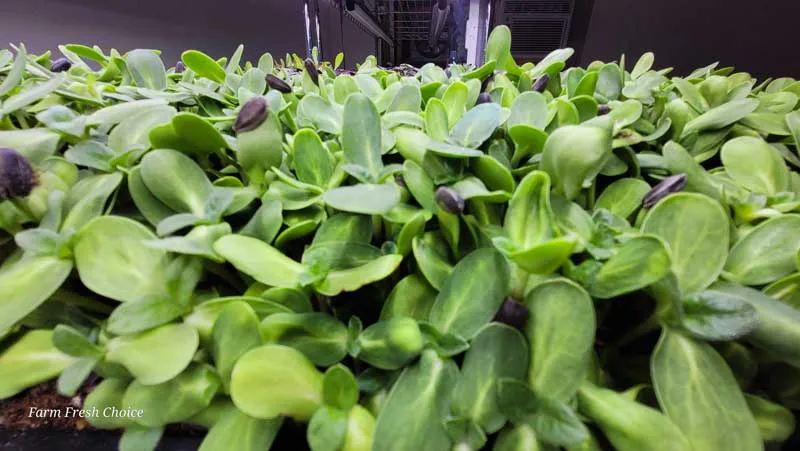
How to Grow Sunflower Sprouts Microgreens
How to Avoid Gas After Eating Sprouts
Which Sprouts Are Best for Gut Health?
How Much Microgreens Should You Eat Daily? A Complete Guide