You’ve spotted holes in your kale, sticky leaves on your tomatoes, or maybe white fuzz creeping across your zucchini—but you’re uncomfortable spraying chemicals around your food, kids, or dog. Store-bought options either come with warning labels or a price tag that adds up fast.
That’s where Homemade Organic Gardening Sprays come in. They’re safe, affordable, and made with ingredients you likely already have. But if you’re new to this, you might be asking: What actually works? How do I use it without killing my plants?
This guide is for beginners who want clear answers and recipes that solve real garden problems without the confusion, guesswork, or risk that comes with harsh pesticides.
1. Why Go Homemade and Organic?
You’re not alone if you’ve ever worried about your kids playing near sprayed plants or spotted your dog sniffing around your vegetable patch. Making your garden sprays at home gives you full control over what’s being used, which is a huge win for safety, especially if you have curious pets or little ones. Unlike many commercial sprays, homemade options avoid synthetic chemicals that can linger in the soil, drift into waterways, or harm bees and butterflies.
There’s also the money-saving bonus. Most DIY recipes use items you already have in your kitchen or can grab during a regular grocery run. Things like garlic, baking soda, and soap cost less than a single bottle of store-bought spray, and they often stretch across multiple uses. You’ll save a decent chunk over time, especially during the busier growing months.
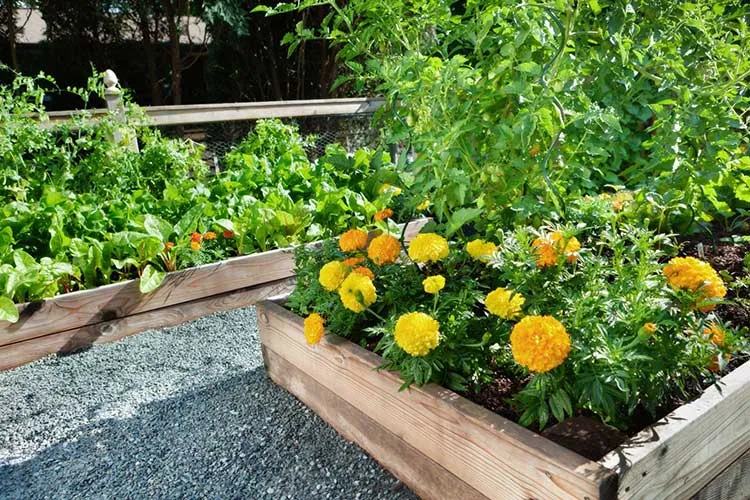
Another big plus is how these sprays support a more balanced garden. Instead of wiping out everything—including the good bugs—homemade solutions tend to be gentler, giving your garden a better shot at building natural resilience. Over time, you’ll notice fewer outbreaks and a steadier, healthier growth cycle.
2. Key Ingredients That Actually Work
You don’t need specialty products or obscure ingredients to keep pests and diseases in check. Many items in your pantry or bathroom cabinet already have properties that repel insects, fight fungus, or help your spray stick to leaves better. Knowing what each ingredient does helps you pick the right mix for your garden’s needs.
Neem oil is one of the most effective natural ingredients. It disrupts insect hormones, making it harder for pests to feed or reproduce. It’s great for aphids, spider mites, and scale. Due to its sulfur compounds, garlic is a strong repellent—bugs don’t like the smell. You can crush or blend garlic into a spray to keep whiteflies and beetles away.
Chili peppers work similarly, bringing heat and capsaicin to the mix. This irritates soft-bodied insects and helps keep them from settling on your plants. Baking soda is your go-to for fungal problems like powdery mildew. It alters the surface pH of leaves, making it harder for fungi to spread.
Castile soap is a natural surfactant, helping your sprays stick to leaves and suffocate soft-bodied insects. Just a small amount boosts the effectiveness of almost any recipe. Essential oils like peppermint, rosemary, or citrus add extra strength—many pests avoid strong-smelling plants, so these oils can help mask your crops and deter intruders. A few drops go a long way.
Each ingredient works best when fresh and correctly diluted, so make small batches and use them within a few days. Matching the right ingredient to the problem significantly affects the performance of your sprays.
3. DIY Recipes for Common Garden Problems
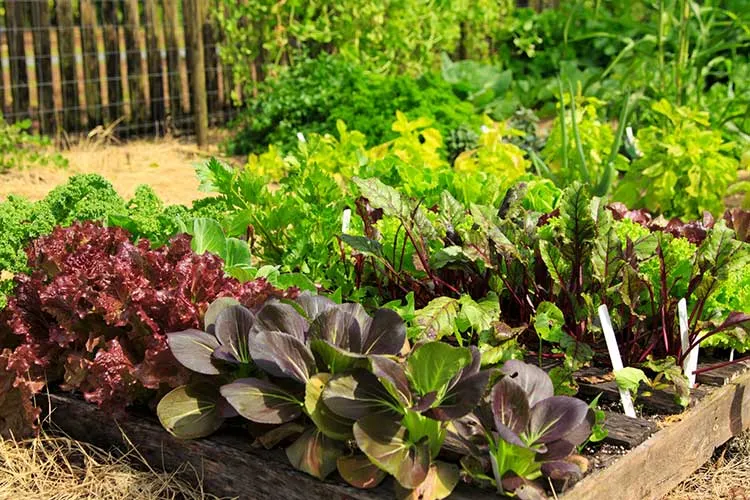
You don’t need to be a chemist to whip up effective garden sprays. You can treat the most common garden issues with just a few ingredients and a spray bottle without turning to store-bought solutions. These mixes take minutes to make and can be used throughout the season.
A. All-Purpose Pest Spray
For a general bug-repelling spray that works on aphids, whiteflies, and beetles, combine 2 cloves of garlic and 1 small chili pepper with 2 cups of water. Blend the mixture until smooth, then strain it to remove solids. Add a few drops of Castile soap, mix well, and pour into a spray bottle. Apply it to affected plants, focusing on leaf undersides and new growth. Reapply every few days or after rain. The strong smell keeps bugs away, while the soap helps the spray stick and break down insect membranes.
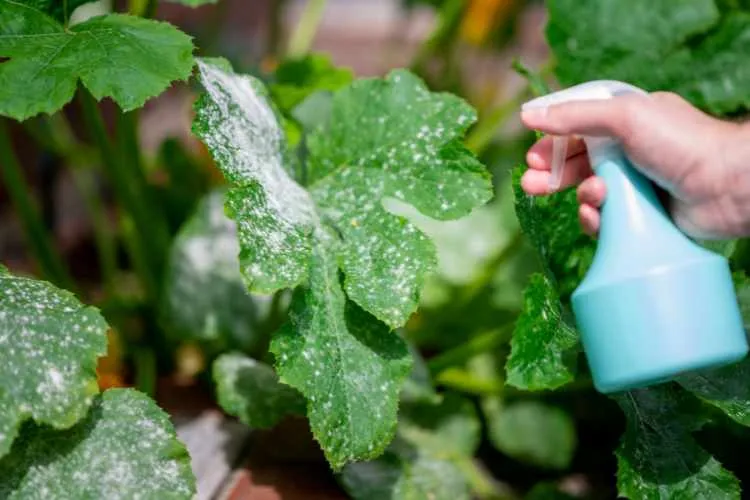
B. Powdery Mildew and Fungal Control
To prevent or treat powdery mildew, especially on cucurbits, tomatoes, and peas, mix 1 tablespoon of baking soda with 1 teaspoon of Castile soap in 1 quart of water. Stir until fully dissolved. Add a tablespoon of milk or a few drops of neem oil for extra protection. Spray thoroughly on both sides of leaves every 5 to 7 days. This mix helps change the leaf surface’s pH, which makes it harder for mildew spores to grow.
C. Spider Mite and Aphid Spray
For smaller pests like spider mites and aphids, combine 1 teaspoon of neem oil, 1/2 teaspoon of Castile soap, and 1 quart of warm water. Shake well before pouring into a spray bottle. Neem works slowly by interfering with pests’ life cycles, so apply every 4 to 7 days until infestations are under control. This spray is also safe for use indoors on houseplants—test a small area first to avoid leaf spotting.
4. Application Tips: Getting the Best Results
Spraying at the right time and in the right way can make all the difference. Always aim to spray in the early morning or late evening. Midday sun combined with moisture on leaves can cause burning or stress, especially for tender plants. Cooler times also give the spray more time to work before evaporating.
Stick to a spraying schedule every 5 to 7 days, or right after heavy rain washes it away. Some pests bounce back quickly, so consistency is key. Don’t just spray the tops of leaves—focus on the undersides, where insects like aphids and mites often hide. Pay extra attention to new growth, which is more vulnerable to damage and attractive to pests.
Before spraying your whole plant, test a small patch first and wait 24 hours. This helps avoid accidental leaf burn or spotting, especially when using essential oils. Give your spray bottle a good shake before each use to keep the mixture evenly blended—many ingredients separate quickly. Keep your spray bottle clean and rinse it between batches so residue doesn’t build up and clog the nozzle.
5. Safety Considerations and What to Avoid
While homemade sprays are safer than many chemical options, a few precautions go a long way. Never spray during the hottest part of the day or in direct sunlight. Even natural ingredients can cause leaf scorch when combined with heat. Early morning or evening is always the better choice.
Be careful not to mix ingredients that cancel each other out. For example, combining vinegar and baking soda will neutralize their effects, leaving you with a less effective spray. Stick to tested recipes and avoid improvising with strong acids or alcohol unless you’re sure it’s safe for plants.
Always label your spray bottles with the recipe and date. This keeps things organized and helps avoid mistakes, especially if kids or pets are nearby. Store your mixtures in the fridge when possible—many DIY sprays lose their punch after a few days. If something smells off or looks cloudy, it’s time to toss it and make a fresh batch. Keeping small, fresh batches on hand helps avoid waste and improves results.
6. Real-World Results: What to Expect and Be Patient With
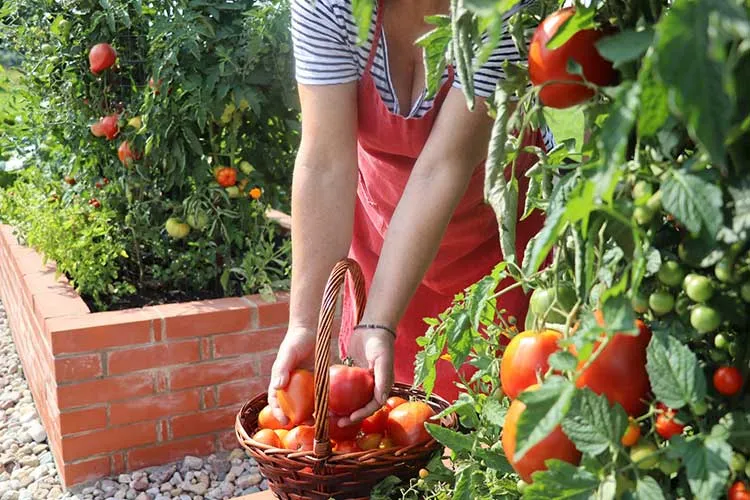
Homemade sprays work, but they don’t give overnight results. Unlike chemical treatments that knock pests out quickly, organic mixtures rely on repeated applications and plant-safe ingredients that act over time. You might still see some bugs after spraying, especially in the first few days, but you’ll notice fewer with regular use.
The goal isn’t to wipe out every insect. Some level of insect activity is normal and even helpful. These sprays help reduce pest pressure enough to keep your plants healthy without wiping out beneficial insects or stressing your soil. Combined with smart gardening habits like hand-picking pests, rotating crops, and using row covers, they become part of a well-rounded approach.
Keep checking your plants regularly so you can catch problems early and reapply sprays as needed. Building up a long-term routine that supports your garden is more important than chasing instant fixes.
7. FAQs: Homemade Organic Gardening Sprays
Q1: Can I use dish soap instead of Castile soap?
You can, but with caution. Regular dish soap might seem like a quick substitute, but many commercial brands contain additives, fragrances, and degreasers that can harm your plants. These extras may cause leaf burn, especially on delicate plants. If you use dish soap, choose one labeled as mild or biodegradable and test a small area first. Castile soap is plant-safe and fragrance-free, which makes it a better choice for consistent results without the risk of damaging your garden.
Q2: How long do homemade sprays last?
Most sprays only stay effective for three to five days. After that, natural ingredients like garlic, neem oil, or essential oils break down and lose strength. Make small batches and store them in the fridge if you’re not using them immediately for best results. If your spray smells sour or changes texture, toss it and mix a fresh one.
Q3: Will these sprays harm pollinators like bees?
Used carefully, no. The best way to protect pollinators is to avoid spraying open flowers, and only apply sprays in the early morning or evening when bees are less active. Many homemade sprays are less toxic than chemical alternatives, but direct contact can still irritate or deter helpful insects. Target only the parts of the plant that need treatment, and avoid spraying blooming areas whenever possible.