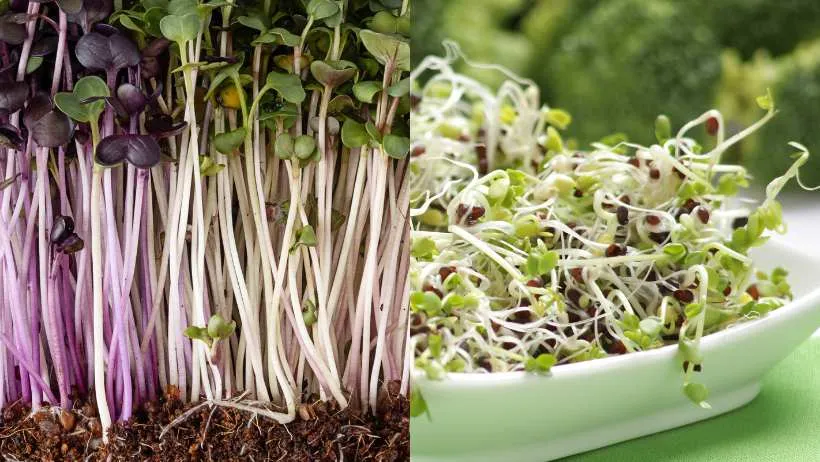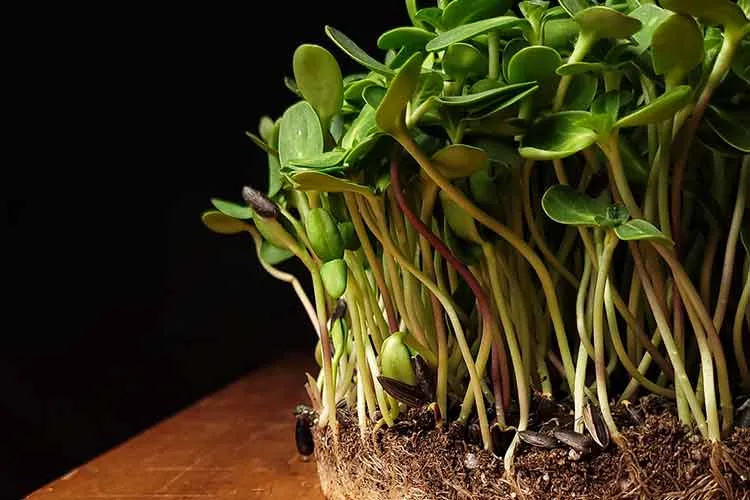
Sunflower microgreens are one of the most nutritious and flavorful sprouts you can grow at home. They contain 25–30% protein, vitamins A, B, D, and E, and minerals like calcium, iron, and magnesium. Their crunchy texture and nutty flavor make them perfect for salads, sandwiches, and smoothies.
These microgreens grow in 7–10 days, require minimal space, and thrive indoors or outdoors. However, many beginners struggle with poor germination, mold, or weak sprouts due to improper soaking, planting, or lighting.
This guide will show you how to grow sunflower microgreens step by step, from selecting the right seeds to harvesting a fresh, healthy batch. Follow these simple techniques to avoid common mistakes and get consistent, high-quality results.
Choosing the Right Sunflower Seeds

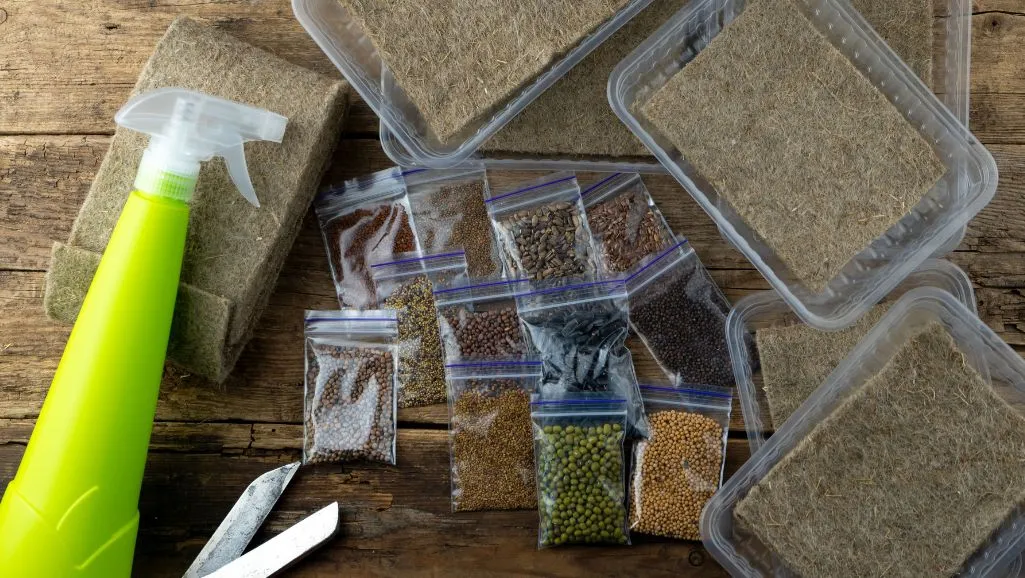
The quality of your sunflower microgreens starts with the right seeds. Black oil sunflower seeds are the best choice because they have a high germination rate, tender shoots, and a rich, nutty flavor. Always look for unhulled, untreated, and non-GMO seeds to ensure safe and healthy growth.
Avoid sunflower seeds treated with chemicals, often found in bird feed, as they can be harmful for human consumption. Organic seed suppliers, garden stores, and bulk retailers are reliable sources of high-quality seeds.
If buying online, check for reviews and product details to confirm they’re specifically labeled for sprouting or microgreens. Investing in good seeds increases the chances of strong, healthy sprouts with uniform growth, leading to a better harvest.
Preparing the Seeds: Soaking and Pre-Sprouting
Soaking sunflower seeds is essential for softening the shells and triggering even germination. Without this step, seeds may sprout unevenly or struggle to break through their tough outer layer. To prepare, place the seeds in a bowl and cover them with clean, room-temperature water. Let them soak for 8–12 hours to absorb moisture, then drain and rinse thoroughly to remove excess starch and prevent mold.
Pre-sprouting can help for faster growth. After soaking, spread the rinsed seeds in a colander or a breathable container. Keep them in a dark, humid space for 12–24 hours, rinsing once or twice. Tiny roots will start emerging, indicating they’re ready to be planted. While pre-sprouting isn’t required, it speeds up the process and increases germination success, especially in colder conditions.
Choosing the Best Growing Medium
The right growing medium helps sunflower microgreens develop strong roots and absorb nutrients efficiently. Soil-based growing is the most effective method, providing natural minerals and good moisture retention. A light, well-draining organic potting mix works best, ensuring roots stay hydrated without becoming waterlogged.
Coconut coir is a great cleaner and more sustainable option. It retains moisture well and resists mold, though it lacks nutrients, meaning microgreens rely on stored seed energy.
Hydroponic growing mats, such as hemp or felt mats, work well in commercial setups where cleanliness and efficiency matter. They eliminate mess but require precise watering and occasional nutrient supplementation.
Soil produces the most flavorful and robust microgreens, while coconut coir and hydroponic mats offer convenience. Choosing the right medium depends on your space, resources, and preference for maintenance.
Planting and Germination Sunflower Seeds
For a standard 10×20-inch tray, use 1 to 1.5 cups of sunflower seeds to ensure even coverage without overcrowding. Spread the pre-soaked seeds evenly across the surface, avoiding clumps that can lead to mold or poor airflow. Lightly press them into the growing medium to help establish contact for better moisture absorption.
Cover the seeds with a thin layer of soil to encourage strong roots, or place another tray on top. This blackout period mimics natural soil pressure, promoting sturdy growth. Keep the tray in a dark space for 3–4 days, misting if the top layer feels dry. During this stage, roots anchor deeply, setting the foundation for healthy microgreens.
Once sprouts start pushing against the cover, they’re ready for light exposure.
Light, Watering, and Growth Conditions
After the blackout period, move the trays to an area with indirect sunlight or place them under grow lights for 12–16 hours daily. This ensures strong, green leaves and prevents leggy growth. LED or fluorescent grow lights work best if positioned 6–12 inches above the trays.
Watering is crucial for healthy microgreens. Bottom watering (pouring water into the tray below) keeps leaves dry and reduces mold risk. If top-watering, use a gentle mist to avoid disturbing the delicate roots. Aim for once or twice daily, adjusting based on humidity and temperature.
The ideal temperature for growth is 65–75°F (18–24°C). Proper airflow, using a small fan, helps prevent mold and strengthens stems. Sunflower microgreens will grow strong and vibrant with consistent light, water, and warmth.
Common Problems With Growing Sunflower Microgreens
Mold and fungus can ruin a crop, often caused by excess moisture and poor airflow. To prevent this, avoid overwatering, use a fan for ventilation, and ensure trays have drainage holes. Hydrogen peroxide sprays can help control early mold growth without harming the plants.
Poor germination may result from low-quality seeds, incorrect soaking times, or uneven planting. Always use fresh, untreated seeds and soak them properly for 8–12 hours before planting. Keeping the blackout period undisturbed improves sprouting consistency.
Leggy or weak sprouts occur when light is too dim or too far away. Position grow lights 6–12 inches above the ground and ensure 12–16 hours of daily exposure. If microgreens look pale or stretched, they need more light immediately.
Harvesting and Storing for Freshness
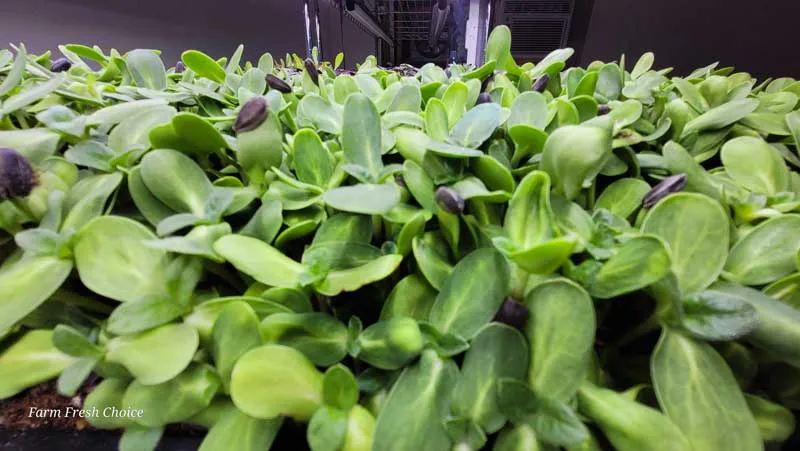
Once they develop their first true leaves, sunflower microgreens are ready to harvest in 7–10 days. Look for sturdy, upright greens with open cotyledons and a vibrant green color. Harvesting too early results in small, underdeveloped shoots, while waiting too long makes them tough and bitter.
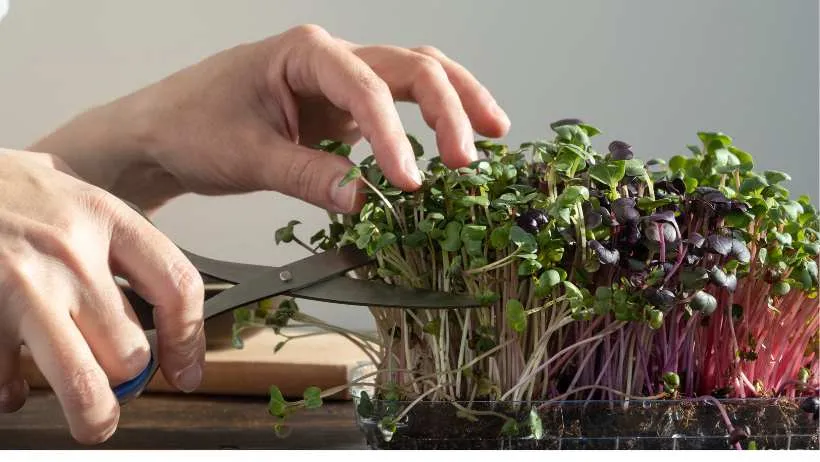
Use sharp scissors or a knife to cut just above the soil line. Avoid pulling them up to keep roots and debris out of the harvest. Harvest when dry for the best texture and flavor; wet greens spoil faster.
After cutting, rinse lightly in cold water, then dry thoroughly using a salad spinner or paper towel. Store in a breathable container or perforated bag in the refrigerator. Properly stored microgreens stay fresh for 5–7 days.
Creative Ways to Use Sunflower Microgreens
Sunflower microgreens have a nutty, slightly sweet flavor and a crisp texture, making them versatile additions to many dishes. Toss them into salads for an extra crunch, or layer them in sandwiches and wraps for a fresh, earthy taste—their mild flavor pairs well with creamy dressings and spreads.
Blend them into smoothies with fruits like bananas and berries for a nutrient boost. They add protein, fiber, and vitamins without overpowering the flavor. Use them as a garnish for soups, grain bowls, or avocado toast to enhance presentation and nutrition.
Sunflower microgreens also work in warm dishes—stir them into omelets or sprinkle them over pasta just before serving to retain their crunch.
Frequently Asked Growing Sunflower Microgreens Question
How long does it take to grow sunflower microgreens?
Sunflower microgreens take 7–10 days from planting to harvest. Soaking seeds for 8–12 hours speeds up germination, while a 3–4 day blackout helps establish roots. Once exposed to light, they grow quickly, reaching full size by day 7–10, depending on temperature and humidity.
Can you eat sunflower microgreens raw?
Sunflower microgreens are best eaten fresh and raw. Their crisp texture and nutty flavor make them perfect for salads, sandwiches, and smoothies. Rinsing before eating removes any residual soil or seed hulls. Cooking them is possible, but it softens their crunch and reduces nutrient content.
Why are my sunflower microgreens falling over?
Weak, falling microgreens often lack light, water, or strong root support. Keep growing lights 6–12 inches above for 12–16 hours daily. Ensure that the tray is even watered and avoid overcrowding seeds. If stems are thin and weak, they may need better air circulation or more light exposure.
How long to soak sunflower seeds for microgreens?
Sunflower seeds need 8–12 hours of soaking in clean, room-temperature water to soften their shells and promote even germination. After soaking, rinse thoroughly to remove excess starch. Over-soaking beyond 12 hours can lead to waterlogging and poor sprouting, while under-soaking may cause uneven growth and delayed germination.
How do you know when sunflower microgreens are ready to harvest?
Sunflower microgreens reach harvest size in 7–10 days when they have grown 3–4 inches tall and developed their first true leaves. Stems should feel firm, and leaves should appear vibrant green with no signs of wilting. Waiting too long can produce tough, bitter-tasting greens, so harvest at peak freshness.
How to grow sunflower microgreens without mold?
Prevent mold by using good airflow, proper drainage, and bottom watering. Avoid overwatering, and keep trays in a well-ventilated area with a fan if necessary. Soak and rinse seeds thoroughly before planting, and space them evenly to reduce moisture buildup. Keeping humidity levels below 50% helps prevent fungal growth.
How many sunflower seeds per tray?
For a 10×20-inch tray, spread 1 to 1.5 cups of sunflower seeds evenly across the growing medium. Overcrowding leads to poor airflow and mold, while too few seeds result in sparse growth. Even distribution ensures healthy, uniform microgreens with strong roots and fewer issues during the growing process.