Growing microgreens at home is simple, but using the wrong supplies can lead to poor germination, mold, or weak plants. Microgreens need specific conditions to thrive—too much moisture causes rot, and too little light results in pale, leggy growth. Without proper tools, yields suffer, and contamination risks increase.
A basic setup requires high-quality seeds, the right trays, a reliable growing medium, and controlled watering. Lighting, airflow, and sanitation also play key roles in producing fresh, flavorful greens. Skipping essential supplies leads to wasted time and money.
Whether you’re starting for personal use or small-scale sales, always having the right equipment ensures strong, healthy microgreens. Here’s exactly what you need to grow microgreens successfully at home.
Seeds
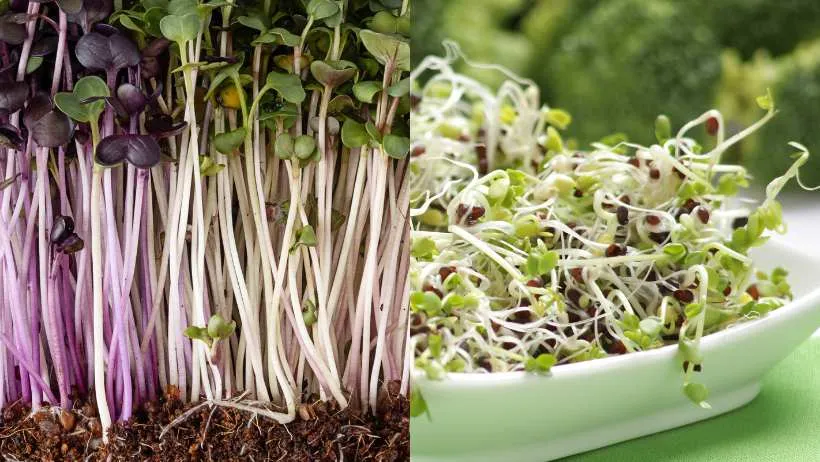
High-quality, untreated seeds are the foundation of successful microgreens. Avoid seeds treated with fungicides or chemicals, as these can affect germination and safety. Organic or non-GMO seeds ensure clean, vibrant growth without unwanted residues. Fresh seeds with high germination rates lead to consistent, healthy crops.
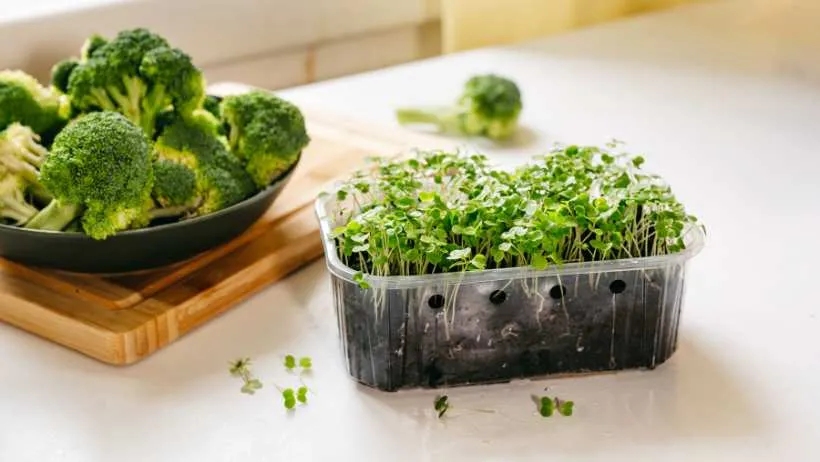
Certain varieties perform better than others. Pea shoots, sunflower, radish, and broccoli microgreens grow quickly and have strong flavors. Mild options like cabbage and kale offer a softer taste. Basil and cilantro take longer but add unique flavors. Consider seed density, as some varieties require more space for proper growth. Selecting the right seeds sets the stage for a productive harvest.
Growing Trays
Shallow trays work best for microgreens, allowing roots to develop without wasting soil. Trays with drainage holes prevent excess moisture buildup, reducing the risk of mold. However, solid trays are useful for bottom watering, which keeps leaves dry and lowers the chances of disease.
Size and depth affect growth. Standard 10×20-inch trays provide enough space for dense planting, while smaller trays suit limited spaces or experimental batches. A depth of 1.5 to 2 inches is ideal, giving roots enough room without holding excess water. Choosing the right tray improves germination and makes harvesting easier.
Soil or Growing Medium
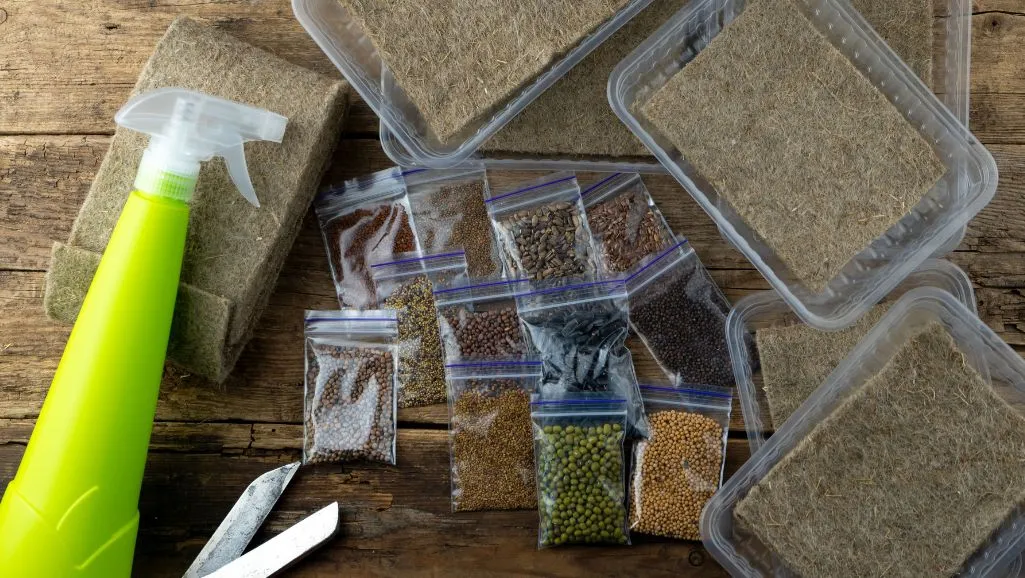
Microgreens grow well in different mediums, each with advantages and drawbacks. Soil is the most natural option, providing nutrients that enhance flavor and yield. However, it requires more cleanup and can attract pests. Coconut coir is a popular alternative—lightweight, pH-neutral, and good at retaining moisture without becoming waterlogged. It lacks nutrients, so occasional supplementation may be needed.
Hydroponic mats, such as hemp or felt, offer a mess-free solution for growing microgreens indoors. They work well for commercial setups but require careful watering to prevent drying out or mold growth. While soil-grown microgreens tend to have richer flavors, soilless methods reduce contamination risks and simplify maintenance. The choice depends on personal preference and growing conditions.
Watering System
Microgreens need consistent moisture, but overwatering leads to mold and root rot. Spray bottles work well for the early stages, keeping seeds evenly moist without flooding them. However, once roots are established, bottom watering is a better method. Placing a tray with drainage holes inside a solid tray allows water to be absorbed from below, reducing surface moisture and preventing fungal issues.
Too much water encourages disease, while too little causes uneven growth. Checking moisture levels daily helps maintain balance. Good drainage, proper spacing, and controlled humidity all help keep microgreens hydrated without creating a breeding ground for mold.
Lighting
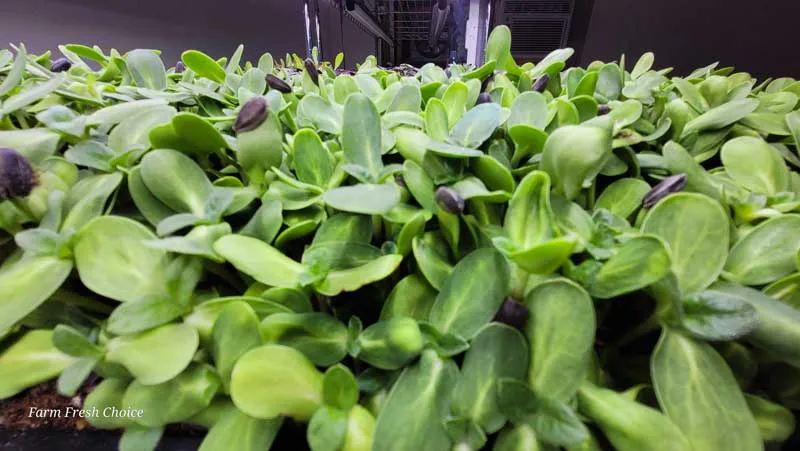
Microgreens need plenty of light to develop strong stems and vibrant colors. LED and fluorescent grow lights work well, but LEDs are more energy-efficient and produce less heat. Full-spectrum LED lights mimic natural sunlight, promoting balanced growth. Fluorescent T5 tubes are another good option, offering even light distribution at an affordable price.
Microgreens require 12 to 16 hours of light daily. Too little light results in leggy, pale growth, while too much can dry out the growing medium. Keeping lights 6 to 12 inches above the trays ensures even exposure. Adjusting light duration and distance based on plant response helps maintain healthy, compact growth.
Air Circulation (Fans & Ventilation)
Good airflow keeps microgreens strong and prevents mold. Stagnant air leads to excess moisture buildup, creating ideal conditions for disease. Small fans improve circulation, drying excess moisture on leaves and soil while strengthening stems. Even gentle air movement encourages sturdier growth, making microgreens less prone to wilting.
Ventilation is equally important, especially in humid environments. Opening a window or using an exhaust fan helps maintain fresh air exchange, reducing the risk of fungal issues. Avoid placing fans too close to the trays, as excessive wind can dry out plants quickly. Balancing air movement keeps microgreens fresh and healthy throughout their growth cycle.
pH Testing Kit (Water Quality & Adjustments)
Water quality affects microgreen growth, and pH balance plays a big role. The ideal pH range for microgreens is between 5.5 and 6.5. Too acidic or alkaline water can block nutrient absorption, leading to poor growth or discoloration. Testing pH regularly helps maintain the right conditions for strong, vibrant plants.
A simple pH testing kit or digital meter makes it easy to check water levels. If the pH is too high, adding a few drops of vinegar or citric acid lowers it. If it’s too low, diluted baking soda or calcium carbonate raises it. Using filtered or dechlorinated water also improves consistency, reducing potential issues from tap water chemicals.
Harvesting Tools
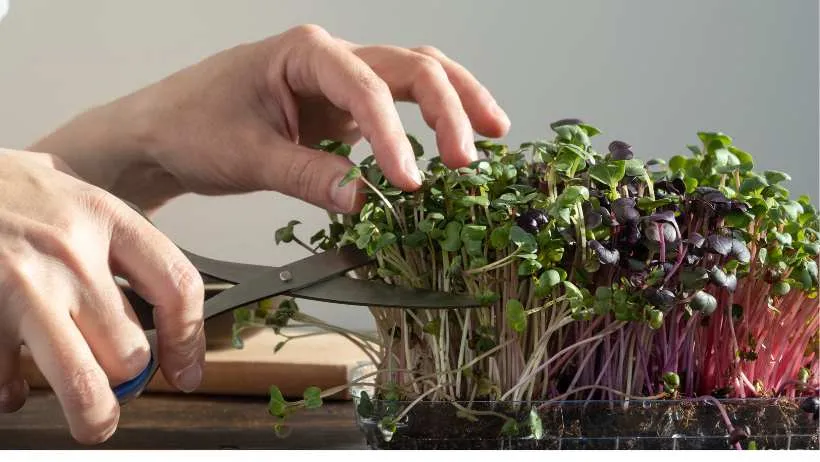
Using the right tools ensures a cleaner cut and preserves microgreen quality. Sharp scissors work well for home growers, offering precise cuts without damaging delicate stems. Knives, especially those with a serrated or ultra-sharp edge, are better for large harvests, allowing smooth slicing through dense trays.
Harvesting is best done when microgreens are dry to prevent bruising. Holding the greens gently and cutting just above the soil or growing medium keeps them clean and reduces the chance of contamination. Regularly cleaning tools between harvests prevents bacteria buildup and keeps future batches healthy.
Storage Containers
Proper storage keeps microgreens fresh and flavorful for longer. Breathable containers, such as clamshell packaging or perforated bags, help maintain moisture balance while preventing excess condensation. Too much humidity can lead to spoilage, while too little causes wilting.
Harvested microgreens should be dry before storage to extend shelf life. Lining containers with a paper towel absorbs excess moisture, keeping greens crisp. Refrigeration at 35-40°F preserves freshness for up to a week. Avoid sealing in airtight bags unless humidity is controlled, as trapped moisture encourages mold growth.
Sanitizing Supplies

Keeping trays and tools clean prevents contamination and disease. After each harvest, washing trays with warm, soapy water removes soil and organic residue. A diluted hydrogen peroxide or bleach solution (1:10 ratio) disinfects surfaces, killing bacteria and mold spores. Rinsing thoroughly ensures no harmful residues remain.
Cutting tools should also be sanitized between uses. Wiping blades with alcohol or a food-safe disinfectant reduces cross-contamination. Regular cleaning of work surfaces and hands helps maintain a hygienic growing space. Preventing mold and bacteria buildup improves microgreen quality and keeps future crops healthy.
FAQ
Can you grow microgreens year-round?
Microgreens can be grown in any season with consistent light, temperature, and humidity. Indoor setups with grow lights provide the right conditions even in winter. Maintaining a stable environment ensures continuous growth without seasonal limitations.
Do you need a greenhouse for microgreens?
A greenhouse is not required but can help regulate temperature and humidity for larger-scale production. Indoor setups with proper lighting and ventilation work just as well. Small home growers can use shelves and grow lights to achieve high yields without a greenhouse.
Can microgreens be grown outdoors?
Microgreens can grow outdoors if temperatures stay between 60-75°F and there is partial shade to prevent excessive drying. Wind and pests pose challenges, so using a covered structure or mesh can help protect delicate seedlings. Consistent moisture and airflow are essential for healthy growth outside.
What is the best pH for microgreens?
The ideal pH range for microgreens is between 5.5 and 6.5. This slightly acidic level allows optimal nutrient absorption, producing healthy and flavorful greens. Regularly testing water pH helps maintain consistency and prevents nutrient deficiencies.
Can you use tap water for microgreens?
Tap water can be used, but its quality varies by location. High chlorine or mineral content may affect plant growth. Letting tap water sit for 24 hours before use allows chlorine to dissipate. Using filtered or dechlorinated water provides better consistency for healthy microgreens.
Better Microgreens: Tips & Info
How to Eat Microgreens for Breakfast, Lunch, and Dinner
Growing Microgreens? Here Are the Questions Everyone Asks!
How Many Days Does It Take to Grow Microgreens?