Growing microgreens is one of the fastest ways to produce fresh, nutrient-dense greens at home, yet many beginners struggle with the basics. Questions about seed selection, growing conditions, and profitability often create confusion. Microgreens can grow in as little as 7-14 days, require minimal space, and sell for $20-$40 per pound in some markets.
However, success depends on using the right seeds, proper watering techniques, and knowing which varieties regrow after cutting. Whether you want to grow microgreens for personal use or as a business, understanding the most common challenges will save time and effort. This guide answers the most frequently asked questions, providing clear, actionable advice for a successful harvest every time.
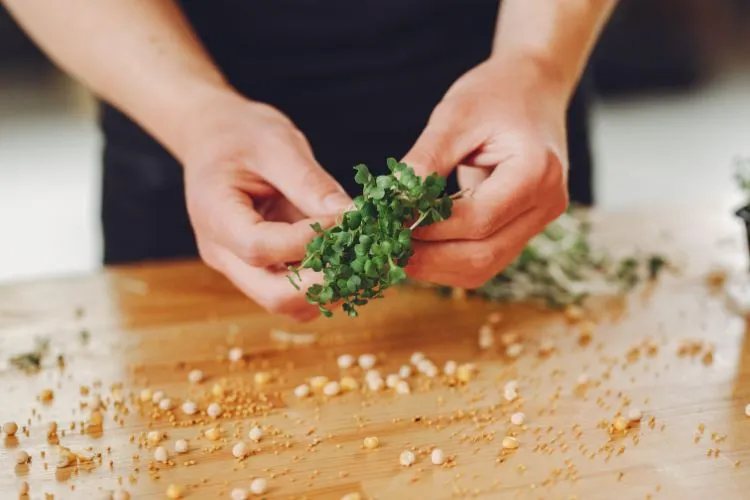
Can You Use Regular Seeds to Grow Microgreens?
Regular garden seeds can be used for growing microgreens, but there are important differences to consider. Microgreen seeds are typically untreated, ensuring they are free from chemical coatings, fungicides, or pesticides that might be present on conventional garden seeds. These treatments are safe for mature plants but can pose health risks when consumed at the microgreen stage. Since microgreens are harvested just days after sprouting, any chemical residue remains on the young shoots.
Another key difference lies in seed quality and germination rates. Seeds marketed for microgreens are often tested for high germination, ensuring consistent and uniform growth. Regular seeds might still work, but inconsistent sprouting can lead to uneven harvests. Also, microgreen seeds are often sold in bulk, making them more economical for large-scale growing than traditional garden seed packets.
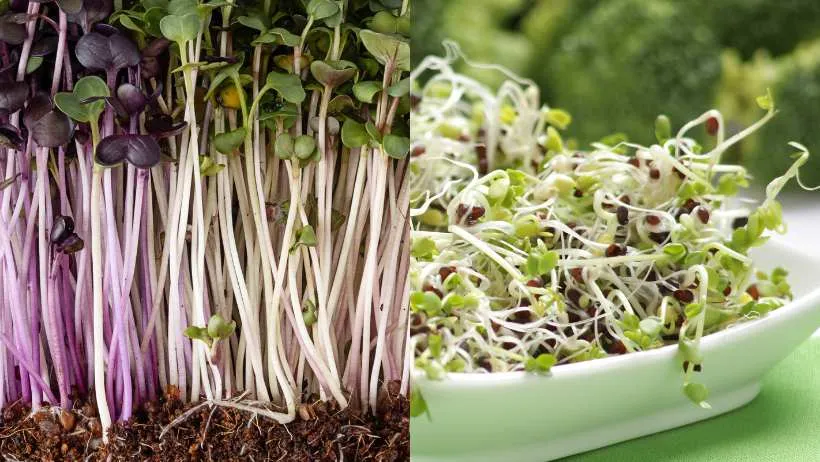
When choosing seeds for microgreens, opt for organic and untreated varieties. Some of the best choices include broccoli, radish, sunflower, pea shoots, and basil. These seeds tend to sprout quickly and grow well in shallow trays. If using regular garden seeds, check the packaging for chemical treatments and rinse them thoroughly before planting. Selecting the right seeds ensures a safe and healthy microgreen harvest.
What Are the Easiest Microgreens to Grow?
Certain microgreens are ideal for beginners due to their quick germination, minimal care requirements, and high success rates. Radish microgreens are among the fastest-growing, typically sprouting within 2-3 days and ready for harvest in about a week. Their peppery flavor and vibrant green leaves make them a favorite for salads and garnishes.
Pea shoots take slightly longer, about 8-14 days, but grow well in cooler temperatures and offer a sweet, crunchy texture. They require soaking before planting to speed up germination and benefit from bottom watering to prevent mold. Broccoli microgreens are another excellent option, sprouting in 3-4 days and ready to harvest in 7-10 days. These tiny greens contain nutrients and have a mild, slightly spicy taste.
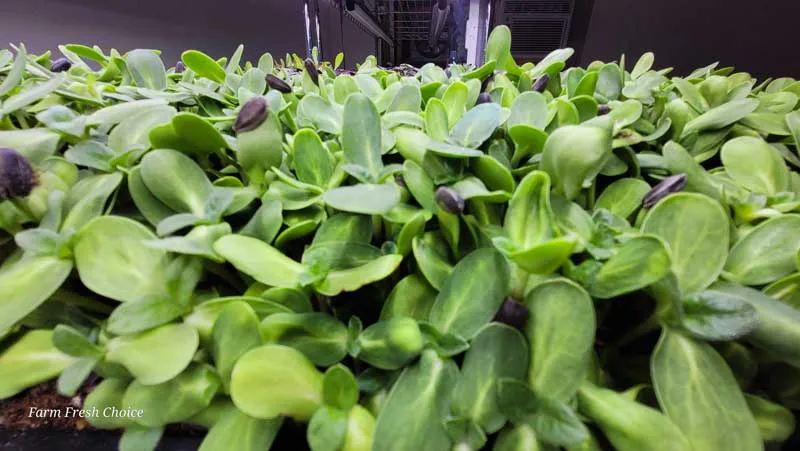
Kale microgreens are similar to broccoli in growth time, typically maturing within 8-12 days. They are hardy and thrive in various conditions, making them easy for beginners to manage. Sunflower microgreens require more attention but reward growers with thick, nutty-flavored shoots. They germinate in about 2-3 days and are usually ready in 10-12 days. Soaking the seeds before planting and ensuring proper drainage helps achieve the best results.
Starting with these microgreens provides a reliable and enjoyable growing experience. Their resilience, quick growth, and delicious flavors make them excellent choices for first-time growers.
How Long Does It Take for Microgreens to Grow?
The growth time for microgreens depends on the variety, environmental conditions, and care. Most are ready to harvest within 7 to 14 days, though some take slightly longer. Radish microgreens are among the fastest, sprouting in 2-3 days and reaching harvest in 7-10 days. Sunflower microgreens take a little longer, typically 10-12 days, while pea shoots require 8-14 days to develop their tender leaves and stems.
Factors like temperature, light, and humidity greatly influence growth speed. Warmer temperatures, around 65-75°F (18-24°C), encourage faster germination and leaf development. Sufficient light from direct sunlight or LED grow lights ensures healthy, vibrant growth. Insufficient light can cause microgreens to stretch and become weak. Proper humidity levels, usually 40-60%, help prevent mold while keeping seedlings hydrated.
Watering also affects growth time. Overwatering leads to mold and root rot, while underwatering slows development. A consistent moisture level encourages steady sprouting and strong stems. With the right conditions, most microgreens grow quickly and provide fresh harvests in just a few weeks.
What Is the Secret to Growing Microgreens?
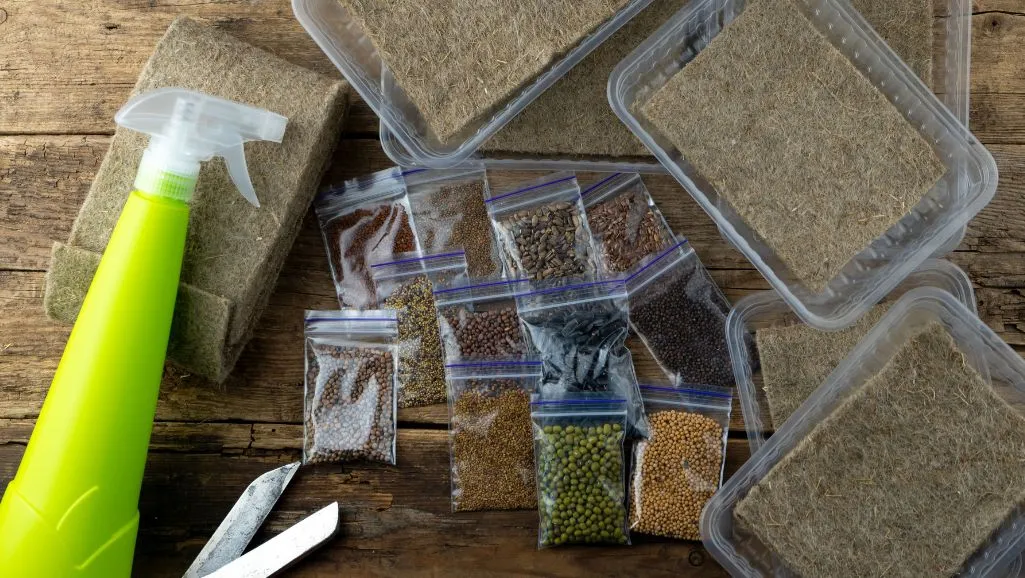
Success with microgreens depends on several key factors: high-quality seeds, proper seed density, optimal lighting, correct watering methods, and good air circulation. Starting with untreated, high-germination seeds ensures strong and even growth. Some varieties, such as sunflower and pea shoots, require pre-soaking, while others can be sown dry. Spreading seeds evenly across the growing surface prevents overcrowding, which can lead to poor air circulation and mold issues.
Lighting is another essential component. Microgreens need bright, consistent light to develop strong stems and rich color. LED grow lights work well, providing steady illumination without excess heat, but a sunny windowsill can also work if light exposure is sufficient. Without enough light, seedlings grow tall and weak, making them less nutritious and harder to harvest.
Watering techniques impact both growth and disease prevention. Bottom watering, where trays absorb water from below, helps keep leaves dry and reduces the risk of mold. If top watering is necessary, a fine mist spray works best to avoid disturbing the delicate sprouts. Proper drainage prevents water from pooling, which can cause root rot.
Air circulation plays a big role in preventing disease and encouraging healthy growth. Using a small fan near the growing area helps keep humidity balanced and reduces the chances of mold developing. Spacing trays apart and avoiding excessive humidity levels contribute to a successful harvest.
When all these factors come together—good seeds, balanced moisture, strong lighting, and airflow—microgreens grow quickly and stay vibrant. With the right approach, even beginners can achieve consistent, flavorful harvests.
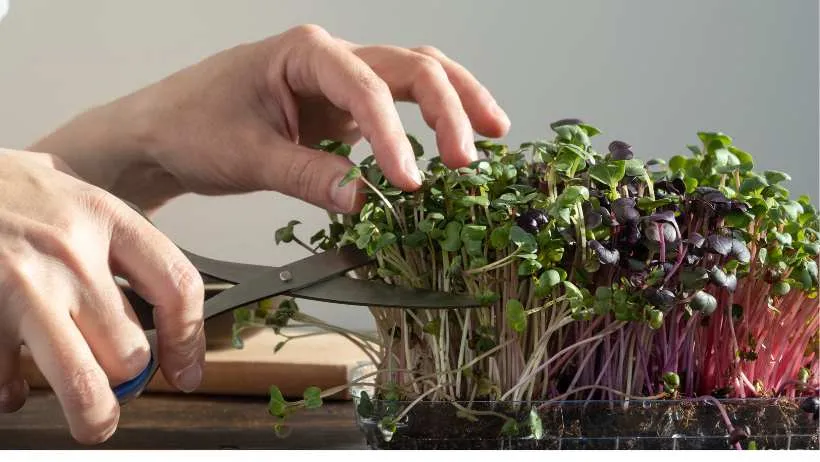
Do Microgreens Regrow After Cutting?
Some microgreens regrow after harvesting, while others do not. Pea shoots and wheatgrass are known for their ability to regrow because they have strong root systems that send out new shoots after cutting. However, the second growth is usually weaker, with thinner stems and a milder flavor. Wheatgrass, for example, can produce multiple harvests, though later cuttings tend to be less sweet and nutritious.
On the other hand, most microgreens, such as radish, sunflower, and broccoli, do not regrow once cut. These varieties rely on a single sprouting cycle, and cutting the stem removes the growing point, preventing further growth. Attempting to regrow these types often results in poor yields and weaker plants, making it more efficient to start a new batch instead.
Focusing on pea shoots, wheatgrass, and certain herbs like basil can provide multiple cuttings for those interested in regrowing microgreens. Allowing the plants to rest between harvests and keeping them well-watered encourages limited regrowth. However, fresh batches produce the highest-quality microgreens for the best flavor, texture, and nutritional value.
How to Continuously Grow Microgreens?
A steady supply of microgreens comes from staggered planting, multiple trays, and proper soil management. Planting new trays every few days ensures a continuous harvest rather than waiting for a single batch to regrow. Setting up a rotation schedule—such as planting one set of trays on Monday, another on Wednesday, and another on Friday—keeps fresh greens available at all times.
Using multiple trays allows for better organization and prevents overcrowding. To maximize space, some growers prefer a tiered shelving system with LED grow lights. Labeling trays with planting dates helps track growth stages and ensures timely harvesting. Different varieties can also be rotated, so while radish microgreens mature quickly, slower-growing types like basil or cilantro can fill in gaps.
Soil health needs attention after harvesting. Reusing soil without refreshing it can lead to poor yields. Some growers compost the old soil and mix it with fresh growing medium, while others prefer using coconut coir or hydroponic mats to reduce waste. Keeping trays clean and free from mold or residue between plantings prevents disease and promotes better germination.
Watering and airflow must remain consistent throughout the cycle. Adjusting for seasonal changes in humidity or temperature ensures stable growth year-round. With careful planning, microgreens can be harvested weekly, providing a constant supply for personal use or small-scale sales.
What Is the Most Profitable Microgreen to Grow?
Pea shoots and sunflower microgreens stand out as some of the most profitable due to their high yield, fast growth, and strong market demand. Pea shoots produce a generous harvest within 8-14 days and can sometimes regrow for a second cutting, increasing their value. Their mild, sweet flavor makes them popular for salads, stir-fries, and garnishes, ensuring steady sales at farmers’ markets and restaurants. Sunflower microgreens, ready in about 10-12 days, have thick, crunchy stems with a nutty taste, appealing to health-conscious consumers.
Pricing and market trends influence profitability. Pea shoots and sunflower microgreens often sell for $20-$40 per pound, depending on location and market demand. Since they grow densely and require minimal inputs, profit margins remain high. Selling directly to restaurants, grocery stores, or local farmers’ markets maximizes earnings. Subscription services for fresh microgreens can also provide consistent income.
Helpful Microgreen Facts & Advice
How Many Days Does It Take to Grow Microgreens?
Microgreens & Food Safety: Are They a Potential Hazard?
Microgreens 101: Do You Really Need Special Seeds?