Want to enjoy a continuous supply of fresh, peppery arugula? Growing arugula in a raised garden bed might be your next favorite gardening project! Using raised beds gives you full control over soil quality, ensuring it’s well-drained and nutrient-rich—perfect for arugula’s needs. Plus, raised beds warm up quickly in spring, extending your growing season and reducing weed pressure, all while providing a convenient height for easier planting and harvesting.
From the best planting times to seed-starting tips and caring for your greens, let’s explore everything you need to know to grow arugula successfully in raised beds. Keep reading to get started!
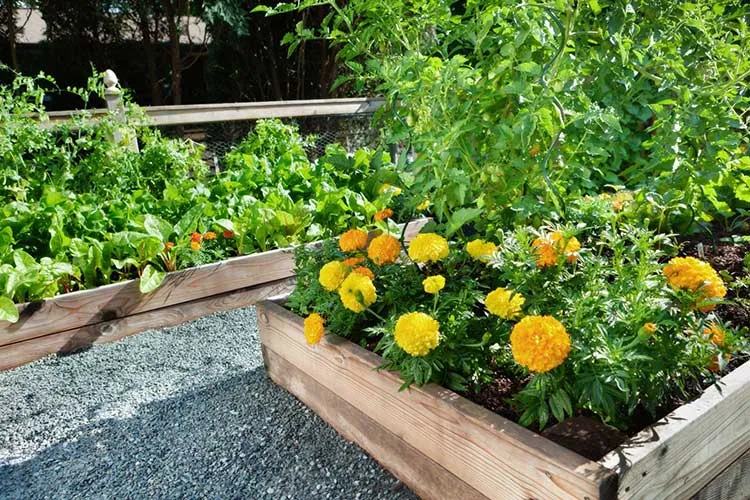
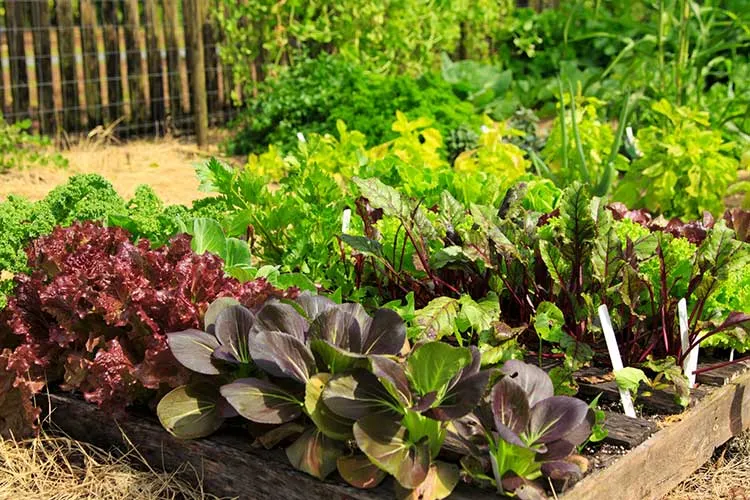
Why Choose Raised Beds for Your Arugula
Using raised garden beds for growing arugula is a smart choice, especially if you want to control soil quality and drainage. Raised beds allow you to tailor the soil to suit arugula’s needs, ensuring a nutrient-rich, well-draining mix that’s free from compaction. Plus, with soil elevated above ground level, these beds warm up faster in spring, extending your growing season.
Another benefit is reduced weed pressure. The contained space of a raised bed makes it easier to manage weeds and keep your arugula patch tidy. Raised beds also reduce the risk of soil-borne pests and diseases, offering a healthier environment for your crops. If you’re working with a small space or prefer gardening at a more accessible height, raised beds are a convenient, efficient way to grow arugula successfully.
Best Time to Plant Arugula in a Raised Garden Bed
Arugula thrives in cool weather, making early spring and late summer to fall the best times to plant. This leafy green prefers temperatures between 45°F and 65°F for optimal growth. For an early spring harvest, sow seeds as soon as the soil temperature is consistently above 40°F. In the late summer, wait until the heat of midsummer has passed to avoid bolting.
If you live in a milder climate, consider extending your growing season using row covers or planting in a shaded area to moderate temperatures. Succession planting every couple of weeks ensures a continuous harvest throughout the cooler months.
Starting Arugula Seeds Indoors
Starting arugula seeds indoors can give you a head start on the growing season. Use seed trays filled with a light, well-draining potting mix, and sow seeds about ¼ inch deep. Keep the soil consistently moist but not waterlogged, and place the trays in a warm spot with plenty of light, or use a grow light if necessary.
Once the seedlings have developed a few true leaves and the outdoor soil temperature is favorable (above 40°F), they are ready for transplanting. Harden off the seedlings by gradually exposing them to outdoor conditions for a few days before moving them to your raised bed.
How Long Does Arugula Take to Germinate?
Arugula seeds typically germinate in 5 to 10 days, depending on soil temperature and moisture levels. The ideal soil temperature for quick germination is between 45°F and 70°F. If the soil is too cold or dry, germination may be delayed, so it’s important to keep the seedbed evenly moist.
To speed up germination, consider pre-soaking the seeds in water for a few hours before planting. This can help soften the seed coat and encourage faster sprouting. With proper conditions, you’ll see tiny seedlings popping up in no time, ready to thrive in your well-prepared raised bed.
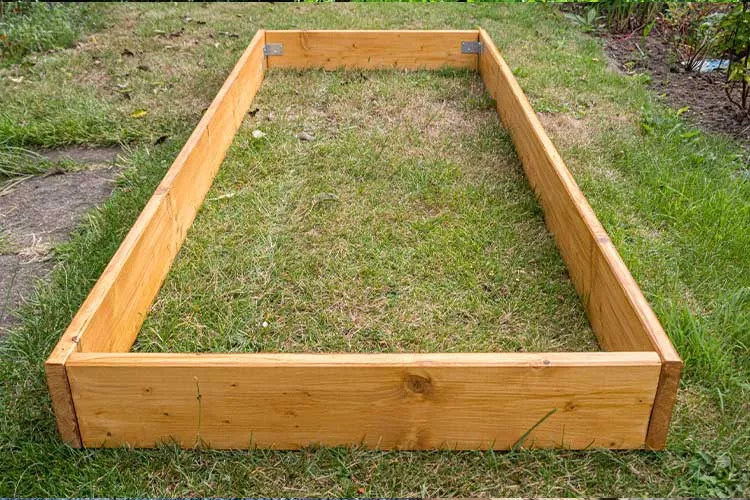
Getting Your Raised Bed Ready for Arugula
Preparing your raised bed properly is crucial for healthy arugula growth. Start by clearing out any weeds and debris from the bed. Line the bottom with landscape fabric or cardboard to help prevent weeds from creeping in while still allowing for good drainage. Next, mix in plenty of compost to enrich the soil, aiming for a loose, well-aerated texture that will support root development.
So Where does arugula grow best? generally, arugula prefers a soil pH between 6.0 and 7.0, so test your soil and adjust as needed. If your soil is too heavy or clay-like, add more organic matter to lighten it up. Sandy soil may need extra compost to retain moisture and nutrients. With these preparations, your raised bed will be perfectly primed for arugula.
How to Plant Arugula in a Raised Bed
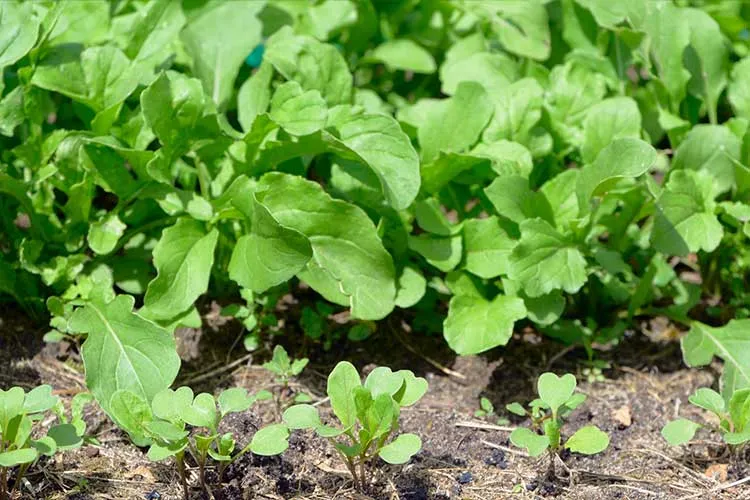
Planting arugula in a raised bed is straightforward and rewarding. Begin by directly sowing seeds about ¼ inch deep in rows spaced 6 to 8 inches apart. Gently cover the seeds with soil and water well to ensure good seed-to-soil contact. Since arugula grows quickly, you can thin the seedlings to about 4 to 6 inches apart once they’ve developed their first true leaves. This spacing gives each plant room to grow and ensures good air circulation, reducing the risk of disease.
For a continuous harvest, consider succession planting by sowing seeds every two to three weeks. If you want a denser harvest for baby greens, space seeds more closely, and simply cut the leaves as needed. Keep the soil moist but not waterlogged, and watch for those vibrant seedlings to emerge.
Caring for Your Arugula Plants
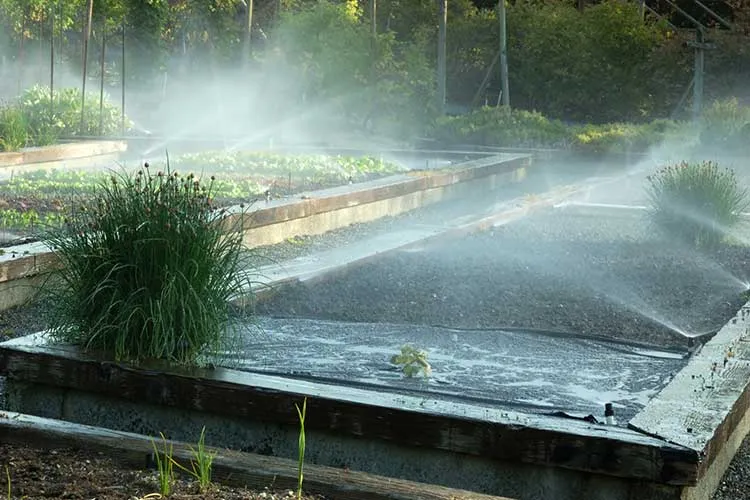
Arugula requires consistent care to thrive in a raised bed. Keep the soil evenly moist but not soggy, as dry conditions can cause the plants to become bitter and bolt prematurely. A good practice is to water in the early morning, ensuring that the foliage dries quickly and minimizing disease risk. Applying a layer of organic mulch around the plants helps retain soil moisture, suppress weeds, and keep the roots cool.
Pests like flea beetles can be an issue, leaving small holes in the leaves. To protect your crop, use row covers or plant arugula alongside pest-repelling herbs like mint or dill. Additionally, in warmer weather, consider providing partial shade to prevent bolting and keep the leaves tender. Arugula is a light feeder, so only apply organic fertilizer sparingly to avoid overstimulating leaf growth.
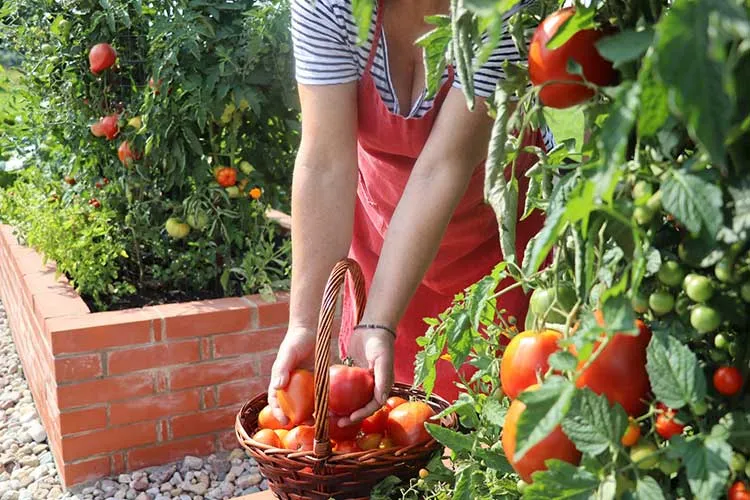
How to Harvest Arugula
Harvesting arugula is simple and can be done using the cut-and-come-again method. For the best flavor, pick leaves when they are young and tender, typically around 2 to 3 inches long. Use clean scissors or garden shears to snip leaves just above the base, leaving the plant intact so it can continue producing new growth. This way, you’ll enjoy a prolonged harvest throughout the season.
As temperatures rise or plants mature, arugula may start to bolt, producing flower stalks and developing a stronger, more bitter taste. At this stage, you can still use the leaves in cooked dishes or harvest seeds for future planting. Regular harvesting and good temperature management will maximize your yield.
Common Problems and Solutions
Arugula can face a few challenges, but with some simple strategies, you can keep your crop healthy. Pests like flea beetles and aphids are common issues, causing damage to the leaves. Use row covers to protect your plants, and consider planting companion herbs like garlic or chives to help deter insects. For infestations, a gentle spray of soapy water can also be effective.
Downy mildew, a fungal disease, is another potential problem, especially in humid conditions. To prevent this, avoid overhead watering and ensure good air circulation by not overcrowding your plants. Keeping the foliage dry and removing infected leaves promptly can minimize disease spread.
Conclusion
Growing arugula in a raised garden bed is a rewarding experience that brings fresh, peppery greens right to your kitchen. With its quick growth cycle and relatively simple care requirements, arugula is perfect for both beginner and experienced gardeners. Remember to plant during the cool seasons, keep the soil well-prepared and moist, and harvest leaves when they’re young for the best flavor. Soon you’ll have a steady supply of delicious, homegrown arugula for salads, sandwiches, and more!