You’ve got the seeds, the tray, and a big burst of motivation—but then the questions hit. Do I soak these? Is this mold or roots? Why do they look like spaghetti reaching for the window? Growing sunflower microgreens isn’t hard, but getting it right the first time can feel like guesswork.
If you’ve watched your greens flop, mold over, or grow tall and bitter, you’re probably asking the same things every beginner does. This isn’t another vague guide. These are the eight questions you’re already Googling, with answers that make sense—short, clear, and tested.
No fluff, no filler—just the stuff you wish someone told you before your seeds went sideways.
1. Are sunflower microgreens easy to grow indoors?
Growing sunflower microgreens indoors is simple with the right materials. Start with untreated black oil sunflower seeds. Soak them in water for 8 to 12 hours. Use a shallow tray with drainage holes and fill it with potting soil or a microgreen mix.
After spreading the seeds evenly, press them gently into the soil. Cover the tray for the first two days to help the seeds germinate. Use a spray bottle to keep the soil slightly moist. Once the seeds sprout, move the tray to a spot with good light—water from the bottom to prevent mold. Most indoor setups need no special equipment beyond a tray, soil, and water.
With daily care and observation, steady growth can be seen in a few days. Beginners often succeed by keeping things simple and focusing on clean materials, moderate moisture, and consistent light.
2. Do I need a grow light?

A grow light helps, but it’s not always required. That can be enough if a windowsill gets direct sunlight for most of the day. South-facing windows usually work best. Place the tray as close to the glass as possible to maximize exposure.
Rotate the tray daily to keep the stems growing straight. If the seedlings appear pale or stretch too much, they may not get enough light. In that case, adding a basic LED grow light can improve growth. Choose one labeled “full spectrum” and place it 6 to 12 inches above the tray. Keep the light on for 12 to 16 hours a day.
Using a timer helps keep the schedule consistent. Even with artificial lighting, avoid placing the tray near cold drafts or heating vents. A steady, warm spot with plenty of light keeps your microgreens healthy and compact.
3. How long do they take to grow?
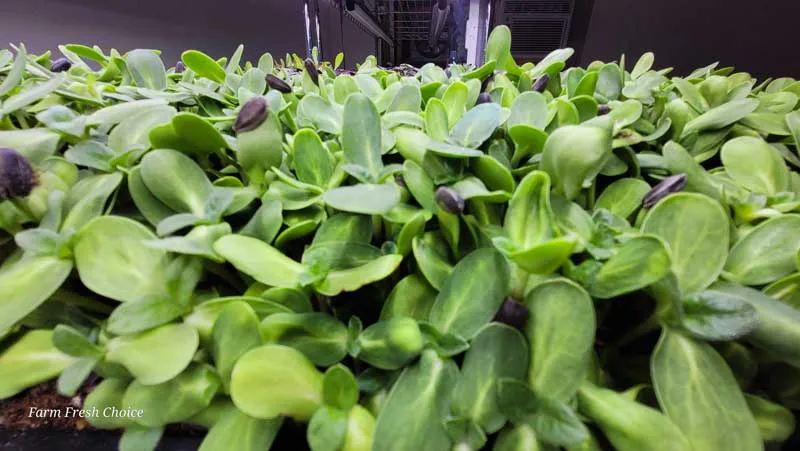
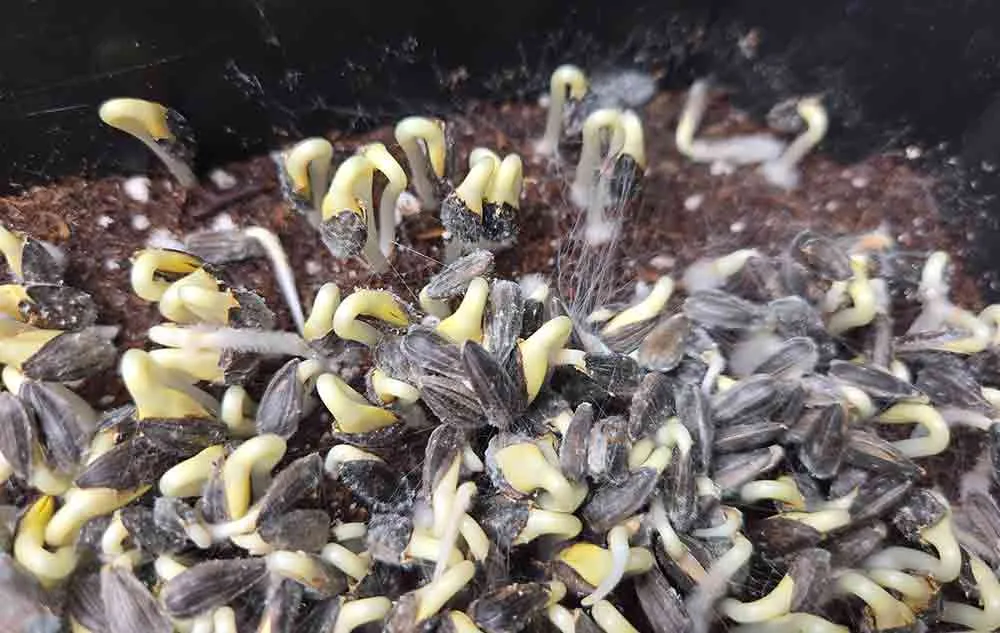
Sunflower microgreens are ready to harvest in 7 to 10 days. Start by soaking the seeds for 8 to 12 hours. After soaking, plant them in a tray filled with moist soil. Cover the tray for the first two days to create darkness, which helps the seeds sprout evenly.
Remove the cover once you see white roots and small stems, and place the tray in bright light. Water daily, but avoid soaking the soil. You’ll notice fast growth starting around day three. By day seven, the plants will have tall stems and thick leaves. Wait until the first pair of true leaves appear before harvesting.
If the greens seem slow to grow, check the light, temperature, and moisture levels. Warmer rooms speed up growth, while low light can slow it down. Keep the process consistent, and you’ll have fresh, crisp sunflower shoots within a week.
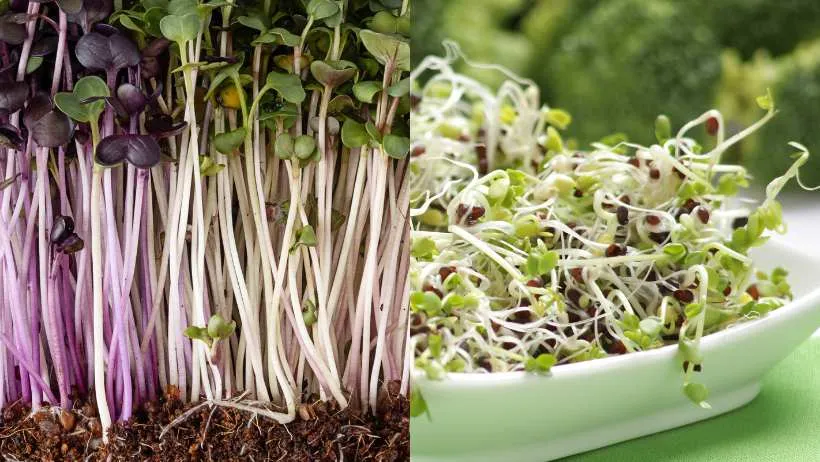
4. What kind of seeds should I use?
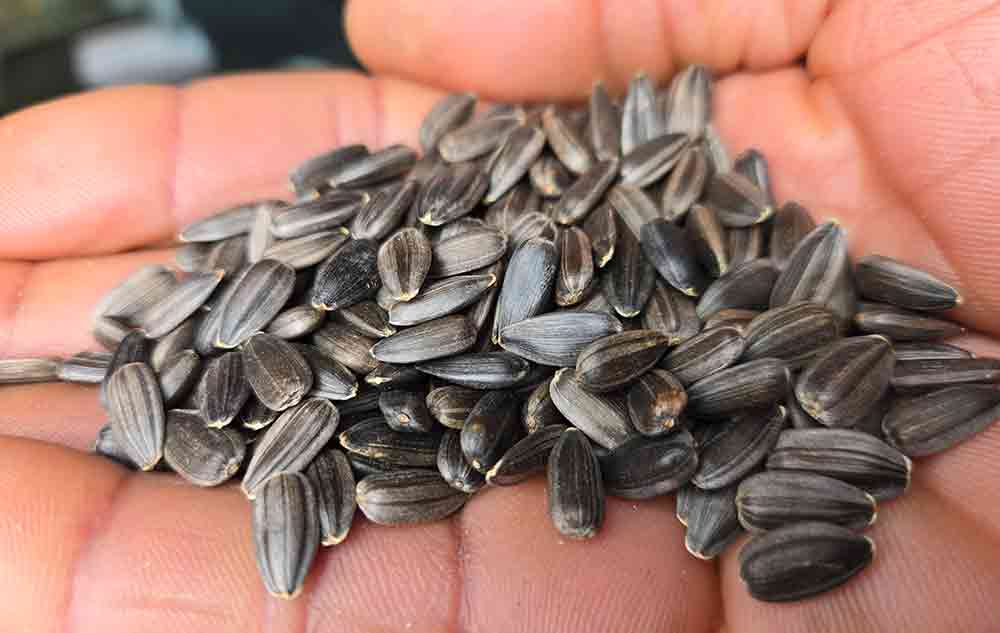
Use only untreated black oil sunflower seeds for growing microgreens. These seeds have thin shells and a high germination rate, making them ideal for indoor sprouting. Avoid birdseed or seeds labeled for oil production, as these may be treated with chemicals or pesticides. Check the packaging for terms like “raw,” “unhulled,” or “microgreen-grade.”
Organic options are safer and often grow more evenly. Choose seeds that are uniform in size and color. Rinse them before soaking to remove dust or debris. Bulk seed suppliers and garden centers often carry suitable varieties. Some packages may list them as “black oil sunflower microgreen seeds.”
Using the wrong type can lead to poor sprouting or mold. Stick to seeds meant for eating or growing food. High-quality seed is the foundation of healthy microgreens, so always source it from a reliable seller.
5. Why are my sunflower sprouts growing mold?
Mold usually forms when poor airflow or moisture is trapped in the tray. Overwatering is a common cause. The soil should feel damp, not soaked. Use a spray bottle or bottom watering to avoid pooling water on the surface.
High seed density also contributes to mold. If seeds are packed too closely, air can’t circulate, and moisture builds up. Spread seeds in a single, even layer with small gaps between them. Good airflow keeps the surface dry.
If the room feels stuffy, use a small fan near your trays. Remove any tray covers after the first two days to reduce humidity. Make sure trays have drainage holes so excess water can escape.
Mold looks fuzzy and white, different from root hairs, which are fine and uniform. If unsure, gently touch the area—root hairs stick to the root, while mold wipes away easily.
6. Can I reuse soil or trays?
Reusing trays is fine if they’re washed and dried after each use. Clean trays with warm water and mild soap, then rinse thoroughly. For extra safety, wipe them with a vinegar solution or diluted hydrogen peroxide to kill leftover bacteria.
Let them air dry before planting again. Soil can also be reused, but only if it’s free from mold, pests, or rotting roots. Remove old roots and mix the soil well to loosen it. Add fresh compost or potting mix to restore nutrients. Starting with fresh soil is better if you notice poor growth or sour smells. Used soil tends to compact, which limits airflow and water drainage.
Healthy microgreens need light, fluffy soil. When in doubt, compost the old mix and replace it. Reusing supplies saves money, but only when cleanliness is a priority. Always inspect materials before planting your next batch.
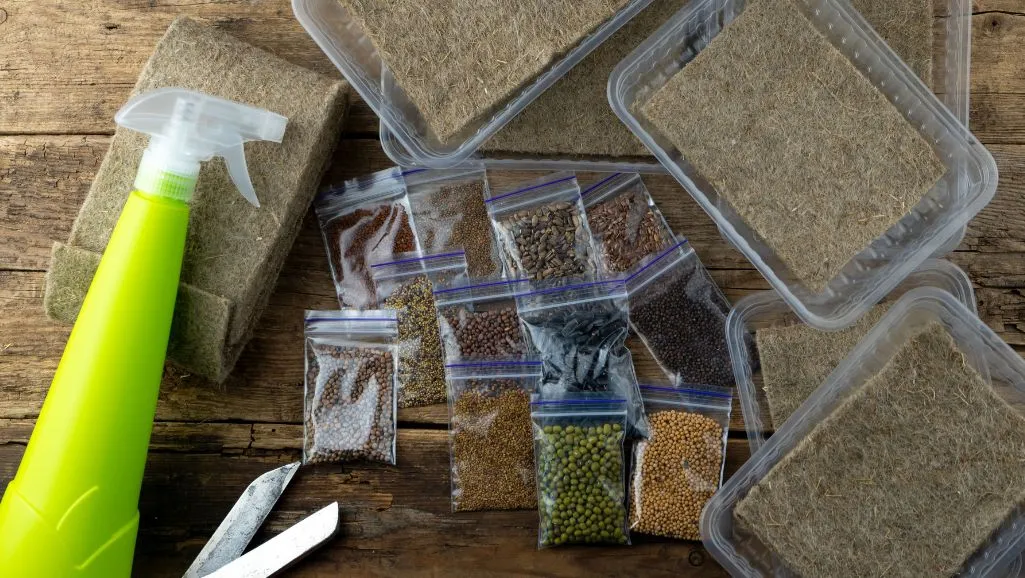
7. Do I need to soak sunflower seeds before planting?
Soaking helps sunflower seeds sprout evenly and quickly. Fill a bowl with cool, clean water and add the seeds. Let them soak for 8 to 12 hours. This softens the outer shell and triggers germination. After soaking, rinse the seeds well to remove any slime or residue. Drain them completely before planting to avoid excess moisture in the soil.
If seeds stay wet for too long after soaking, they can rot instead of sprout. Use a strainer or colander to remove water quickly. Plant the soaked seeds right away in moist soil. Press them gently into the surface and cover the tray for the first two days. Skipping the soak may lead to uneven growth or low germination.
Timing matters—too short, and they won’t soften enough; too long, and they may spoil. Please keep it simple: soak overnight, rinse in the morning, and plant right after.
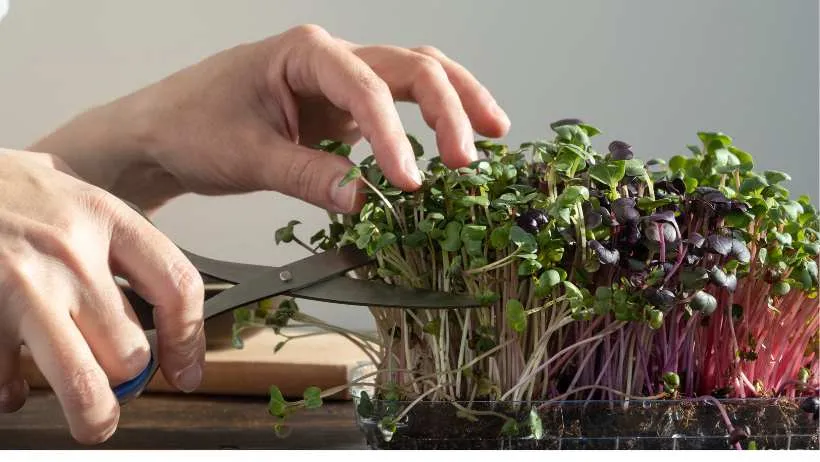
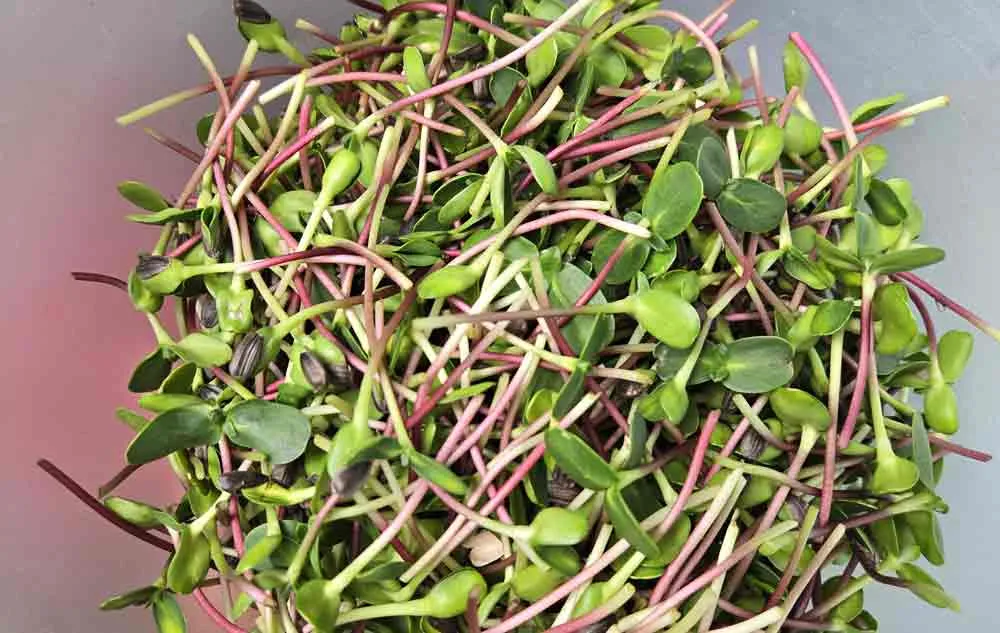
8. How do I harvest them?
Harvest sunflower microgreens when they have firm stems and their first set of true leaves. These leaves appear after the seed leaves, which are rounder and thicker. Use clean scissors or a sharp knife. Hold a bunch of greens upright and snip just above the soil line. Avoid cutting into the soil to keep dirt out of your harvest.
Please do not pull the roots; they are not edible and can carry soil and bacteria. Harvesting in the morning keeps the greens crisp. If you’re not eating them immediately, gently dry them with a paper towel. Store in a sealed container in the fridge for up to a week.
Cut what you need, and keep the rest growing until ready. Clean tools before each use to avoid contamination. A careful harvest gives fresh, tender greens a mild, nutty flavor.
Smart Growing Tips & Insight
4 Signs When To Harvest Sunflower Microgreens
Common Sunflower Microgreens Mistakes to Avoid When Growing