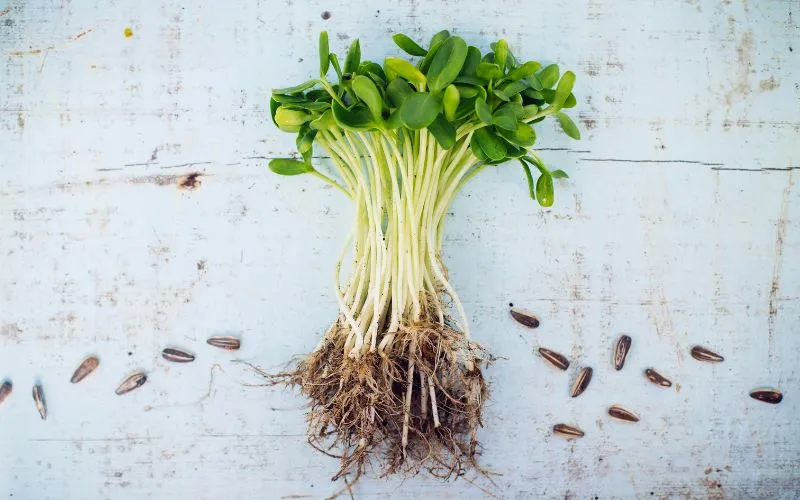
You don’t need a backyard, greenhouse, or hours of free time to grow something fresh and crunchy. If your schedule is packed but your windowsill is open, sunflower microgreens are a smart way to bring some green into your day. These tiny greens pack a nutty flavor and crisp texture that feels surprisingly satisfying in wraps, salads, or straight from the tray.
Even better? They’re fast. You can go from seed to harvest in just 7 days—with only a few quick daily tasks. There are no fancy grow lights and no complicated setup. You’ll learn how to fit this into your daily routine, even if your calendar is full and your space is small.
Let’s get your sunflower microgreens growing—no yard, no stress, all flavor.
Why Sunflower Microgreens Are Perfect for Busy Schedules
Sunflower microgreens are one of the easiest crops to grow when time is tight. They go from seed to harvest in just a week, so you don’t have to wait long to enjoy the results. You’ll only need to do two small tasks each day—mist them with water and make sure they’re getting enough light. That’s it. No daily weeding or complicated nutrient schedules. Just a little consistency.
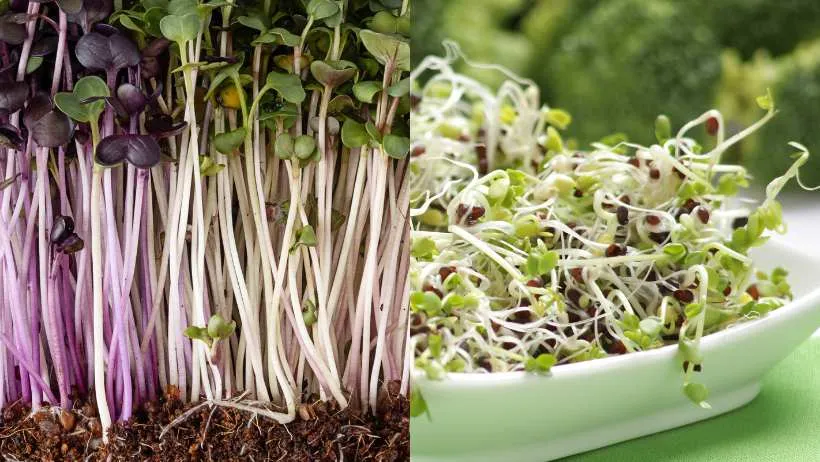
They also bring more than just speed. These greens are packed with nutrients like protein, iron, and vitamins B and E. Toss a handful into your smoothie or grain bowl, and you’ll taste the difference immediately. And because they grow well on shelves, counters, or sunny windowsills, you don’t need outdoor space. Even a tiny kitchen can grow a tray or two. If your time and space are limited, sunflower microgreens fit right in.
What You’ll Need: Simple Supplies
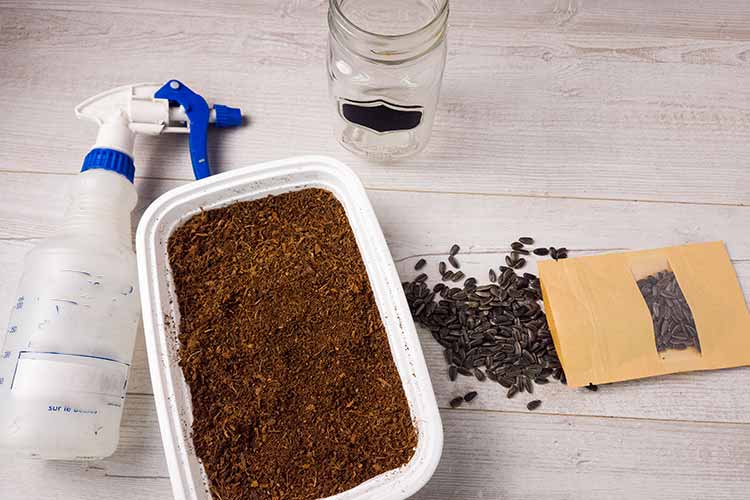
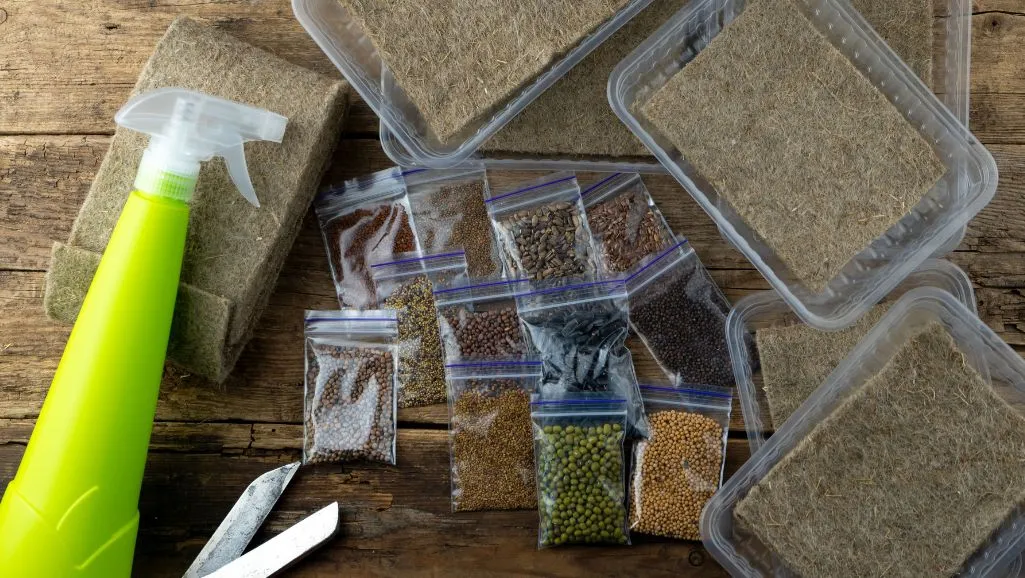
You won’t need much to get started—just a few basic items that fit easily on a windowsill or shelf. First, grab some raw and unhulled black oil sunflower seeds. These are the best types for sprouting and give the best yield. Next, you’ll need two shallow trays—one with holes for drainage and one without. This setup helps manage moisture and allows for bottom watering later on.
Choose something clean and light for your growing base, like coconut coir, a hemp mat, or basic potting soil. A spray bottle or a watering can with a gentle spout is perfect for keeping the seeds and sprouts moist. You’ll also need a light source—a sunny window works, or a simple grow light if your space is dim. Finally, have something flat and clean to press down the seeds during their first few days—a second tray or a small cutting board works great.
Everything fits in a small space, and cleaning up only takes a minute.
Step-by-Step: 7-Day Sunflower Microgreen Schedule
Day 0: Soak the Seeds (Evening Task, 5 mins)
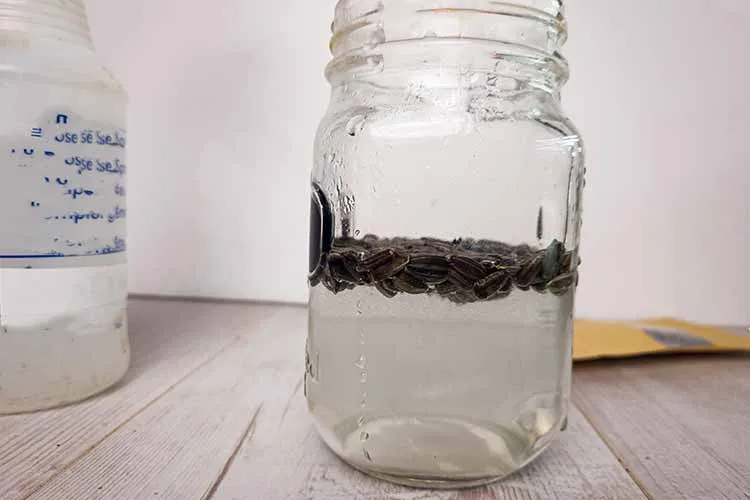
Start by soaking your sunflower seeds in cool water. Use a jar, bowl, or clean container, and let them sit for 8 to 12 hours. This softens the outer shell and gives them a jump-start on sprouting. Fill the container with enough water to cover the seeds completely. Set it aside on the counter and let them soak overnight—there is no need to check on them until morning.
Day 1: Drain and Plant (Morning Task, 10 mins)
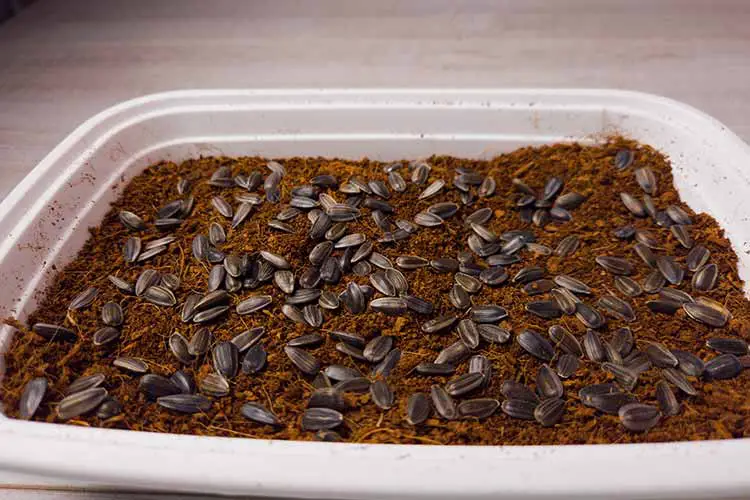
In the morning, pour off the soaking water and rinse the seeds a couple of times with fresh water. Let them drain well so they’re not soggy. Spread them evenly over your growing medium in the tray with holes. Keep the layers of seeds dense but not piled on each other. Lightly press them down with your hand or a clean tray to help them make contact with the soil or mat. Cover the seeds with a second tray or board to block the light and create a bit of pressure—this encourages strong, even sprouting.
Days 2–3: Keep in the Dark with Moisture (Daily Task, 3 mins)
Twice a day—morning and evening—mist the seeds lightly with water. You want them moist, not dripping. Check under the cover for signs of mold or dryness. If the surface feels too wet or sticky, crack the lid slightly or boost airflow. Little white root hairs push down into the medium as the seeds sprout.
Days 4–5: Uncover and Introduce Light (Morning Task, 5 mins)
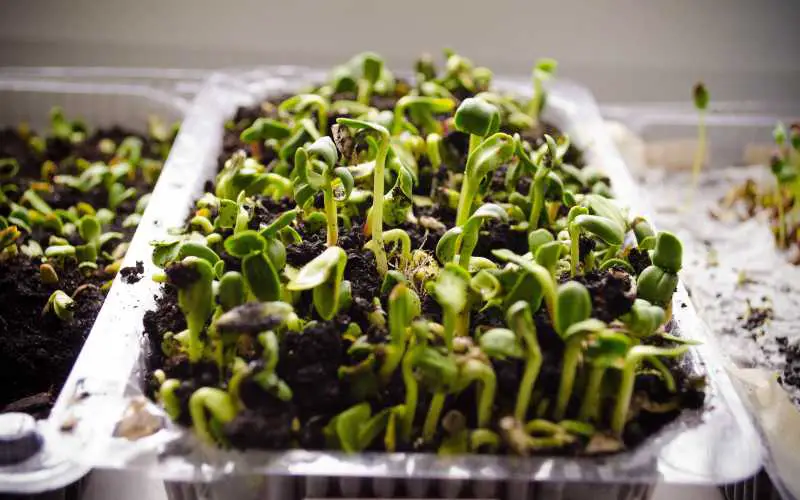
Once the sprouts are about 1 to 2 inches tall and lift the cover, it’s time to remove the lid. Move the tray to a sunny window or under a grow light. From now on, water from below once a day if possible. Pour water into the solid tray underneath to keep the roots hydrated while keeping the stems dry and clean. The leaves will start to open and soak up the light.
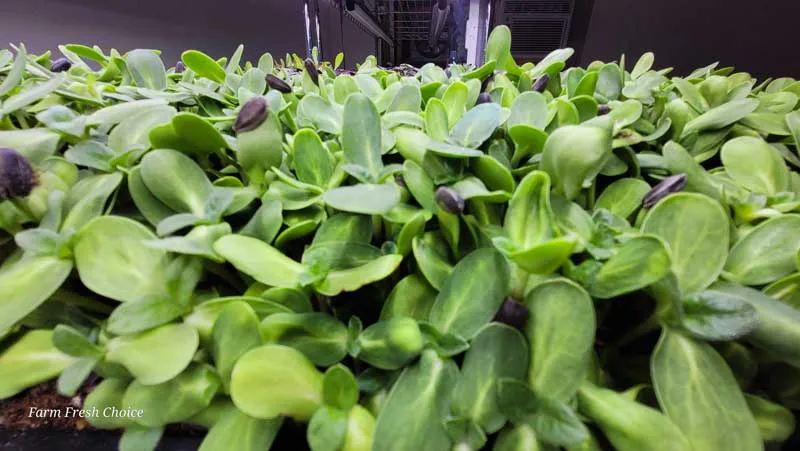
Days 6–7: Let Them Green and Thicken (Quick Check-in, 2–3 mins)
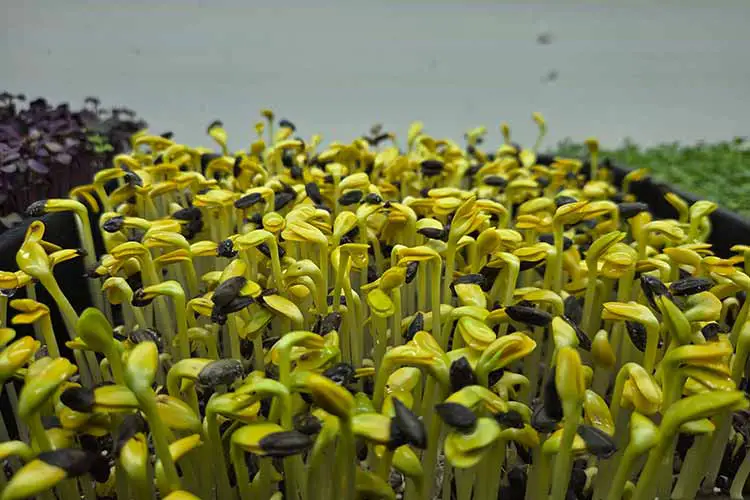
The sunflower shoots will stretch taller, and the seed shells will start falling off. The leaves will turn a rich green as they soak in more light. Keep an eye on them once a day—lightly water from below if the tray feels dry. By Day 7, they should look full, fresh, and ready to snip.
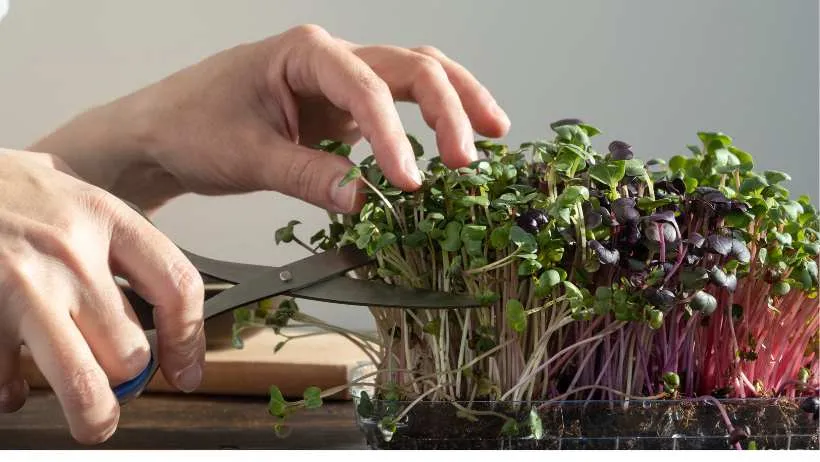
Harvest and Store in Minutes
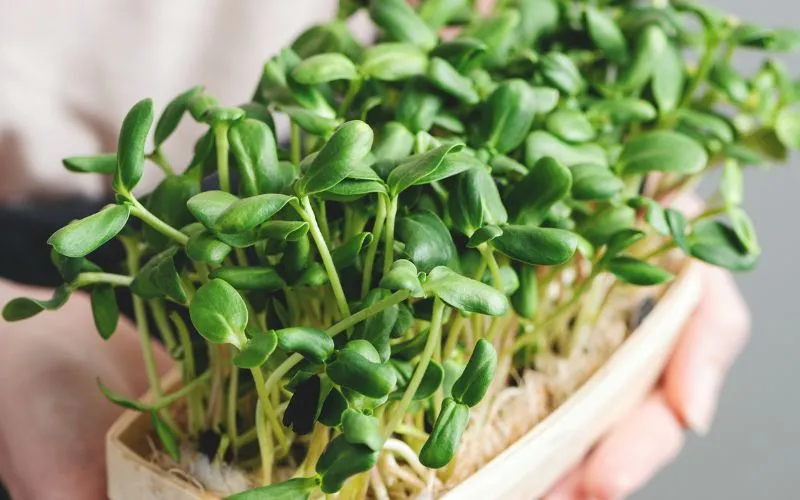
Once your microgreens look full and leafy, with most seed shells dropped, it’s time to harvest. Grab a clean pair of scissors and snip the stems above the growing medium. Aim for a smooth, clean cut—don’t pull or tug at the roots. If you see a bit of soil or residue, rinse the greens gently in cool water, then lay them on a paper towel to dry for a few minutes.
Store the dry greens in an airtight container lined with a paper towel to keep them fresh. Pop the container in the fridge, and they’ll stay crisp for up to a week. You can eat them right away, too—try a handful fresh on toast or tossed into a bowl of grains. Nothing beats that first bite when they’re just cut.
Tips for Success
Start small with just one tray—this makes the process easier to manage and gives you a feel for how much water and light your space provides. Fresh seeds make a big difference, so check the date or buy from a supplier that sells seeds for sprouting. Old or poorly stored seeds can lead to uneven growth or moldy patches.
Watering from the bottom after Day 3 helps keep the stems dry, which cuts down on mold and makes harvesting cleaner. If mornings and evenings are hectic, set a quick reminder on your phone to mist or water—a few seconds each time keeps everything on track. If your greens look leggy or pale, they may need more light, so scoot the tray closer to the window or switch on a grow light during the day.
Wrap-Up: Yes, You’ve Got Time for This
Even with a full calendar, growing sunflower microgreens is something you can follow through on—and feel good about. Once you go through the process, it becomes second nature. The steps are quick, the setup is minimal, and the reward is real food grown right in your space.
Try starting a second tray on Day 4 or 5, so you have a fresh batch just as you finish the first. That way, your greens keep coming without any extra effort. Do you have questions or want to show off your harvest? Comment and share how it’s going—we’d love to see what you’ve grown.
Sunflower Microgreens Tips & Insight
4 Quick Ways to Use Sunflower Microgreens in Everyday Meals
12 Things You’ll Love About Sunflower Microgreens (Besides the Taste)
5 Reasons Sunflower Microgreens Belong in Every Apartment Garden
3 Simple Supplies You Need to Grow Sunflower Microgreens at Home
8 Questions Beginners Ask About Sunflower Microgreens—Answered