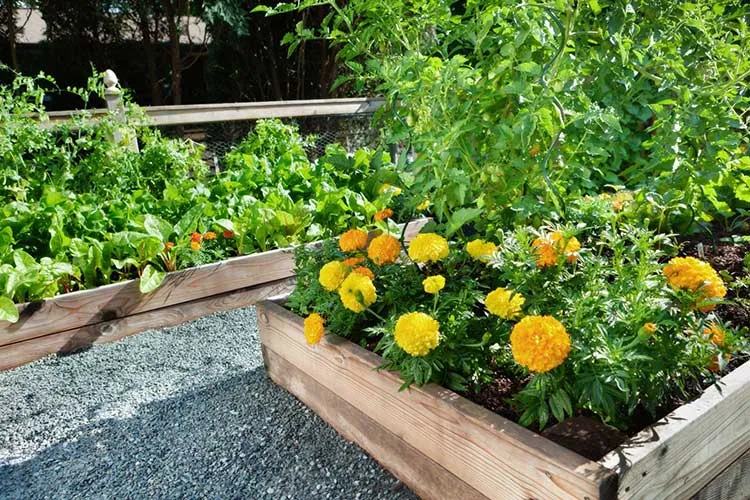
Outdoor wood planters take a beating—from summer sun to winter frost to the constant splash of water from your watering can. The wrong paint won’t just fade; it’ll bubble, peel, and crack. That means wasted time and money—and worse, a planter that starts rotting from the inside out.
Most paints aren’t designed for the constant moisture, UV exposure, and soil contact that planters experience on a daily basis. Even popular outdoor paints can struggle unless they’re specially formulated to adhere to porous wood and accommodate the natural expansion and contraction of the grain.
So if you’ve ever found flakes of paint in your soil or noticed your planter looking shabby by the next season, you’re not alone. This guide will walk you through the best paints for outdoor use, explaining why they work and how to apply them correctly for a finish that lasts year after year.
What Makes a Paint Suitable for Outdoor Wood Planters
Not all exterior paints are designed to withstand the harsh conditions that planters encounter. You need something that does more than add color—it needs to act like armor against the elements.
Look for paints labeled water-resistant or moisture-blocking. These prevent swelling and rot when your planter sits in wet soil or gets hit by rain. UV resistance is also key—sunlight breaks down paint fast unless it has built-in protection. Temperature swings can cause wood to expand and contract, so flexible, breathable finishes (such as elastomeric or penetrating stains) help prevent cracking.
You also want plant-safe ingredients. Avoid using products with harsh solvents or heavy metals if you’re growing herbs, lettuce, or other edible plants. Lastly, paints need to bond well with rough, porous wood. A smooth application is nice, but a long-lasting grip is even better. Some formulas even soak in and strengthen the wood itself, which is ideal for long-term durability.
5 Paints for Outdoor Wood Planters That Hold Up Against the Elements
If you’re tired of paint that flakes after one season, these five picks are built to last outdoors. They’re non-toxic, moisture-resistant, and designed to withstand constant watering, soil contact, and full sun.
1. Real Milk Paint Outdoor Defense Finish

This all-natural wood finish uses tung oil, pine oil, and zinc to create a breathable yet water-resistant barrier for outdoor planters. It’s ideal if you want a natural look that enhances wood grain while repelling moisture and mildew.
Unlike conventional paints, this formula soaks into the wood and hardens naturally, no peeling or cracking. It’s also food-safe when cured, making it a smart choice for edible gardens. You can apply it to bare or milk-painted wood for added weather protection.
It’s not a color paint—more of a matte, oiled finish—so it works best if you’re after a natural aesthetic over bold hues.
2. Seal It Green Xtreme BAMBOO Penetrating Wood Sealer
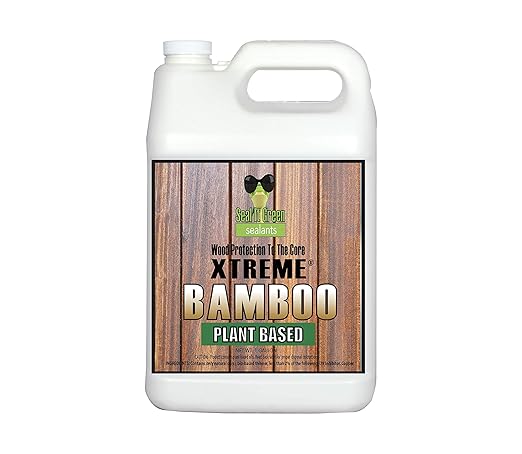
Formulated from bamboo extract, this eco-friendly sealer penetrates deeply into the wood, bonding below the surface to block water without sealing the surface in a plastic-like film. It resists rot, mold, mildew, and UV damage.
Perfect for untreated wood planters or raised beds, it won’t leach chemicals into your soil and is safe around pets and plants. It also strengthens softwoods and helps prevent the grain from splitting.
Keep in mind: this sealer is clear and doesn’t change the color of your planter. If you want decorative color, use it under compatible outdoor paint.
3. Garden Bed Sealer – Wood Waterproofing for Raised Beds

Designed to protect wooden garden beds from rain, soil, and sun, this product utilizes plant-based oils to penetrate the wood and keep moisture out deeply. It’s biodegradable, VOC-free, and completely non-toxic for use with food crops.
What stands out is the extra conditioning effect—it restores dry, cracked boards and leaves behind a natural, low-sheen finish. Great for cedar, pine, or pressure-treated lumber, especially on surfaces that are exposed to direct soil.
It won’t provide bold color, but it does protect from greying and rotting over time. Apply with a sponge or roller and let it soak in.
4. Garden Box Sealer 32OZ / 946ML

This eco-safe wood sealer is specifically designed for use on garden beds and planter boxes. It’s transparent, food-safe, and designed to waterproof wood while allowing it to breathe naturally, helping prevent mold and decay.
Its biodegradable formula contains no harsh chemicals, making it ideal for organic gardens. It resists algae, fungus, and bacterial growth, helping to extend the life of wooden containers exposed to moisture and soil.
It’s only available in a clear finish, with no tints or color options. But it works great under decorative paints or as a standalone moisture shield.
5. Plant-Based Garden Box Sealer for Wood Planters

This waterproofer is designed for raised beds and outdoor planters and made from food-safe, bio-based ingredients. It deeply penetrates the wood to create a water-repellent barrier that also resists cracking, splitting, and warping.
Safe for fruits, vegetables, and pollinators, it’s VOC-free, non-toxic, and doesn’t off-gas harmful fumes. Once cured, it becomes completely inert, making it a top choice for sustainable or organic garden setups.
Colorless and non-glossy, it won’t significantly alter the wood’s appearance, so if you want bright colors, this is best used as a base layer under a compatible outdoor paint.
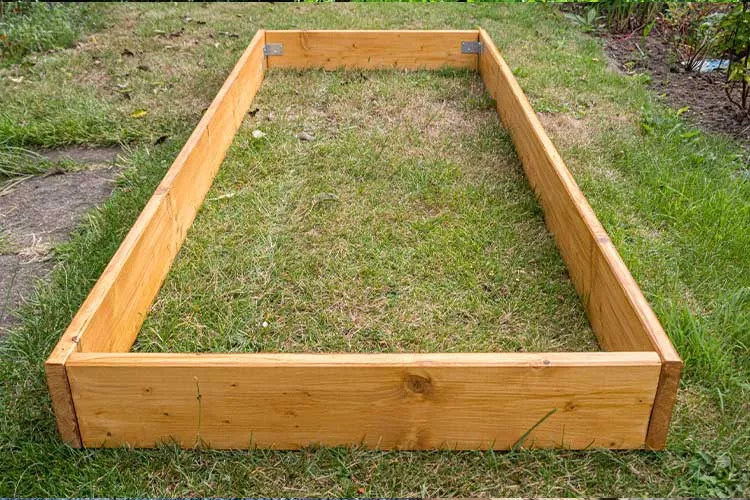
How to Ensure Your Paint Job Stays Put
A great paint won’t do much good if it’s slapped on damp, dirty, or untreated wood. Proper prep helps the paint bond deeply and stay flexible through heat, rain, and cold, so it doesn’t peel or bubble by spring.
Start by cleaning off dirt, mildew, and sap. Use a scrub brush and mild soap or wood cleaner—nothing oily or glossy should remain. Once clean, let the wood dry fully, ideally 24–48 hours in dry conditions. Damp wood repels paint and traps moisture underneath, which causes flaking.
Next, lightly sand your wood. This helps paint grip better, especially on weathered or rough-sawn boards. Apply a wood primer or penetrating preservative before painting—especially if your planter is untreated. For added protection, line the interior with landscape fabric or a plastic liner (with drainage holes) to prevent soil from directly contacting the wood.
Let each coat dry fully before adding the next—rushing this step often leads to cracking. Most paints require 4–12 hours between coats, but check the label for specific instructions. Taking the time now means your finish can last for seasons instead of months.
Finishing Touches That Prevent Peeling and Rot
Even after you’ve applied the best paint, an additional layer of protection can make a significant difference, especially if your planter will be exposed to heavy rain, snow, or frequent watering.
A waterproof topcoat or clear sealer acts like a raincoat for your painted surface, protecting it from the elements. It keeps moisture out, reduces sun damage, and helps the color hold up longer. Look for breathable, exterior-grade finishes. If you’re growing herbs or veggies, double-check that the finish is food-safe and non-toxic once dry.
Plan to reapply every 1–2 years, depending on your climate and the level of exposure the planter experiences. Southern sun and winter freeze cycles wear finishes down faster. A quick visual check in spring or fall will indicate whether it’s time to refresh.
When applying paint or sealer, foam brushes are great for corners and grooves, while rollers cover flat sides quickly. For a super-smooth finish or when sealing multiple planters at once, a small sprayer saves time and allows for easy access to tricky angles.
Easy Maintenance Tricks to Keep Your Planters Looking Fresh
You don’t need to repaint your planters every season to keep them in great shape. A few easy habits can help extend the life of your paint and prevent problems before they start.
Store your planters in a dry area during periods of heavy rain or freezing temperatures. If they’re too bulky to move, at least lift them off the ground using bricks, pavers, or raised feet. This helps keep the bottom from sitting in puddles and soaking up water. Saucers underneath also catch runoff and reduce rot.
Every few months, wipe down the outside of the planter with a damp cloth to remove dirt and mildew. Look for signs of peeling or soft spots. If you spot a chip or crack, lightly sand the area and touch up the spot with leftover paint. Catching small issues early prevents moisture from entering and saves you from having to strip and repaint the entire area.
Quick fixes go a long way—plus, you’ll keep your garden looking neat and intentional instead of weather-worn and neglected.
Avoid These Common Mistakes for a Flawless Finish
Even the highest-rated outdoor paint can fail if the prep or timing is off. These simple missteps are often the reason paint peels, cracks, or fails to adhere in the first place.
Skipping primer—especially on raw or weathered wood—leaves the surface thirsty and uneven, making it hard for paint to grip.
Using indoor paint outside may save a few bucks in the short term, but it breaks down quickly in the sun and rain, often within weeks.
Painting over damp wood traps moisture under the paint layer, leading to bubbles, soft spots, and fast failure.
Not allowing curing time between coats or before putting soil inside leads to weak adhesion and early peeling. Always let paint cure fully—some need up to 7 days before heavy use.
Final Thoughts & Best Practices
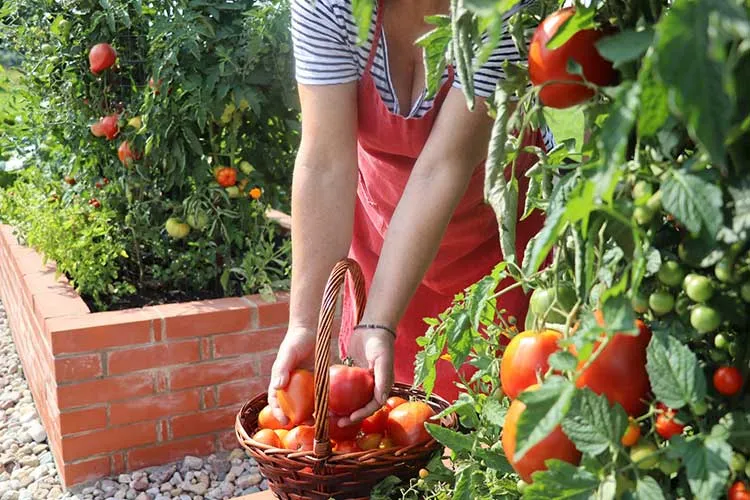
Choosing the right paint for wood planters isn’t just about looks—it’s about protecting your hard work from weather, moisture, and wear. The five products in this guide are proven to withstand outdoor conditions and are also safe for edible gardens.
Prep is half the battle: clean wood, dry conditions, and the right base layers make all the difference. Stay ahead with light maintenance and occasional touch-ups, and your planters can last for seasons without flaking or rotting.
Don’t be afraid to try bold colors or natural finishes—make sure the paint is specifically designed for outdoor use. Do you have questions or would you like to share your planter makeover? Drop a comment or photo below!