Starting seeds indoors can feel frustrating when nothing sprouts or young seedlings wither overnight. The problem often comes down to moisture and temperature swings, which stall germination fast. That’s where a humidity dome changes everything. These low-cost covers create the warm, stable environment seeds need to sprout reliably, even on a drafty windowsill.
If you’re wondering how to use a humidity dome correctly—not just slap it on and hope—this guide walks you through each step, from setup to removal. You’ll learn to avoid common issues like mold, poor airflow, and overwatering, while improving germination success. Whether you’re growing vegetables, herbs, or microgreens, getting this part right sets the tone for a healthy start.
What Is a Humidity Dome and How Does It Work?
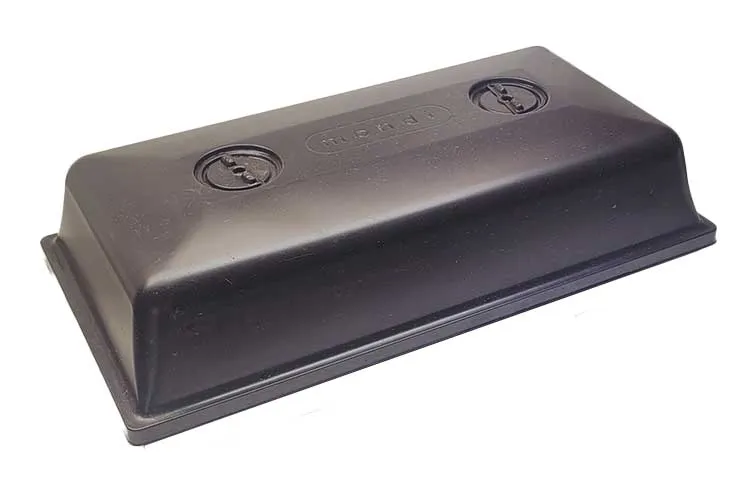
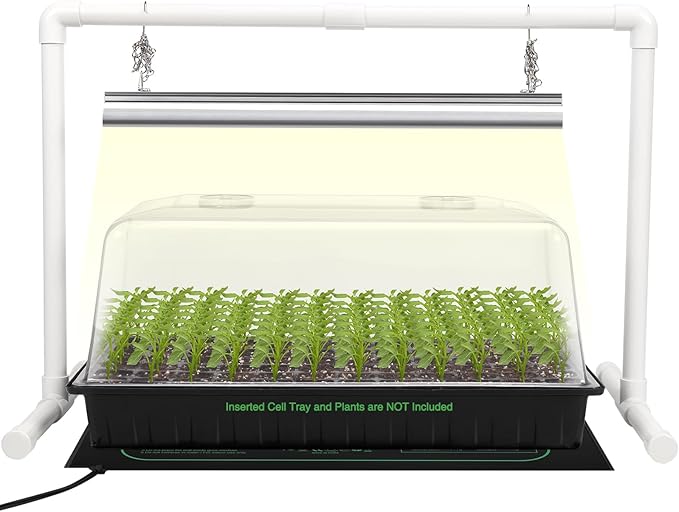
A humidity dome is a clear plastic cover over a seed tray. It creates a mini greenhouse effect, locking moisture and heat to support seed germination. For indoor gardeners, especially those starting seeds early in the season, this helps mimic the warm, moist conditions seeds need to sprout.
Inside the dome, the moisture from your growing medium evaporates into the air and stays trapped. This keeps humidity levels high, which helps soften seed coats and speeds up sprouting. Many domes also have adjustable vents on top or sides. When closed, they keep moisture in. When opened, they let in fresh air to reduce mold risk and ease seedlings into drier conditions.
The dome doesn’t heat the soil but holds warmth from a sunny window or heat mat. That slight bump in temperature can improve germination speed, especially for heat-loving crops like peppers or eggplants.
How to Use a Humidity Dome for Seed Starting: Step-by-Step
Start by gathering your materials: a clean seed tray, a humidity dome that fits snugly over it, and your choice of growing medium. You’ll also want a spray bottle, thermometer/hygrometer combo, and good lighting ready.
- Begin by filling each cell of the tray with moist seed-starting mix. The soil should feel damp but not soggy—when you squeeze a handful, it should hold together without dripping water. Overwatering at this stage can lead to mold or seed rot. Once the medium is ready, sow your seeds according to the depth listed on the packet, then lightly cover them with more mix or vermiculite, depending on the crop.
- After sowing, gently mist the surface with water and secure the dome over the tray. Make sure the vents are fully closed at first to keep humidity high. Then, move the setup under grow lights or onto a warm windowsill. If you’re using a heat mat, set it to the recommended temperature for the seeds you’re growing—most sprout well between 70°F and 80°F.
- Check the dome daily. You should see a light layer of condensation inside, meaning moisture stays in. If it’s completely dry, lightly mist again. If water is pooling or dripping, the medium may be too wet. As seeds begin to germinate, monitor them closely and prepare to adjust the vents for airflow.
Tip: Place a small thermometer or hygrometer inside the dome. This will help you monitor exact temperature and humidity levels without guessing.
When to Open or Close the Vents on a Humidity Dome
Vents are your best tool for managing airflow inside the dome. In the early stages, right after sowing, keep vents closed to maintain high humidity. This encourages quick sprouting and keeps the soil from drying out too fast. Most seeds need a warm, moist environment to trigger germination.
Once you notice sprouts pushing through the soil, it’s time to open the vents gradually. Start with a small opening and increase airflow over a few days. This helps seedlings adjust to drier air and lowers the chances of damping off, a common fungal disease that thrives in still, wet environments.
If you see too much condensation, especially if it starts dripping, it may mean the airflow is too low. Open the vents more or lift the dome briefly during the day to let excess moisture escape. Conversely, if the mix is drying out too quickly, close the vents slightly to retain more moisture.
A common question is: Should humidity dome vents be open or closed? The answer depends on timing. Keep them closed until you see seedlings, then begin opening them to strike a balance between humidity and air movement.

When to Remove the Humidity Dome
When most of your seeds have germinated and you see green shoots breaking through, it’s time to consider removing the dome. Leaving it on too long can trap excess moisture and create the perfect conditions for mold and rot. A good sign that it’s time to start removing the dome is when you see the majority of seedlings standing upright and forming their first set of true leaves, not just the tiny seed leaves.
Instead of pulling the dome off all at once, do it gradually. Start by sliding it slightly off-center during the day to let in more air. This helps the young plants adjust without shock. After a couple of days, remove it completely during daylight hours, putting it back on loosely at night if your space is cool.
Slowly exposing seedlings to normal humidity levels is part of hardening them off. You’re preparing them to grow stronger and resist disease before they move to larger pots or outdoor beds.
If you’re wondering when to remove the humidity dome, it should be removed right after germination, as soon as your plants no longer need that moist, enclosed environment to stay healthy.
How to Prevent Mold in Humidity Domes
Mold can sneak in fast when conditions are too wet or the air is still. To prevent this, make sure your seed trays are clean before planting. Use fresh, sterile seed-starting mix and avoid reusing old soil, which can hold spores. Rinse and dry your dome thoroughly if used for a previous round of plants.
Airflow is your best defense. Start cracking the vents as soon as seedlings appear, and open them wider if you see condensation pooling or a musty smell. A small fan set on low nearby can also help move air gently without chilling the seedlings. Just avoid blowing directly into the dome.
Watering from the bottom is another way to avoid mold. Pour water into the tray beneath the cells instead of spraying the surface, which can keep the tops of the seedlings too wet. If you see white fuzz or slimy patches, remove the dome for a few hours and trim away any infected seedlings.
To answer the common question, How do you prevent mold when starting seeds using humidity domes? The key is fresh materials, good airflow, and careful watering.
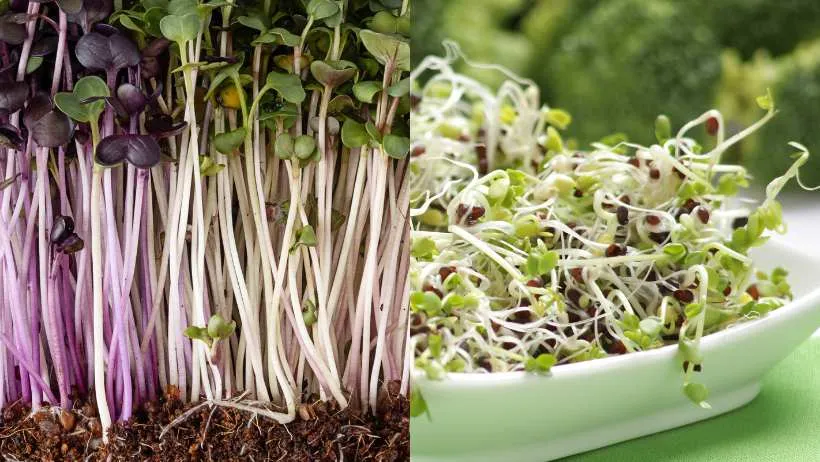
Using a Humidity Dome to Grow Microgreens
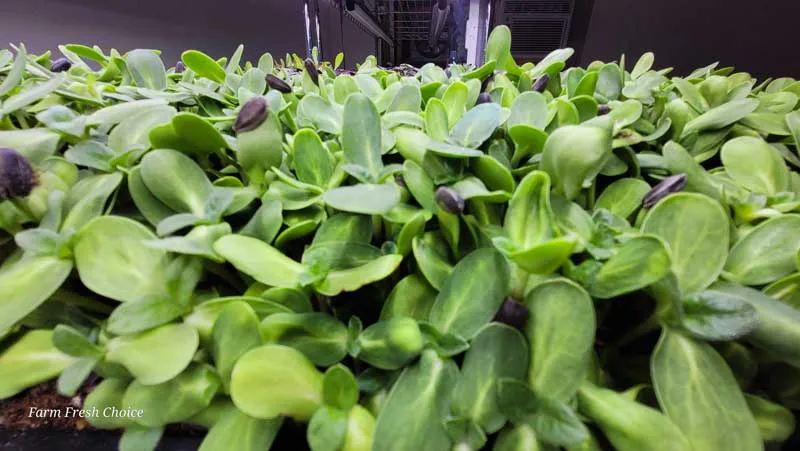
Humidity domes can be helpful for microgreens, but only for a short time window. Use the dome during the first 2–3 days after sowing, when seeds need a warm, moist environment to sprout. This is especially useful for thicker seeds like sunflower, pea, or radish, which benefit from the added humidity while they break dormancy.
Once you see the first signs of germination—tiny shoots pushing up through the soil—it’s time to remove the dome. Microgreens grow quickly and can suffer if they stay too wet. Too much humidity encourages damping off, a common fungal problem that kills young sprouts at the soil line.
After the dome comes off, switch your focus to airflow and light. Place the tray under grow lights and use a small fan nearby to keep the air moving. This keeps your greens sturdy and helps prevent disease. In short, the dome is just a Kickstarter—it’s not needed past day three or four.
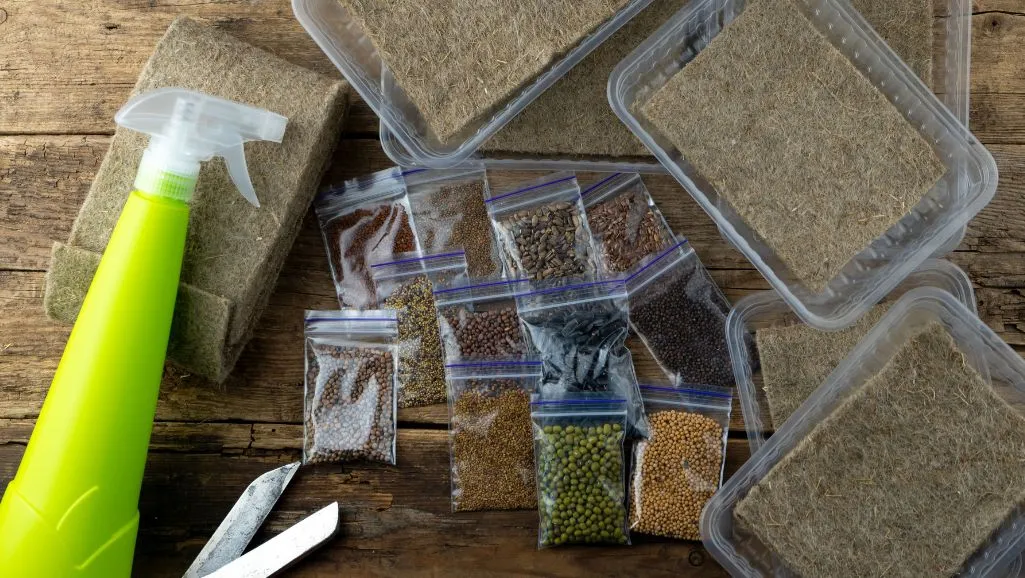
Humidity Dome Alternatives for Seed Starting
If you don’t have a humidity dome, a few budget-friendly options work just as well for keeping moisture in during germination. One common substitute is clear plastic wrap stretched over the top of your seed tray. It holds in humidity, though you’ll need to poke a few holes for air and prop it up so it doesn’t touch the soil surface.
Clear food storage containers make great mini greenhouses, especially those with lids. You can find them at dollar stores or reuse takeout containers for small batches of seeds. Another simple DIY trick is cutting a clear soda bottle in half and using the top as a cover for small pots.
Each option has its pros and cons. Plastic wrap is easy and cheap, but needs more monitoring and can collapse onto seedlings. Containers offer more structure but may need venting holes added. So, if you’re asking what I can use instead of a humidity dome, start with what you have around the house and ensure it lets in light while holding in moisture.

Available on Amazon
How to Maintain Proper Humidity Indoors (With or Without a Dome)
Even without a dome, you can keep humidity levels up using simple tricks. A small humidifier placed near your seedlings adds steady moisture to the air, especially helpful in dry homes during winter. If you don’t have one, try setting a shallow water tray with pebbles underneath your seed trays. As the water evaporates, it creates a moist microclimate around your plants.
Another option is to hang a damp towel near your grow area or lightly mist the air a few times daily. These methods help raise humidity without soaking the soil. Just ensure you’re not adding too much moisture too quickly—too much can lead to mold or weak seedlings.
Air circulation plays a big role, too. A gentle fan keeps air moving, which helps balance humidity and reduce the risk of fungal issues. If your space feels too stuffy or your plants look droopy, it could indicate that moisture levels are off or air isn’t circulating enough.
Should windows be open or closed to reduce humidity? Keep them closed in cold weather to avoid chilling your plants. Opening a window might increase moisture too much if it’s warm and humid outside. And for vents, keep them open to allow fresh air to flow unless you’re trying to trap warmth.

FAQs: Quick Answers for Common Humidity Dome Questions
Is a humidity dome necessary for seed starting?
Not always, but it helps with consistent germination, especially indoors with dry air. It holds warmth and moisture, which most seeds need to sprout.
How do humidity dome vents work?
They control airflow. Closed vents keep humidity high; opening them gradually lets in fresh air to prevent mold and help seedlings adjust.
Can I use a humidity dome with a heat mat?
Yes, and they work great together. The mat warms the soil from below, and the dome traps warmth and moisture—ideal for fast germination.
How long should I keep the dome on my seedlings?
Once you see green shoots, start cracking the vents until most seeds have sprouted. Once true leaves appear, remove the dome fully.
Can humidity domes cause mold problems?
Yes, if there’s too much moisture and not enough air. Avoid overwatering, use clean trays, and open vents once germination starts.
Do humidity domes work in cold rooms?
They help, but only to a point. A dome will trap some heat, but if the room stays too cold, you may need a heat mat or move the setup somewhere warmer.